Private Google Sheets (Google App)
Overview
This guide explains how to connect private Google Sheets to Darty-Ai using a Google App (OAuth), allowing access via regular business emails—without coding or technical knowledge. Setup is one-time and typically takes under 10 minutes.
Key Concepts
-
Access options:
- Publicly shared Google Sheets, or
- Privately shared Sheets via a Google App (OAuth).
-
Security & control:
- Darty-Ai only accesses Sheets you explicitly authorize.
- Uses Google’s official permission system; nothing is accessed automatically.
-
Ease of use:
- No understanding of apps, OAuth, or coding required—follow the steps exactly.
Create the Google App (OAuth)
A “Google App” might sound technical — but don’t worry, it isn’t something you build or code.
The Google App simply allows Darty-Ai to ask Google for permission to access only the Google Sheets you choose to share, using Google’s official security system. Nothing is accessed automatically, and you stay fully in control.
You don’t need to understand anything about apps, coding, or OAuth.
Just follow the steps, click what we tell you to click, and type exactly what we show you.
You’ll also choose which email addresses are allowed to use this connection with Darty-Ai.
This setup only needs to be done once and usually takes less than 10 minutes.
Follow these stages and you should have Darty-Ai using privately shared Google Sheets in a few minutes.
Enter console.google.com console.cloud.google.com in your browser's address bar.
Check "I agree".
Click "Agree and continue".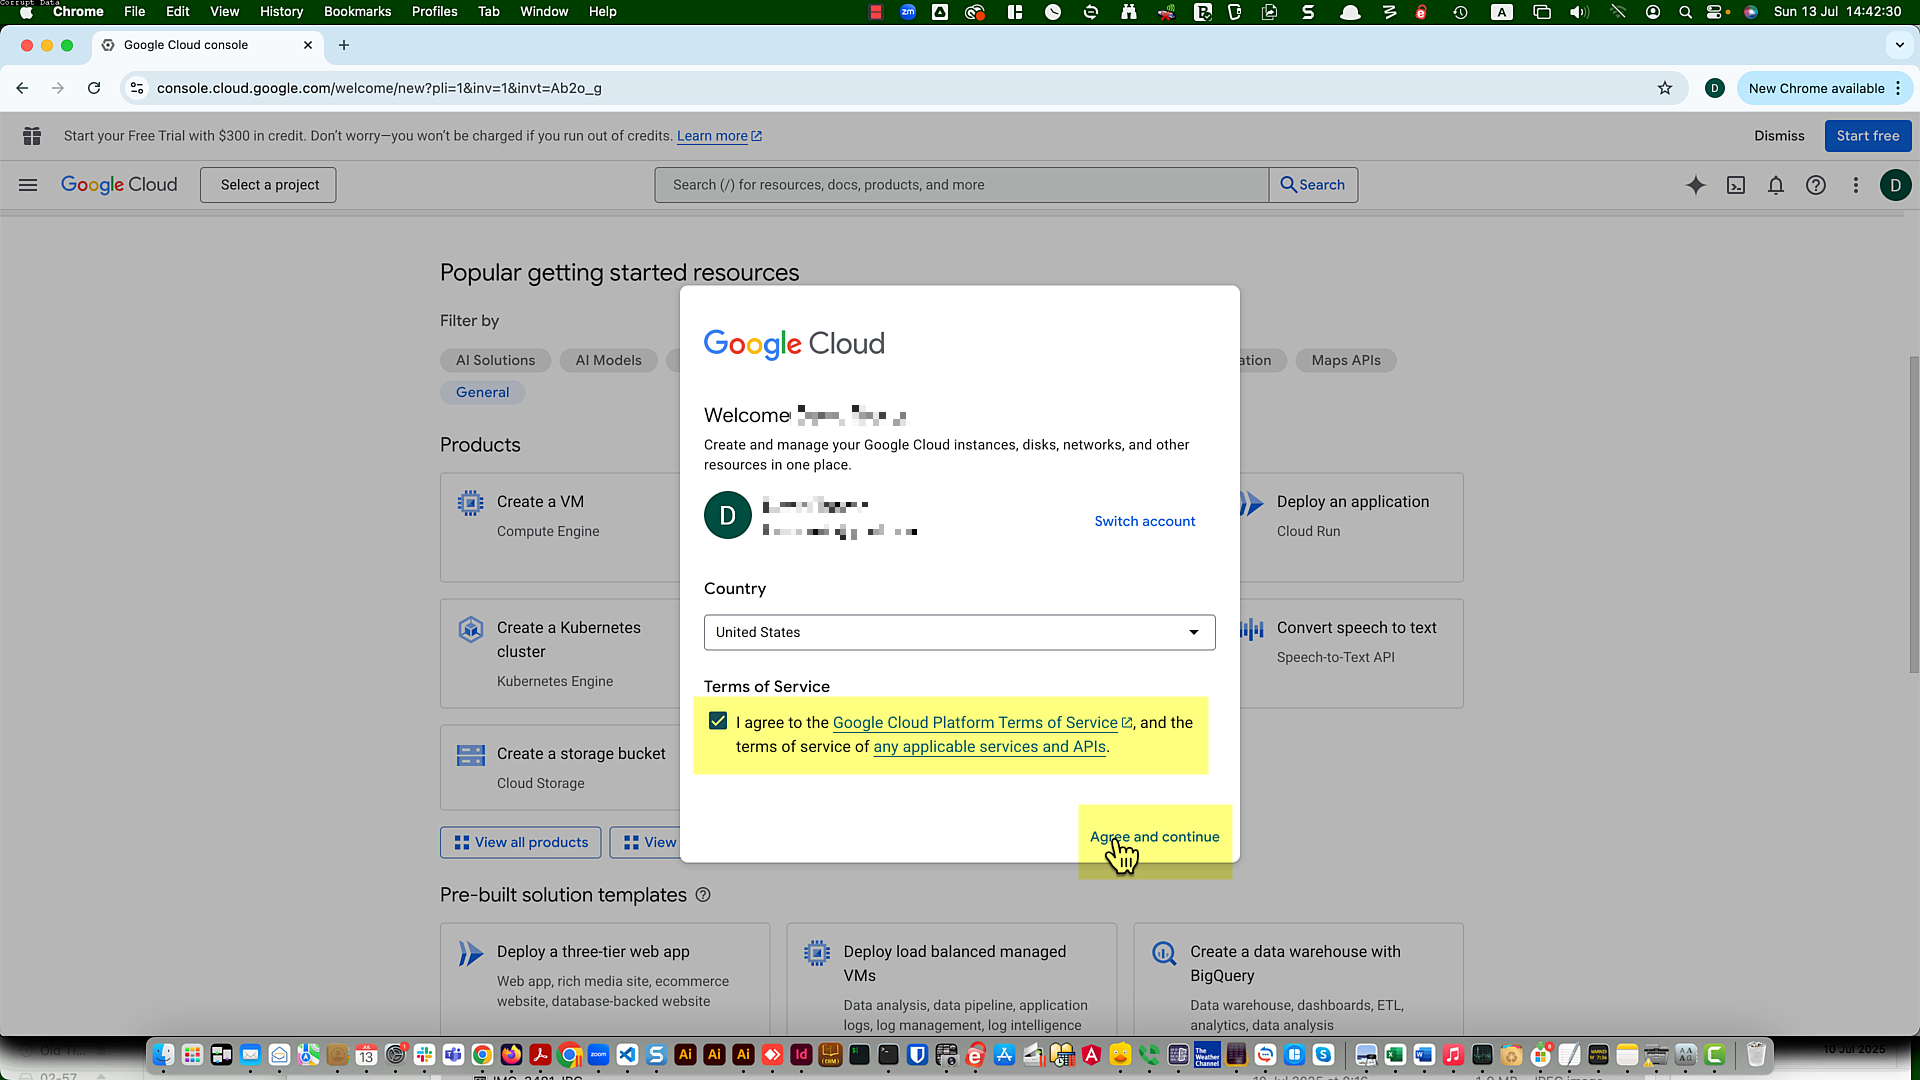
Check "I agree".
Click "Agree and continue".
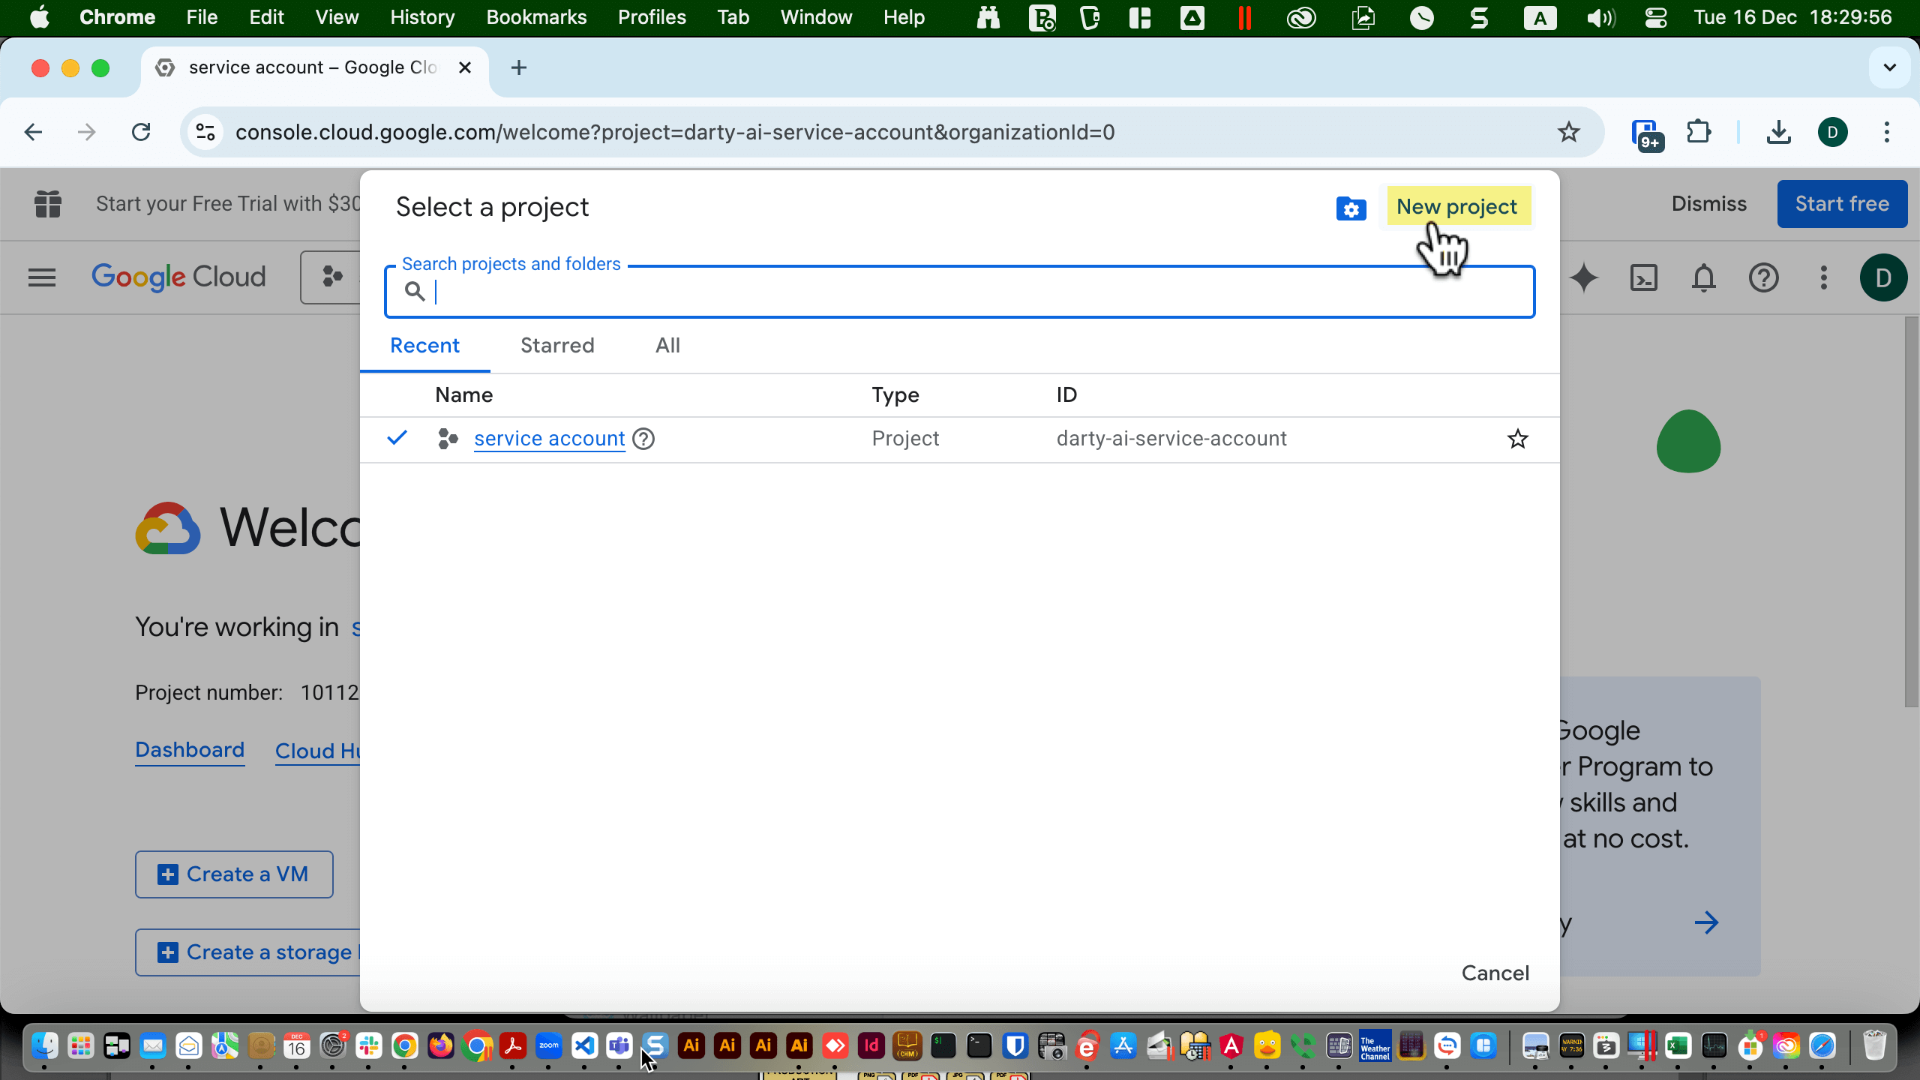
To create the new app, click the "Select a project" button.
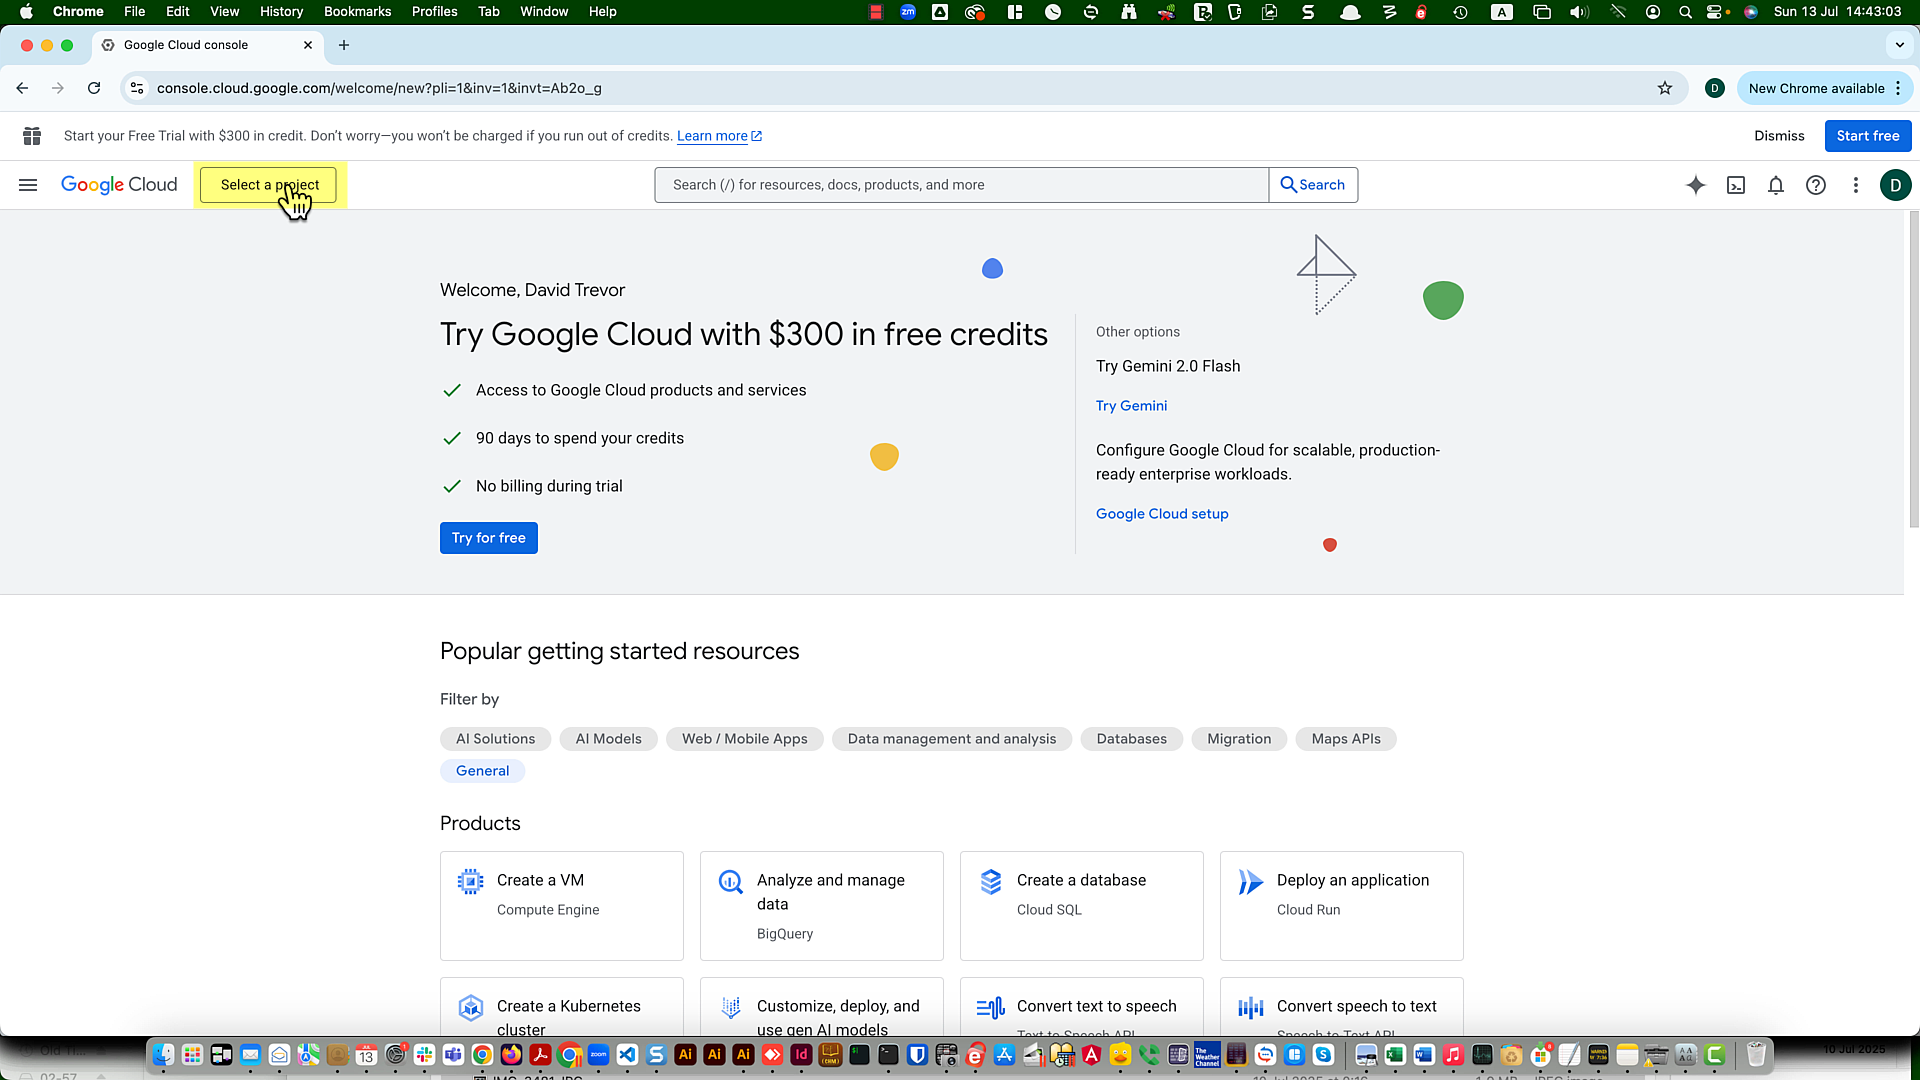
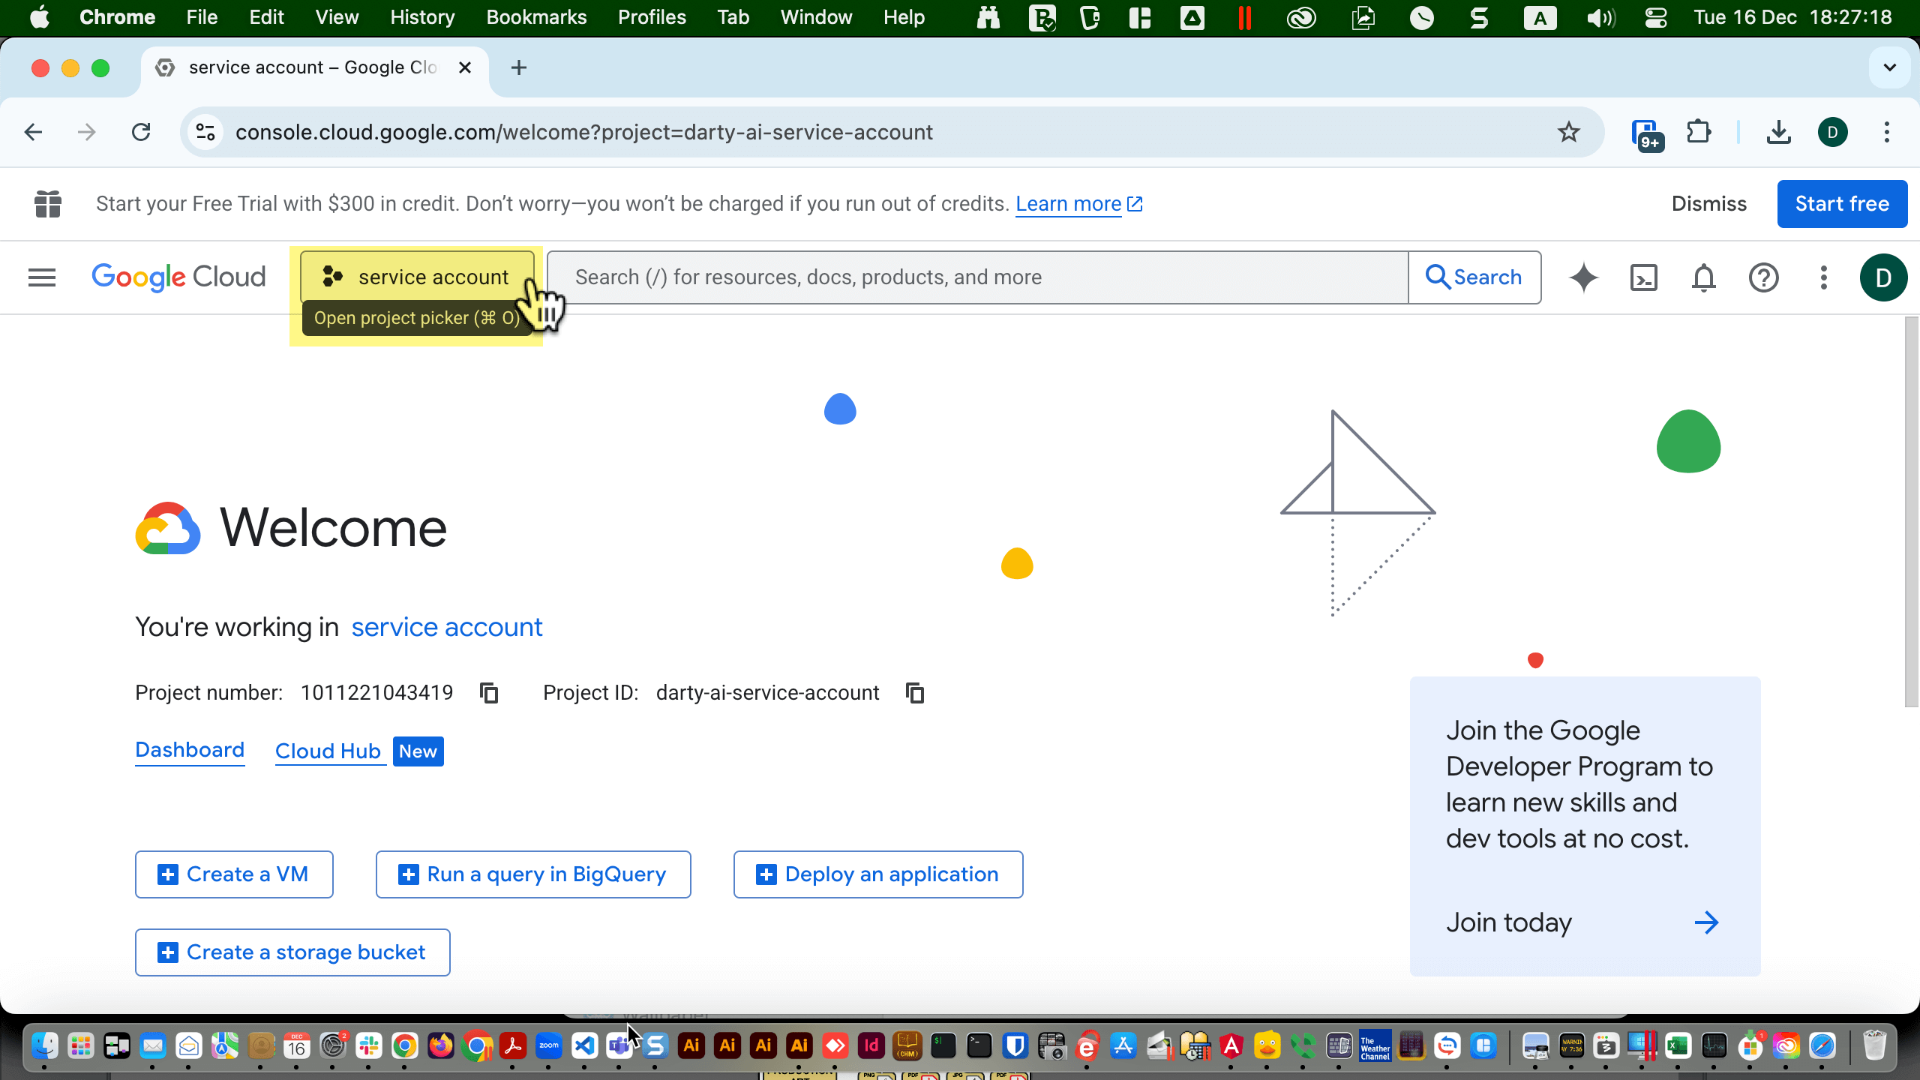
If you have already created a Google app in the console, click the button next to the Google Cloud logo to open the Project Picker.
Click the new project button.
Fill in a project name. You can use any name, but something that makes it clear the project is connected to Google Sheets and Darty is recommended, for example, "Private Emails For Darty".
You can leave the project ID as it is, or rename it to something meaningful like "private-emails-for-darty". The file that will be created and later imported into Darty-Ai will contain this name, so it’s a good idea to choose something that will be easy to find in the future.
Leave the location unchanged unless you know exactly what you are doing.
Click "Create".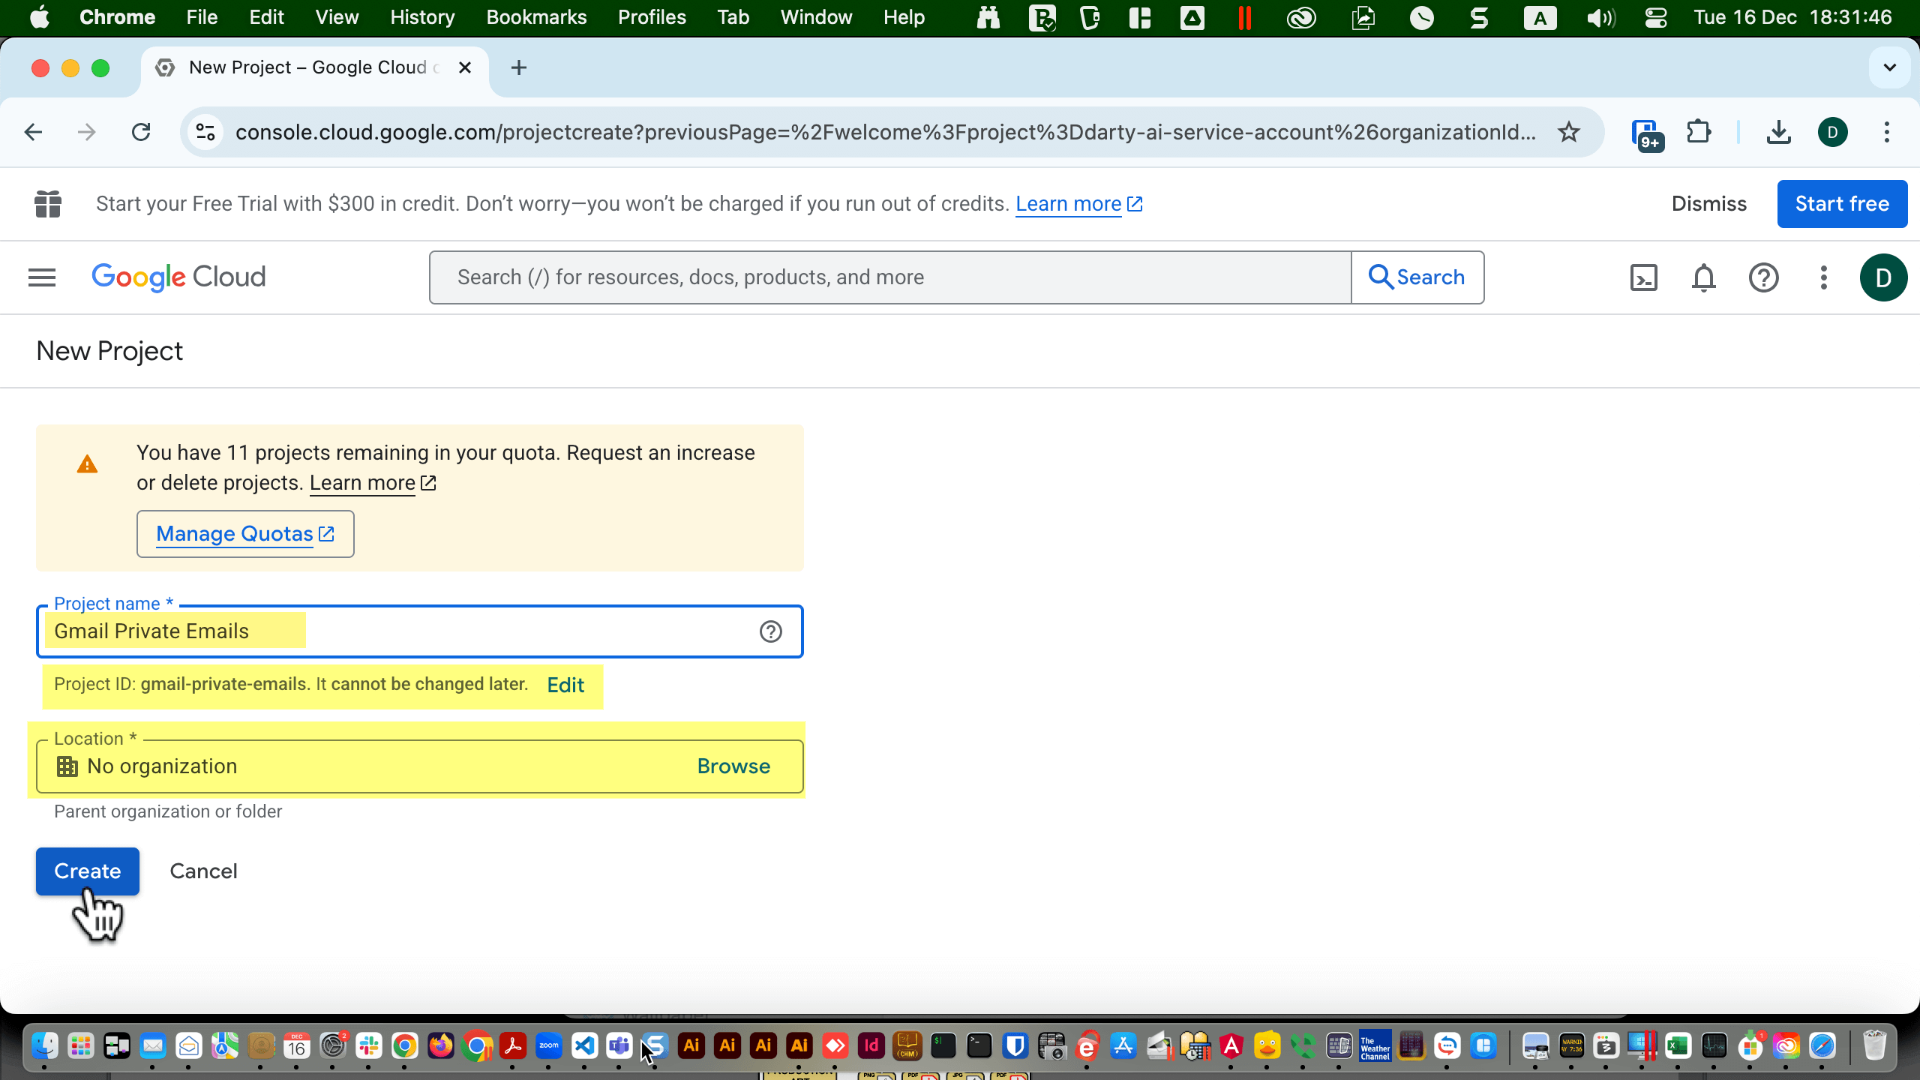
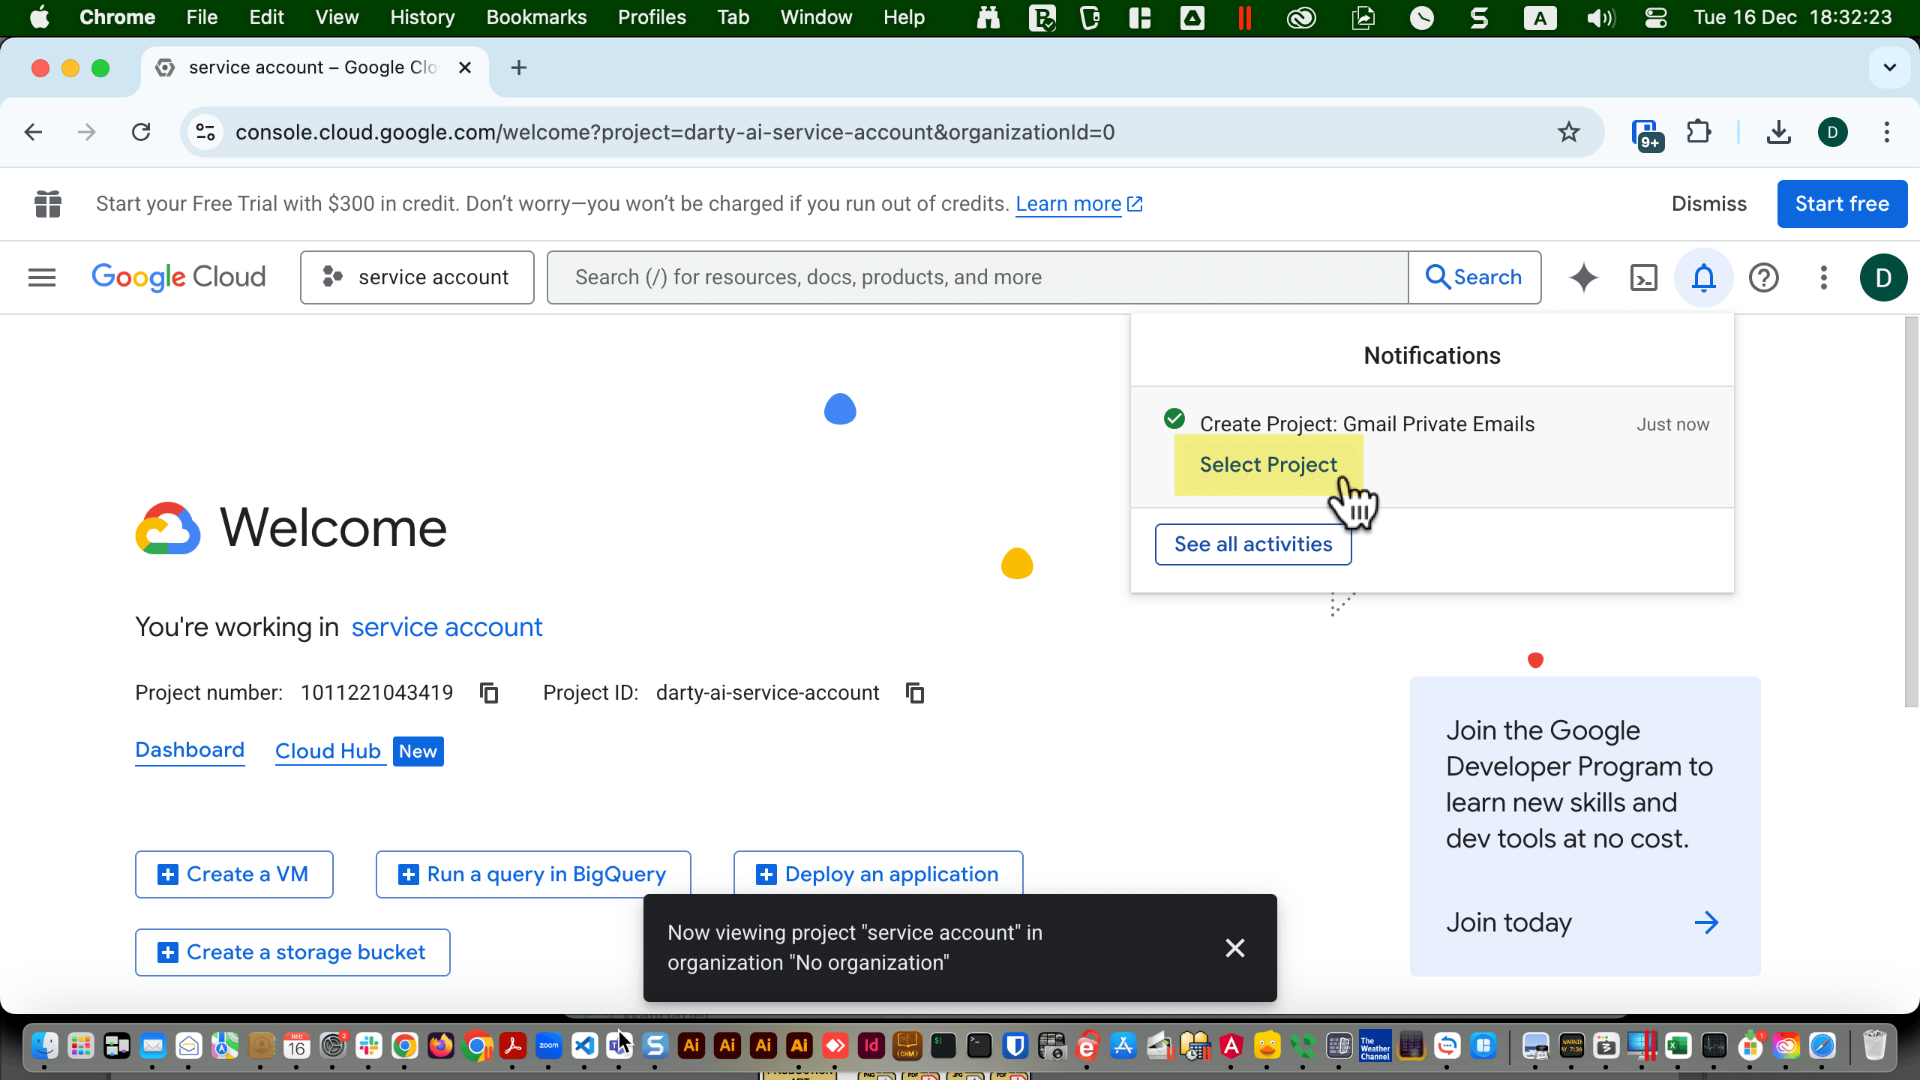
If you were originally on another project, select the new project you just created.
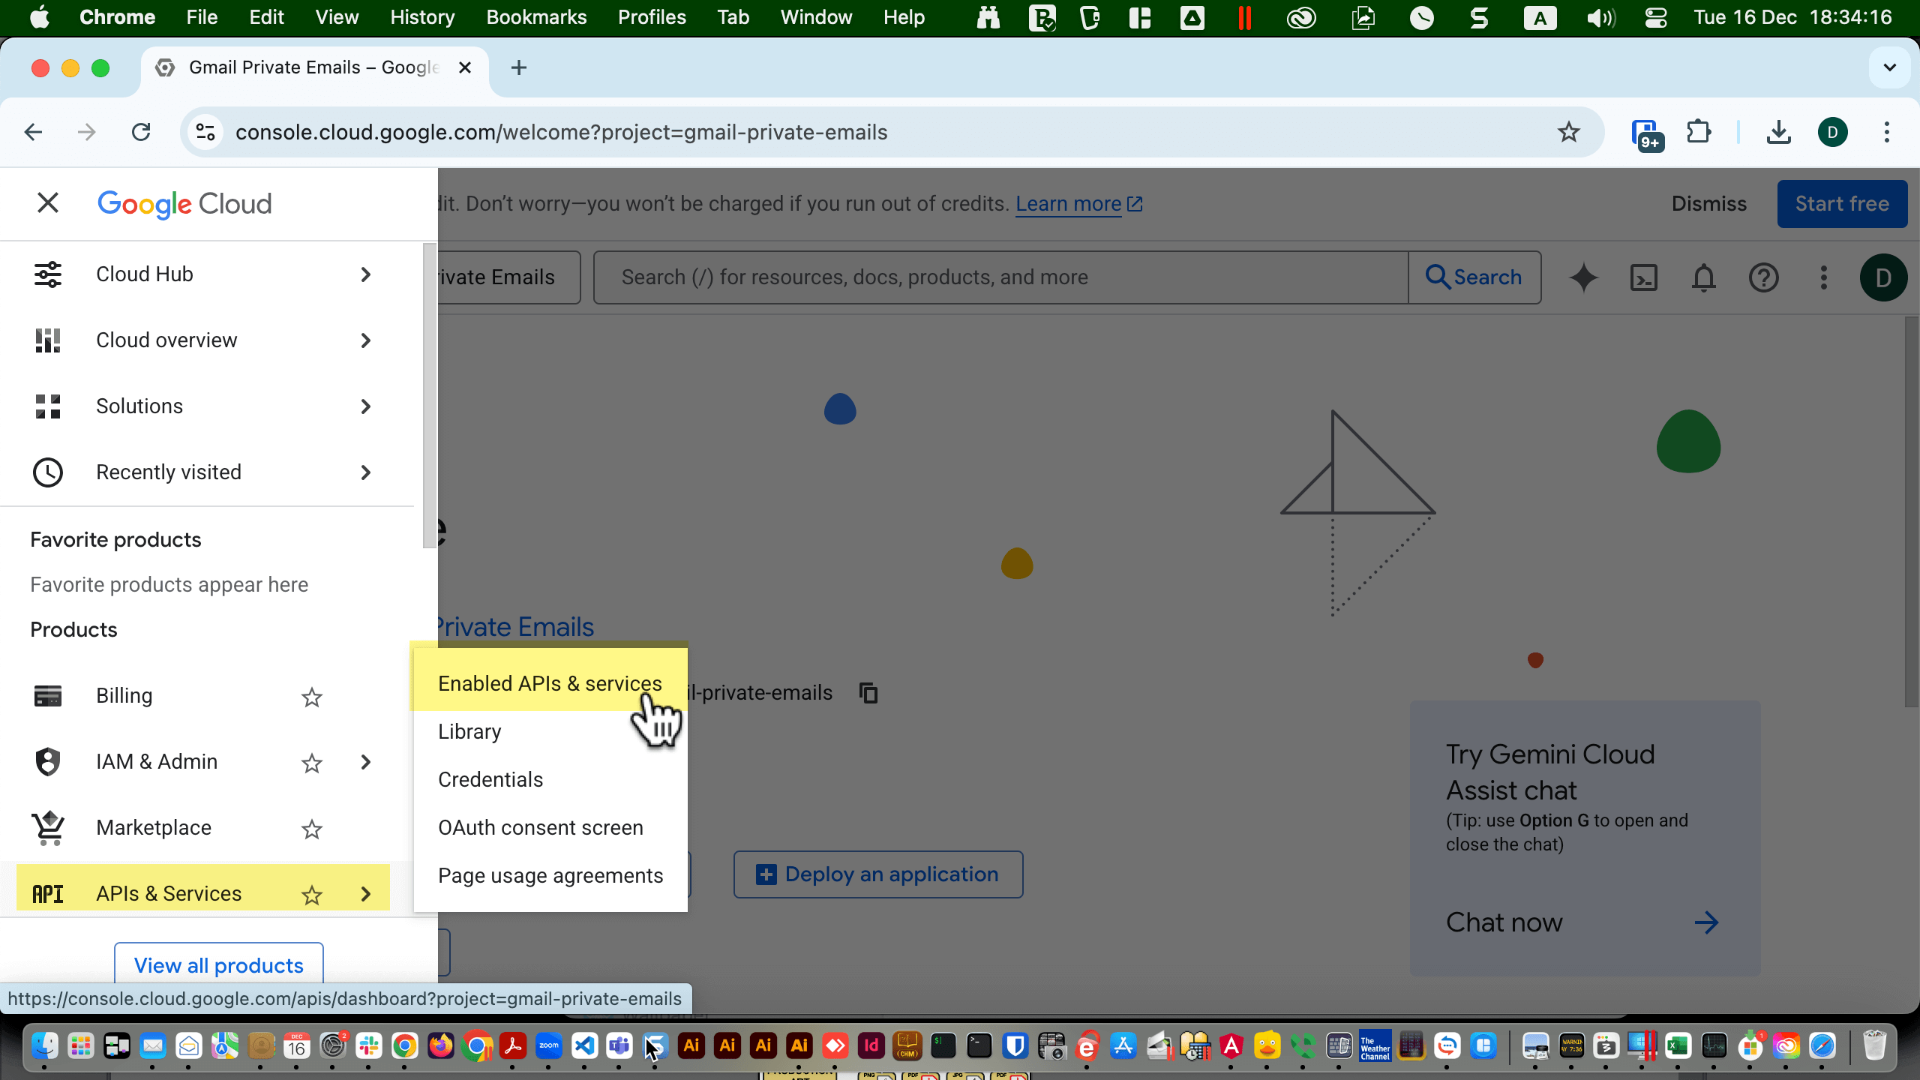
Click the Navigation Menu icon.
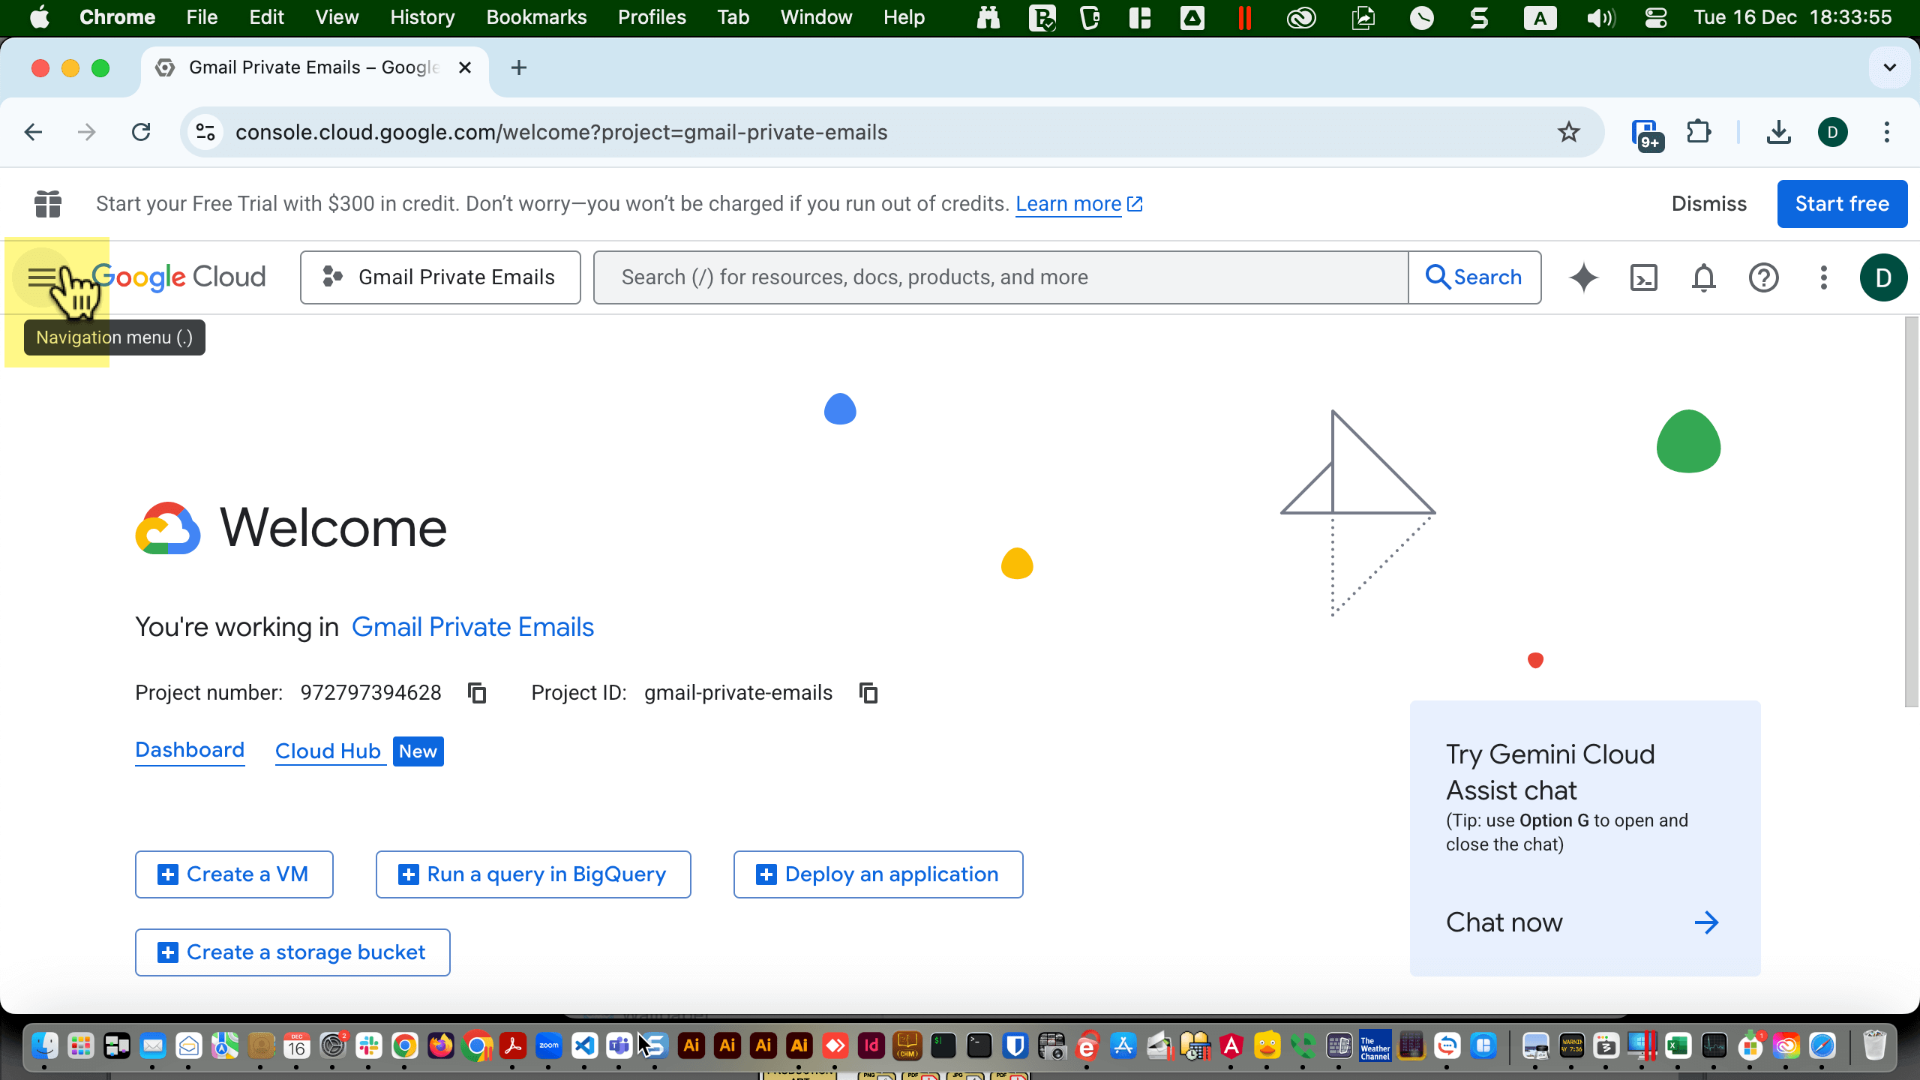
Then select "APIs and Services", followed by "Enabled APIs and Services".
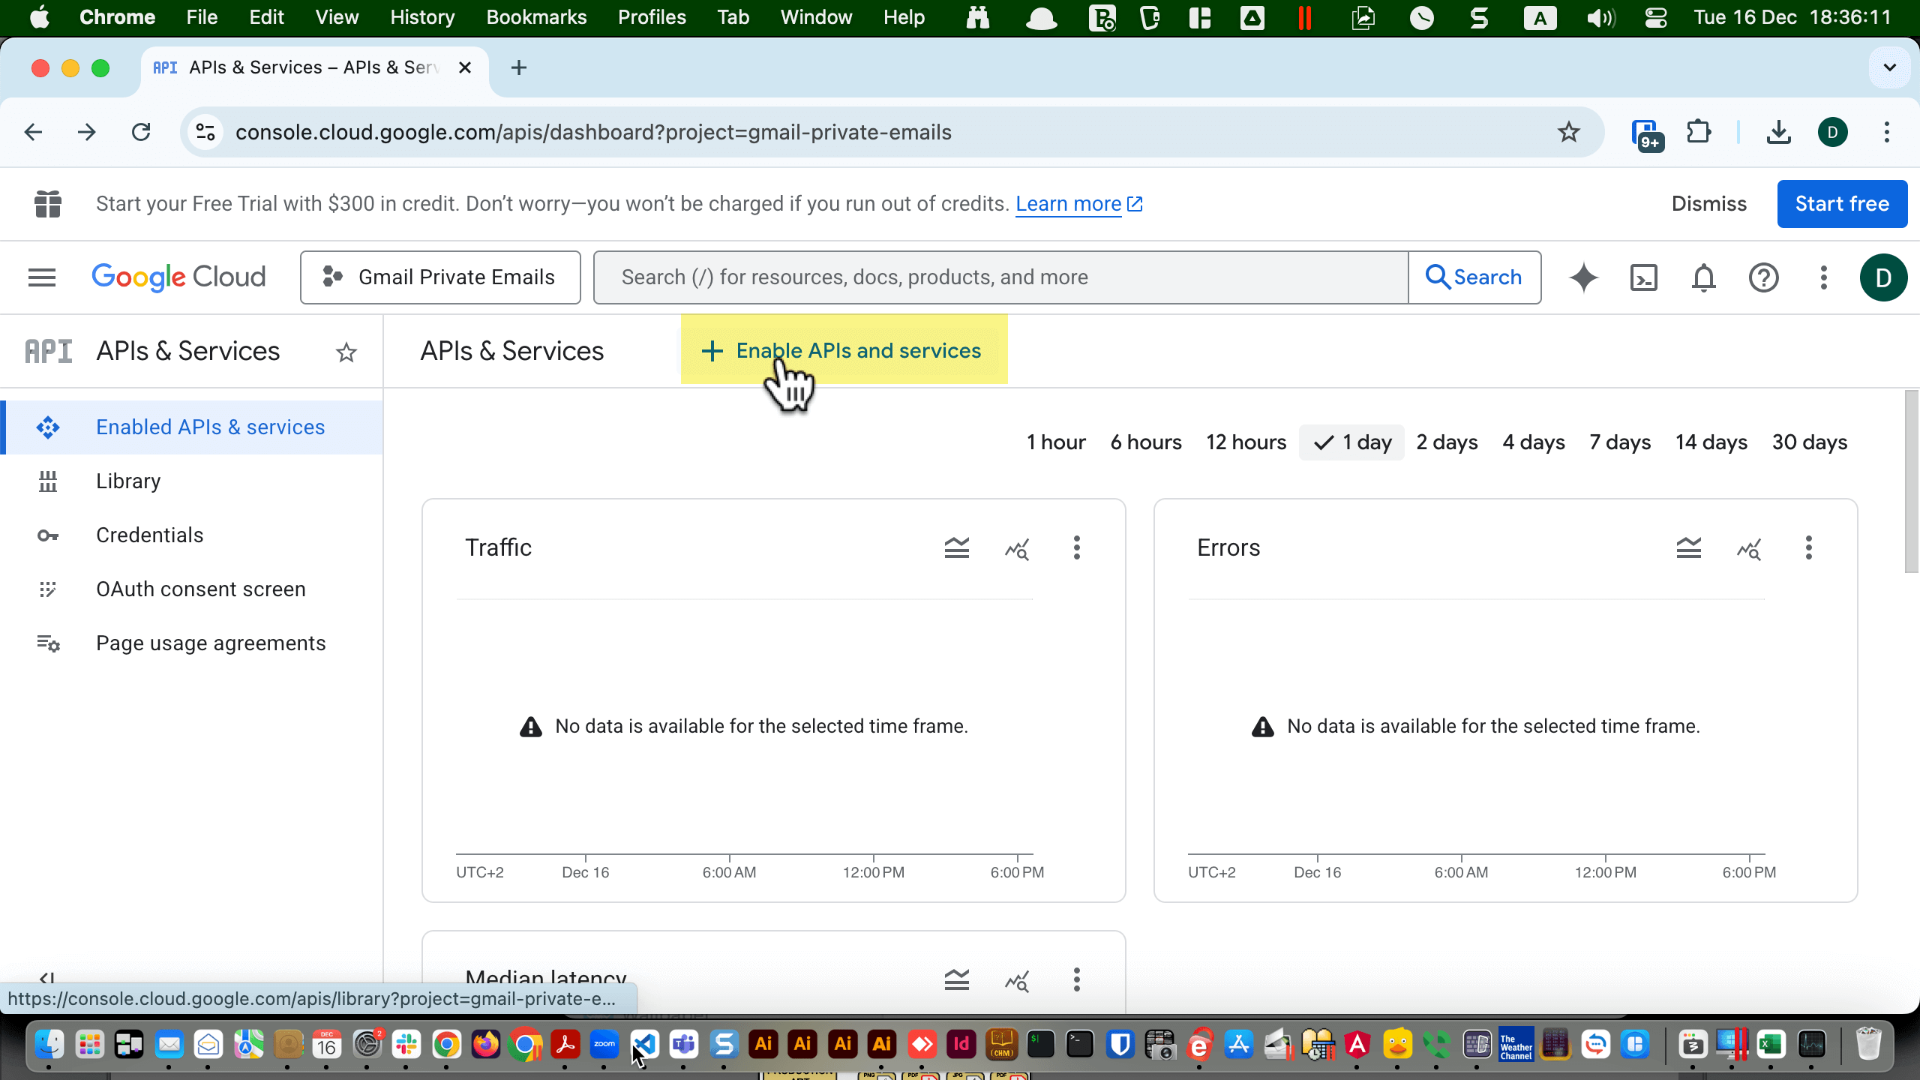
Click on "+ Enabled APIs and Services".
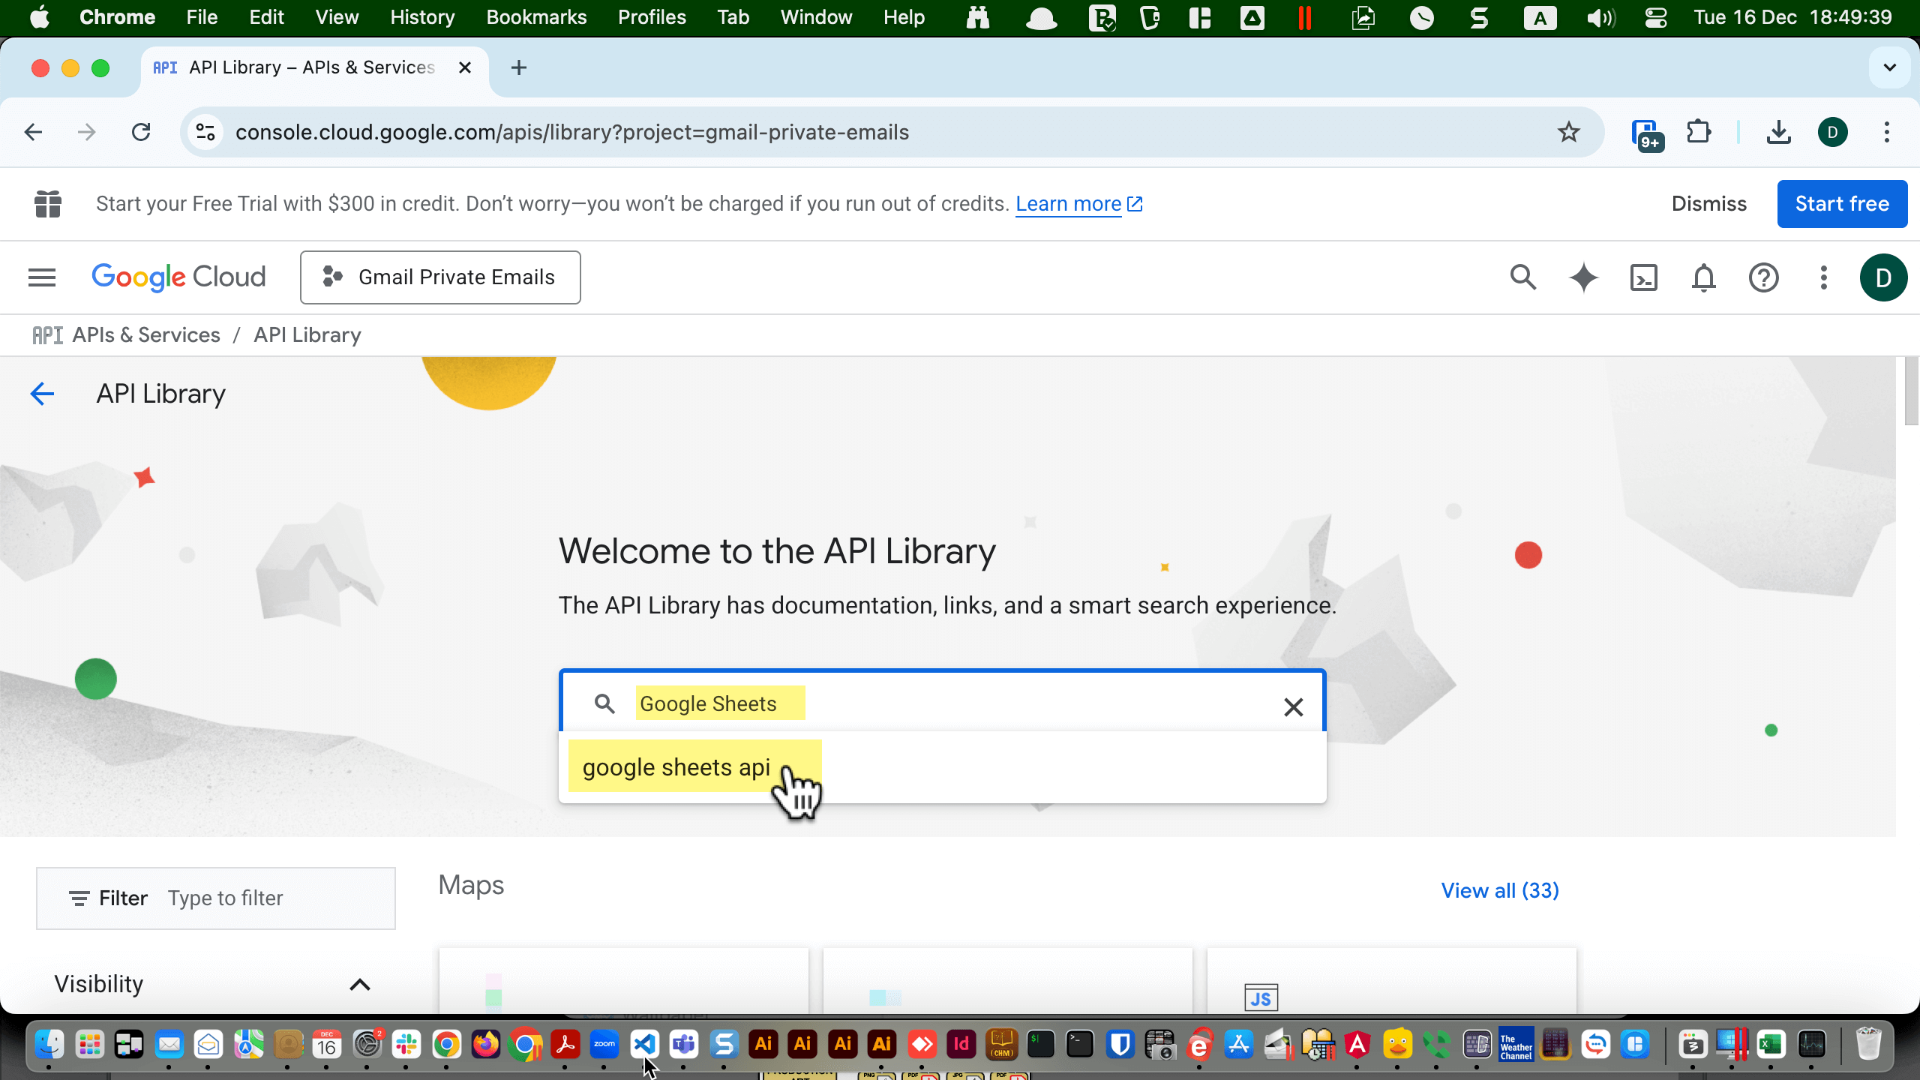
Type in "Google Sheets".
Select Google Sheets API.
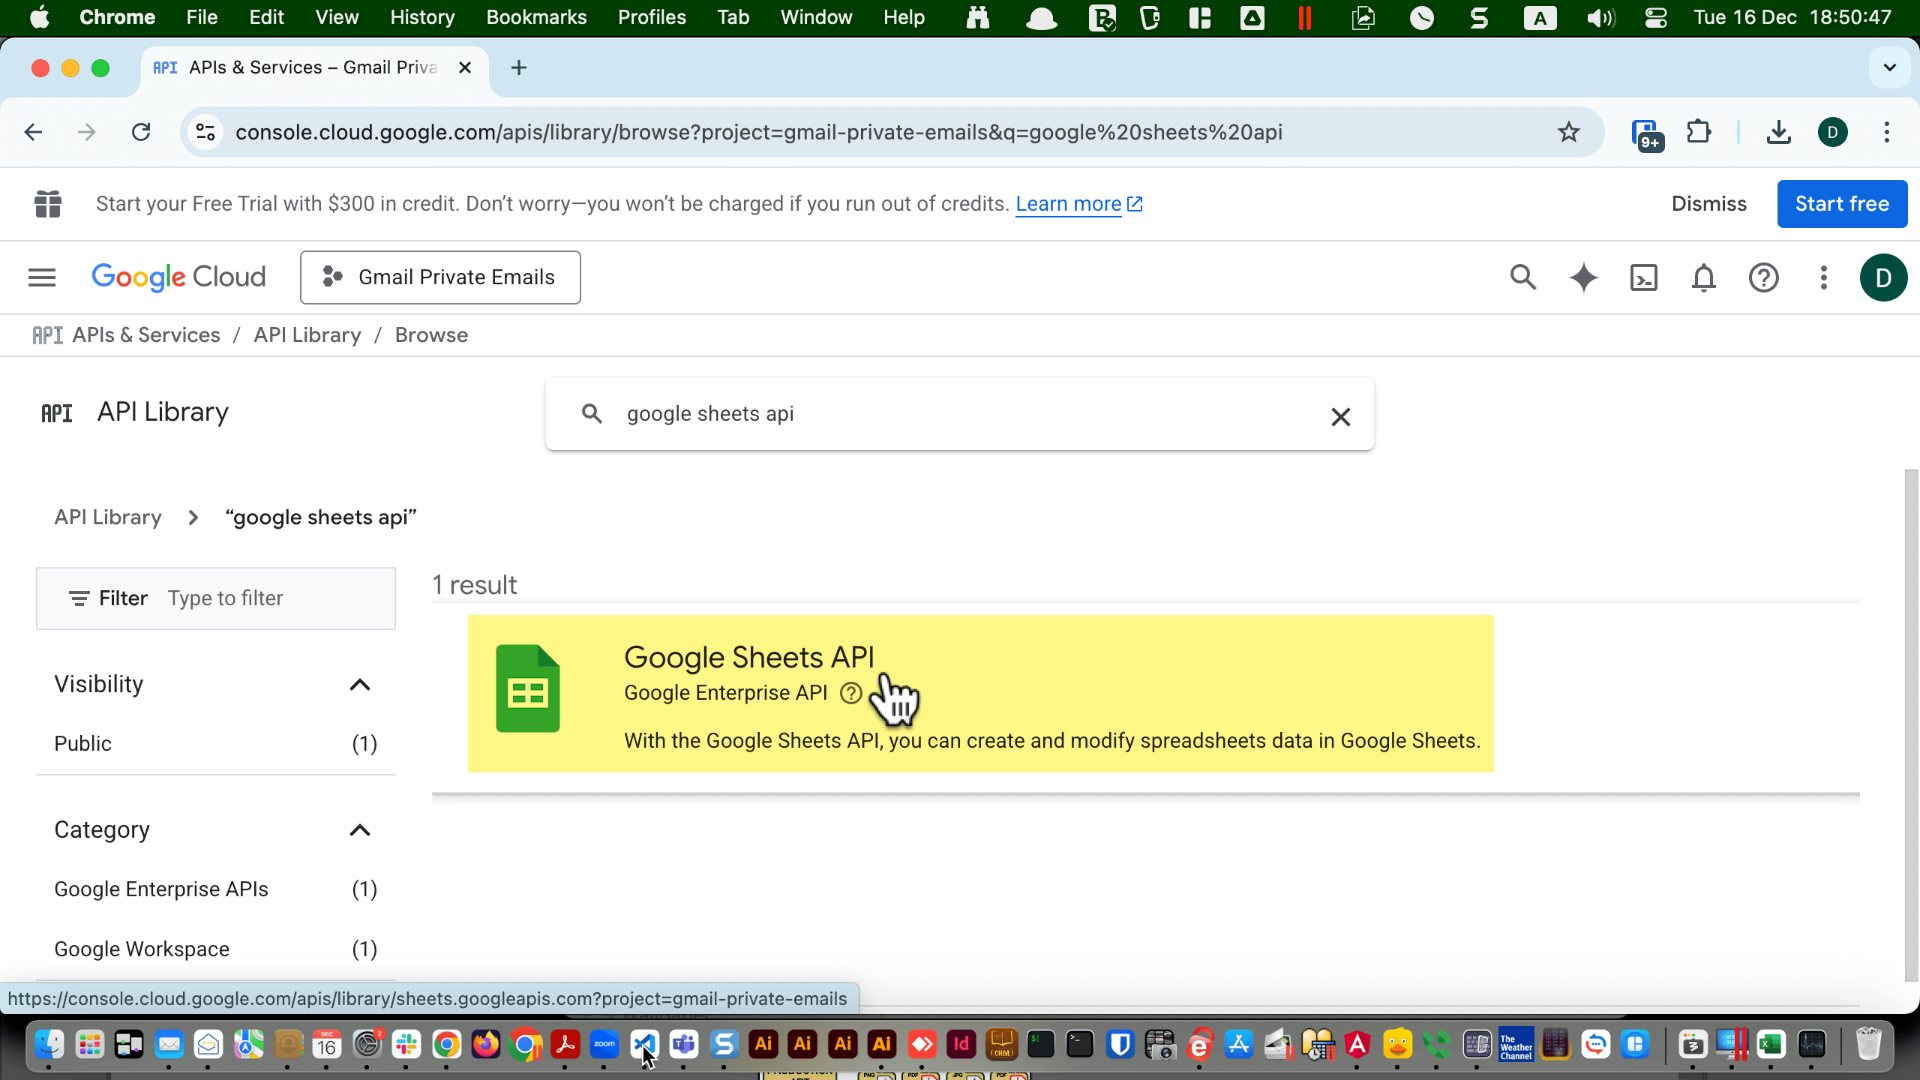
Click Google Sheets API.
Click "Enable".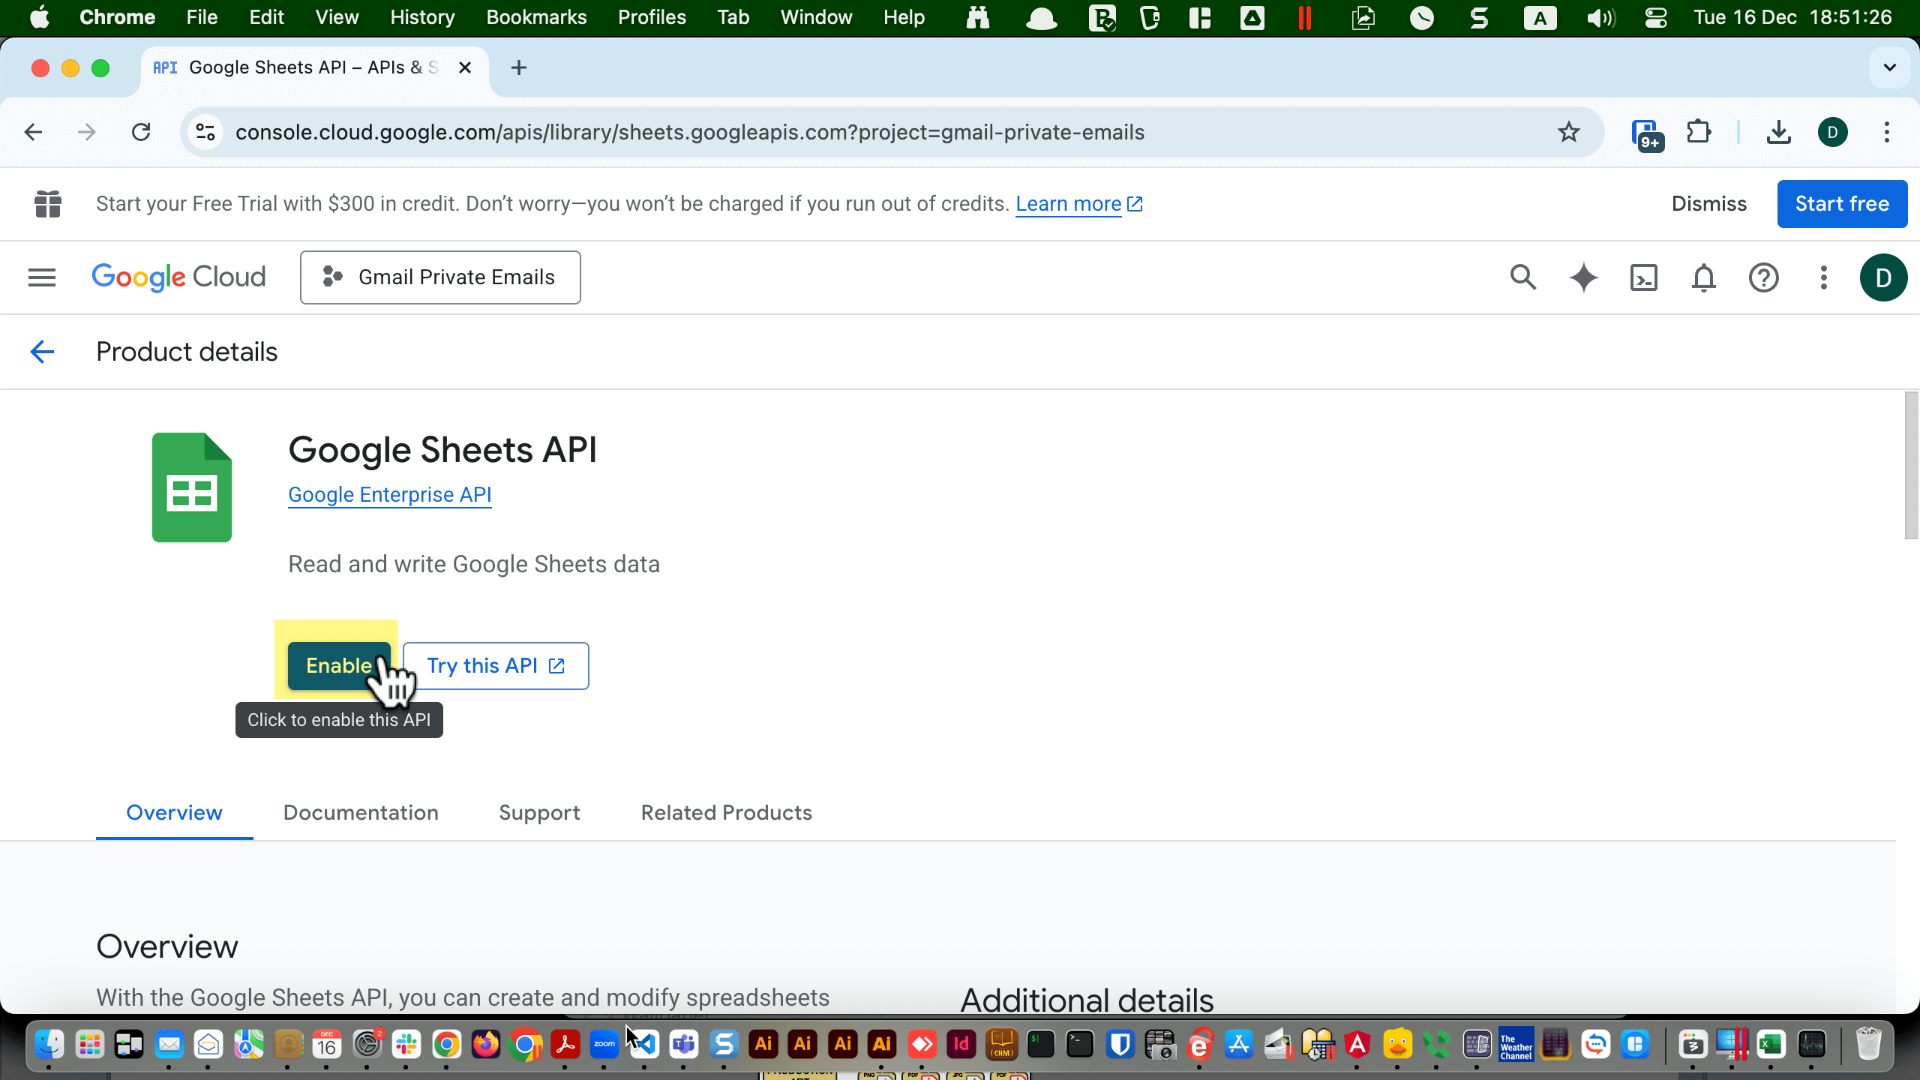
Click "Enable".
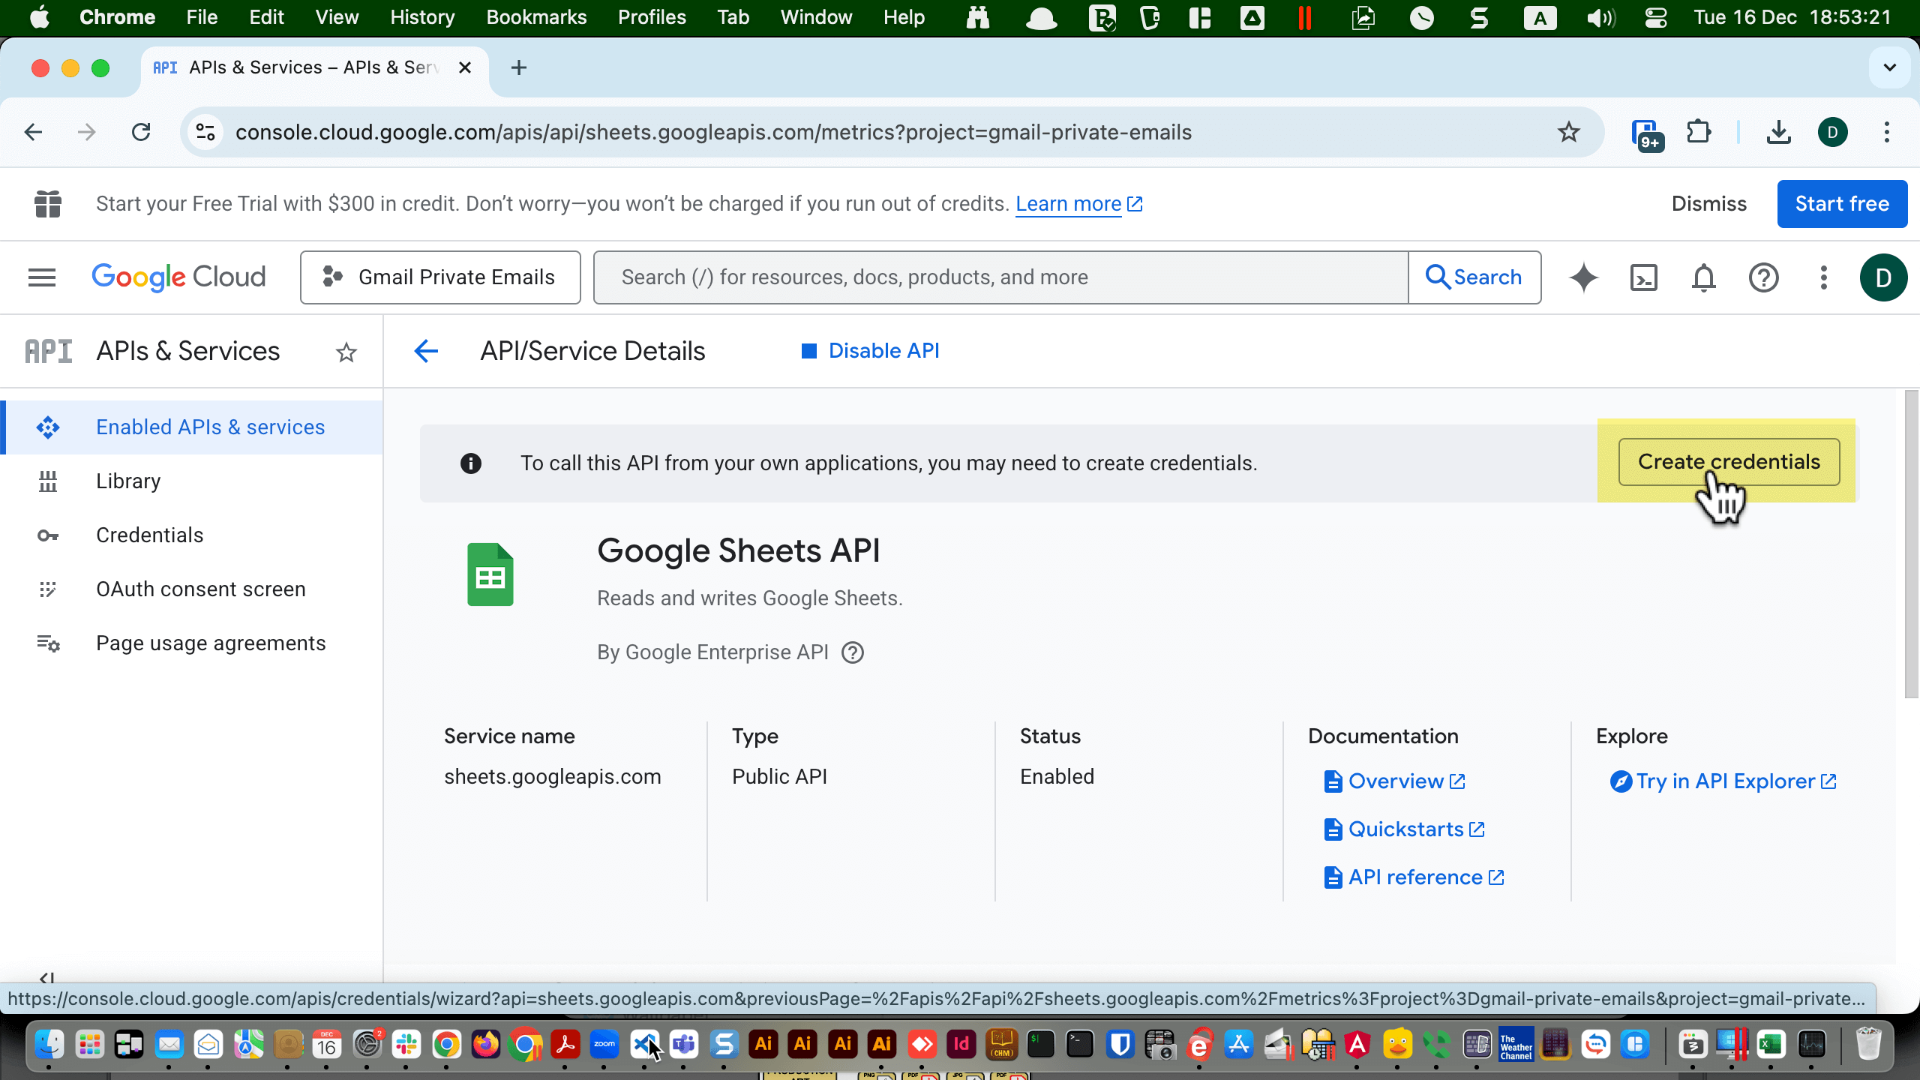
Click "Create Credentials".
Select "Google Sheets API".
Select "User Data".
Click "Next".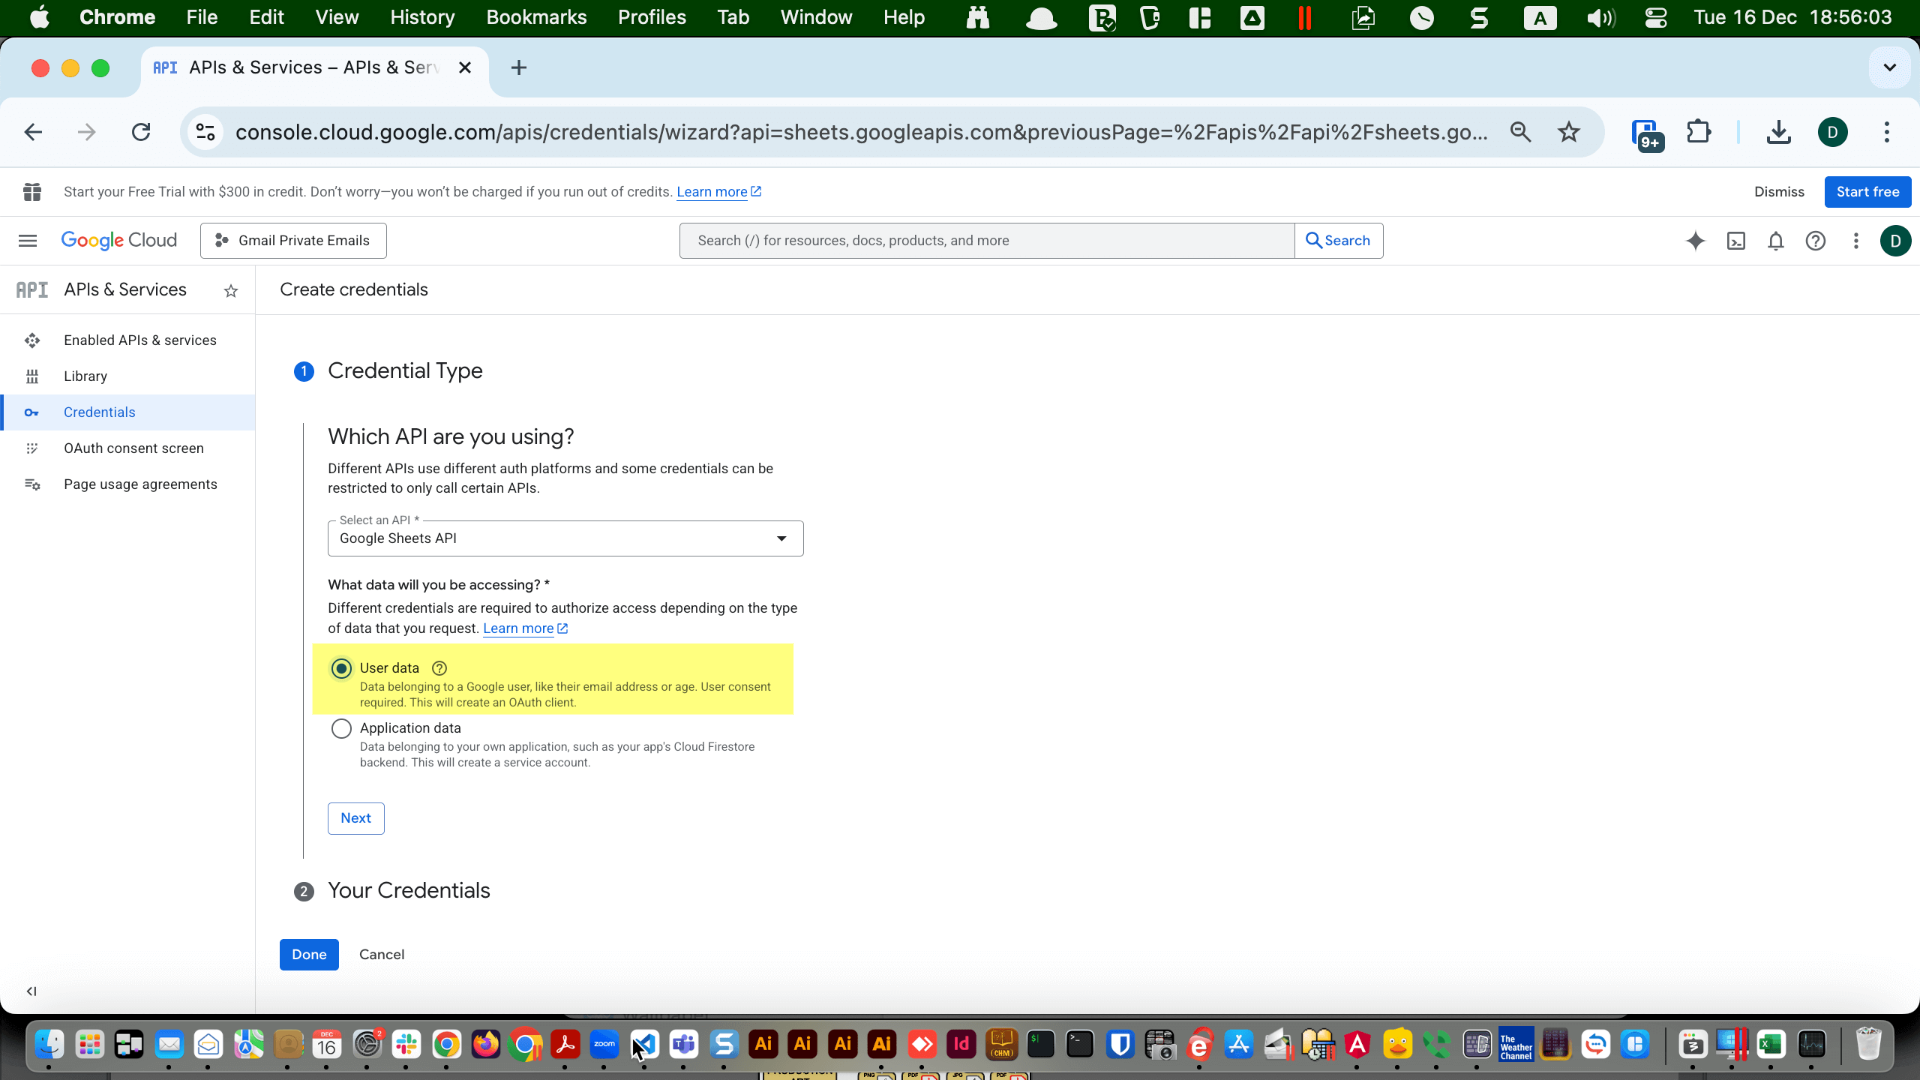
Select "User Data".
Click "Next".
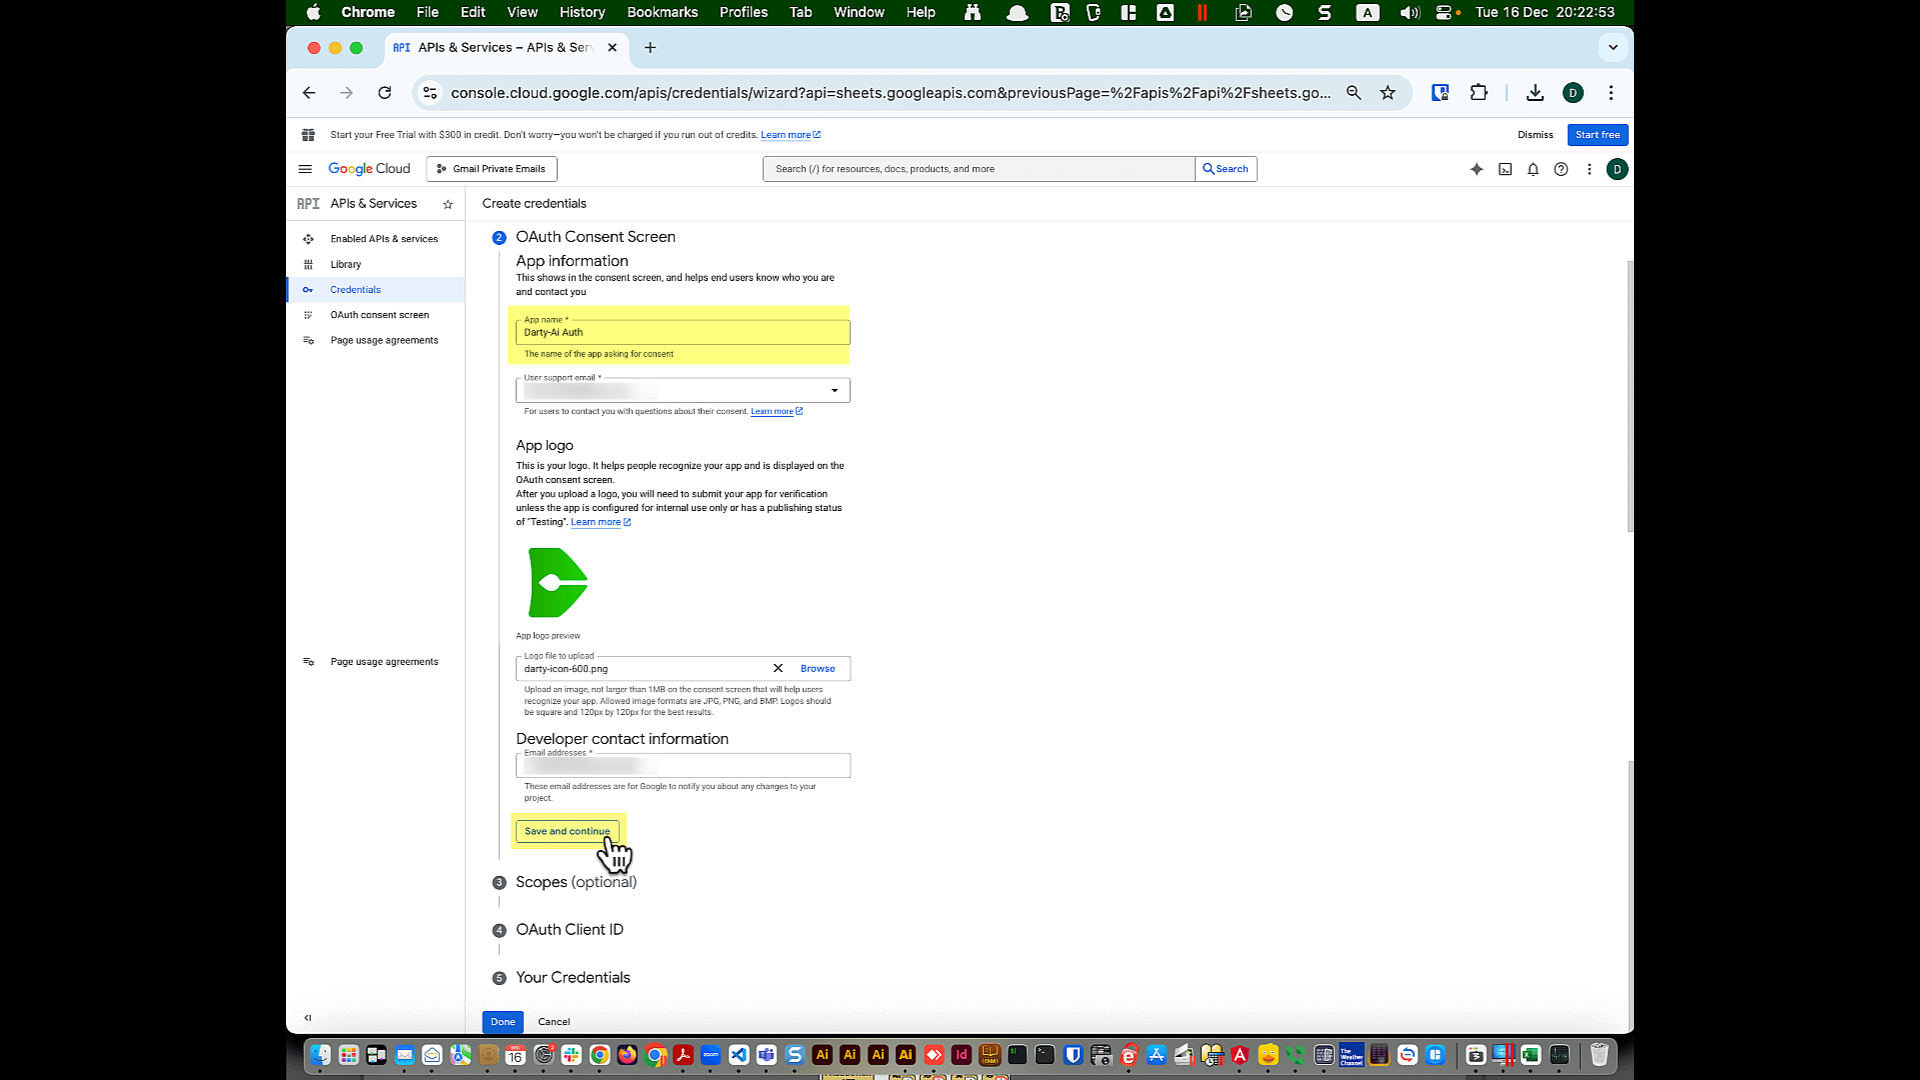
Type in a name for the app. You can use the same name you chose for the project, such as "Private Emails For Darty". This name will be shown on the OAuth screen.
Type in a support email address. This can be any email address you want. Since you will not be "Publishing" the app and will keep it in limited "Test" mode, this choice is not critical.
If required, add a logo. Any image will do, as it is unlikely to appear anywhere while the app is in test mode.
Type in your email address for the developer contact information. This will be accessible from the authorization page.
Click "Save and Continue".
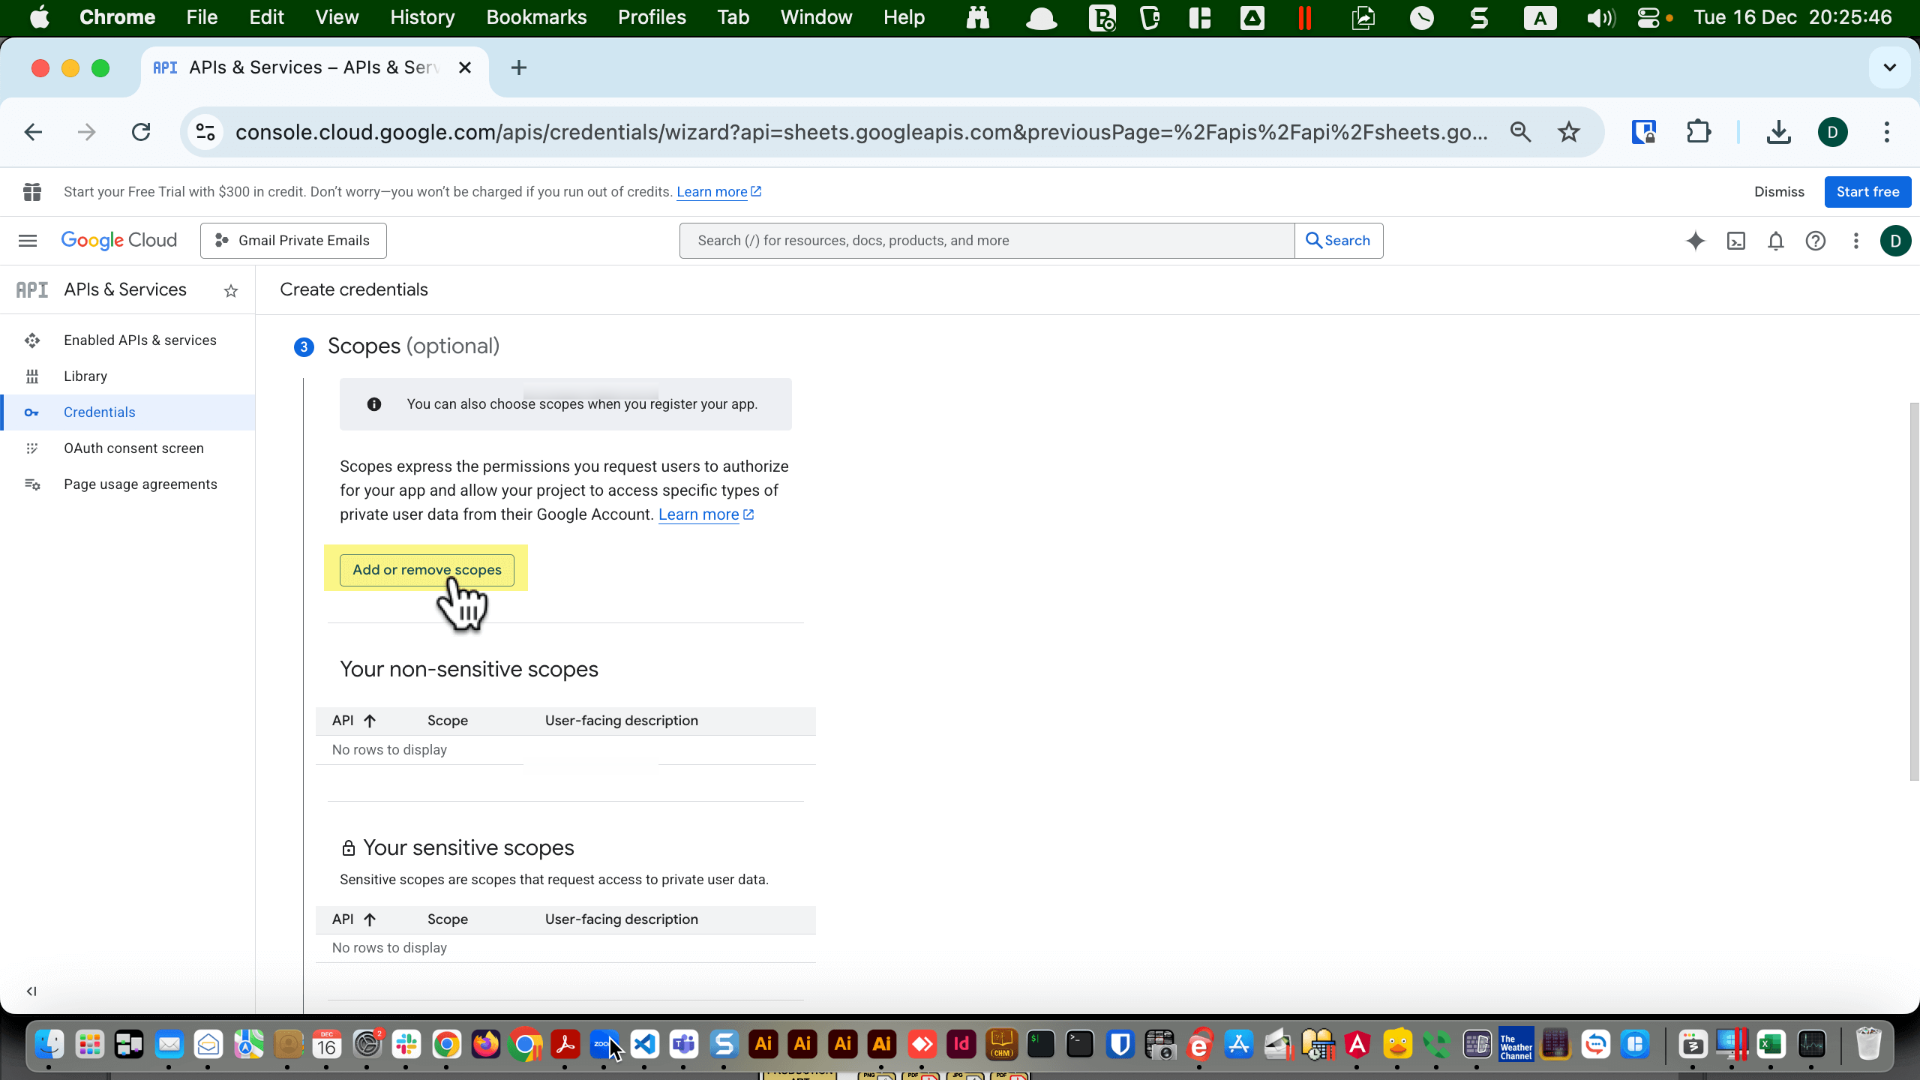
Click "Add or remove scopes".
Scroll down until you see "Google Sheets API" and "...auth/drive.readonly".
Click the checkbox next to that option and then click "Update".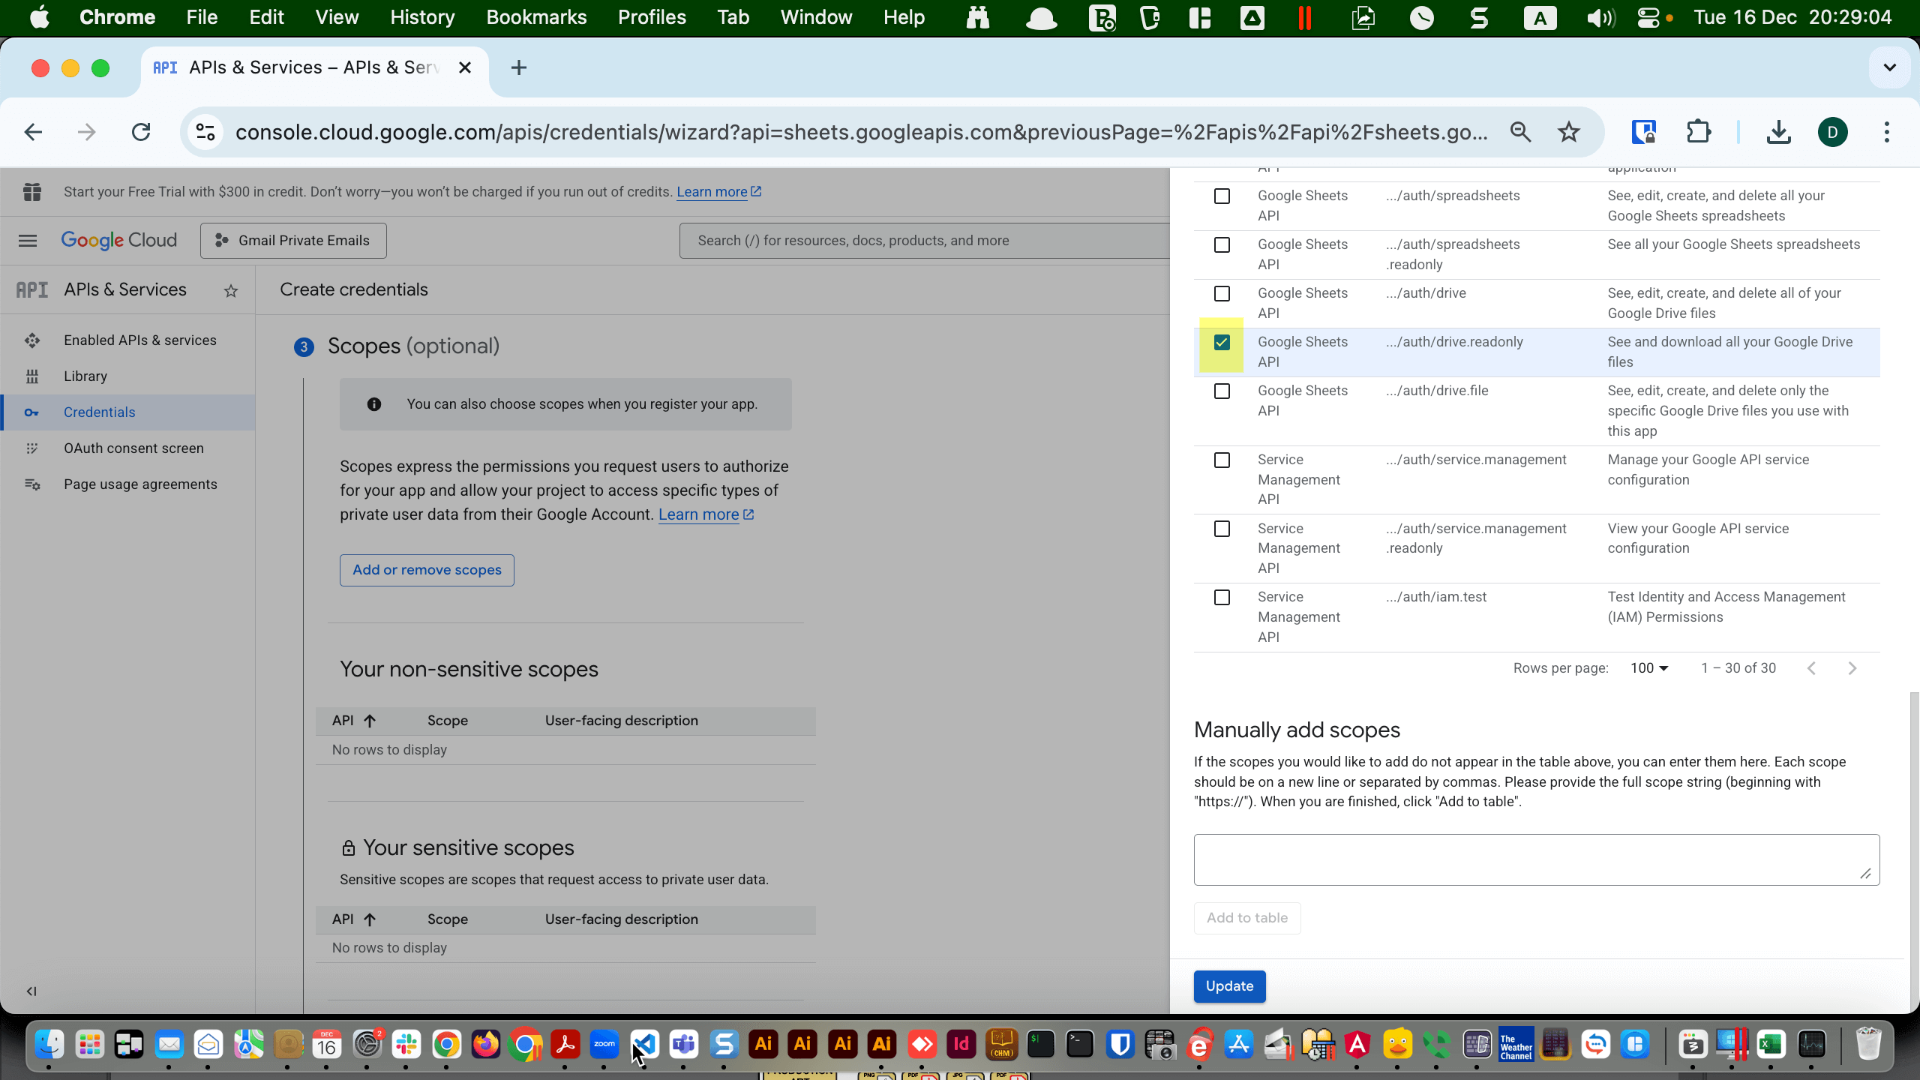
Click the checkbox next to that option and then click "Update".
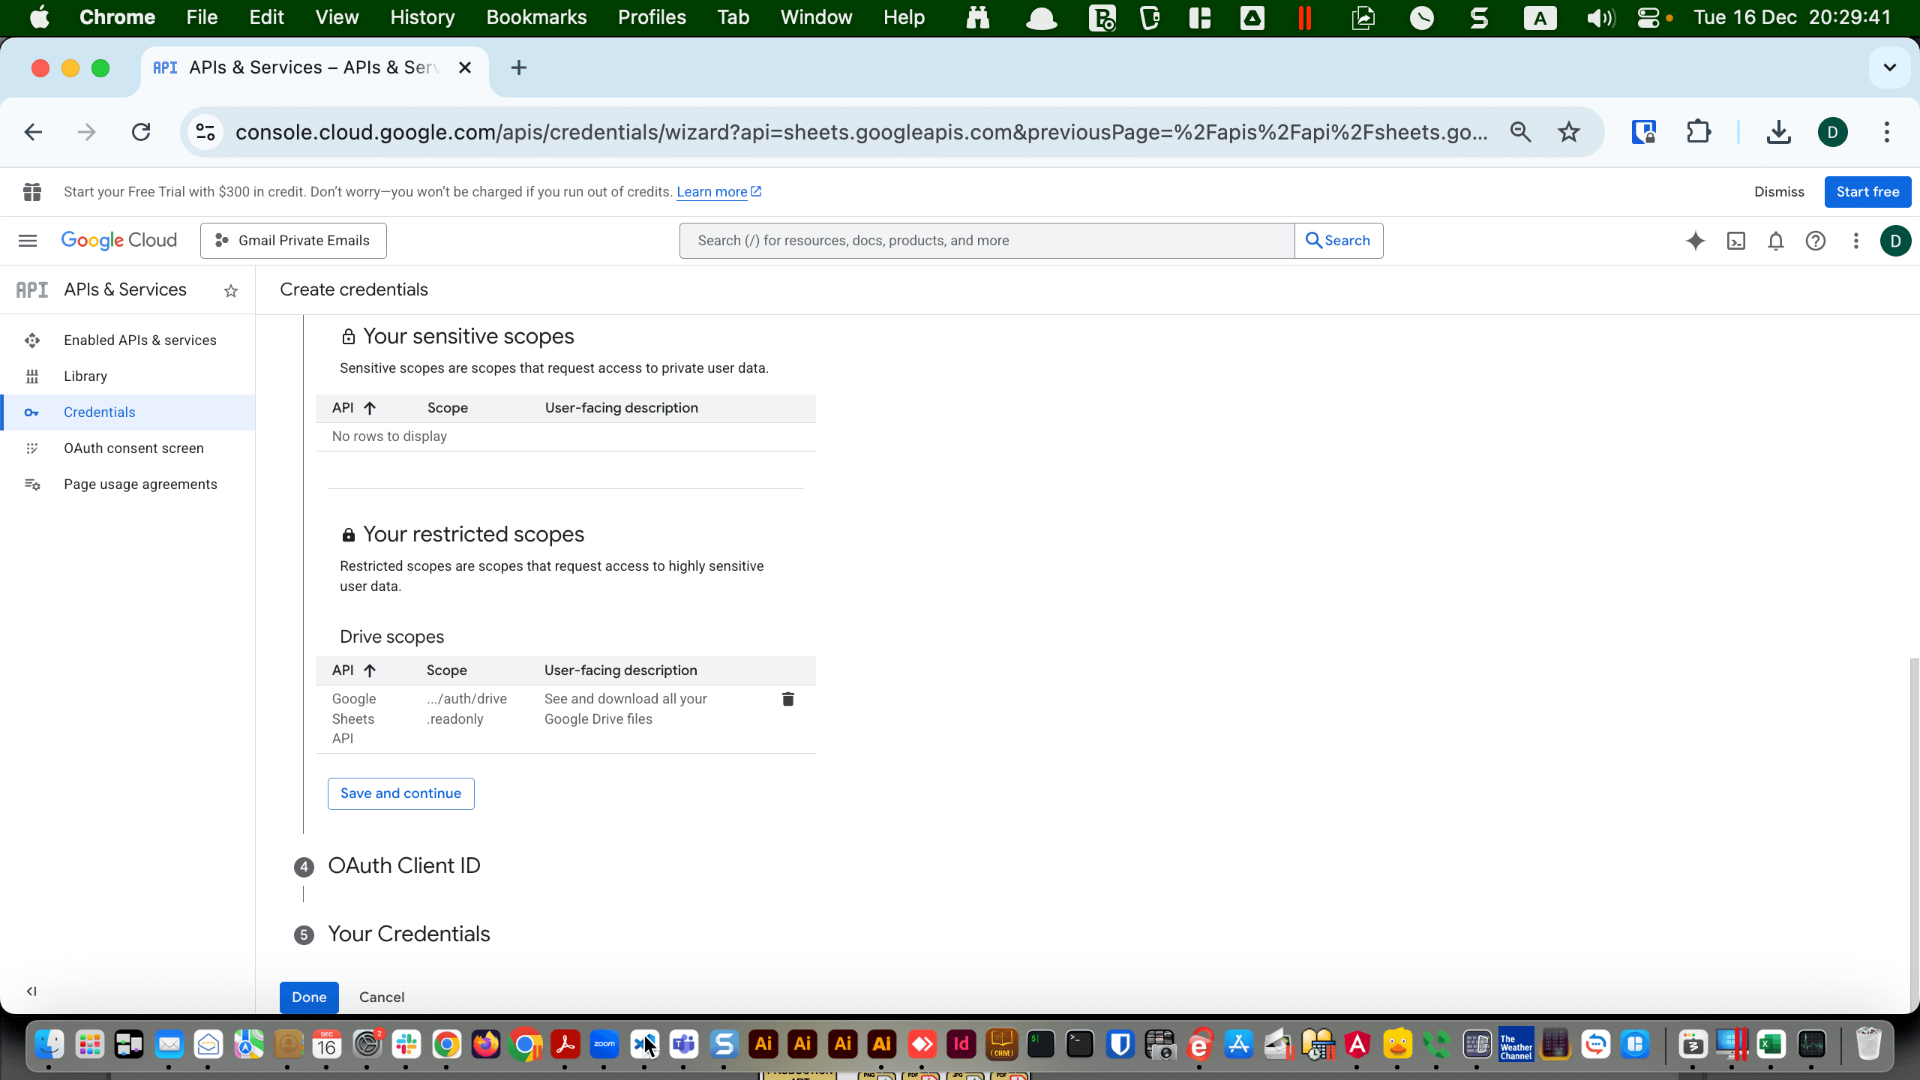
Click "Save and continue".
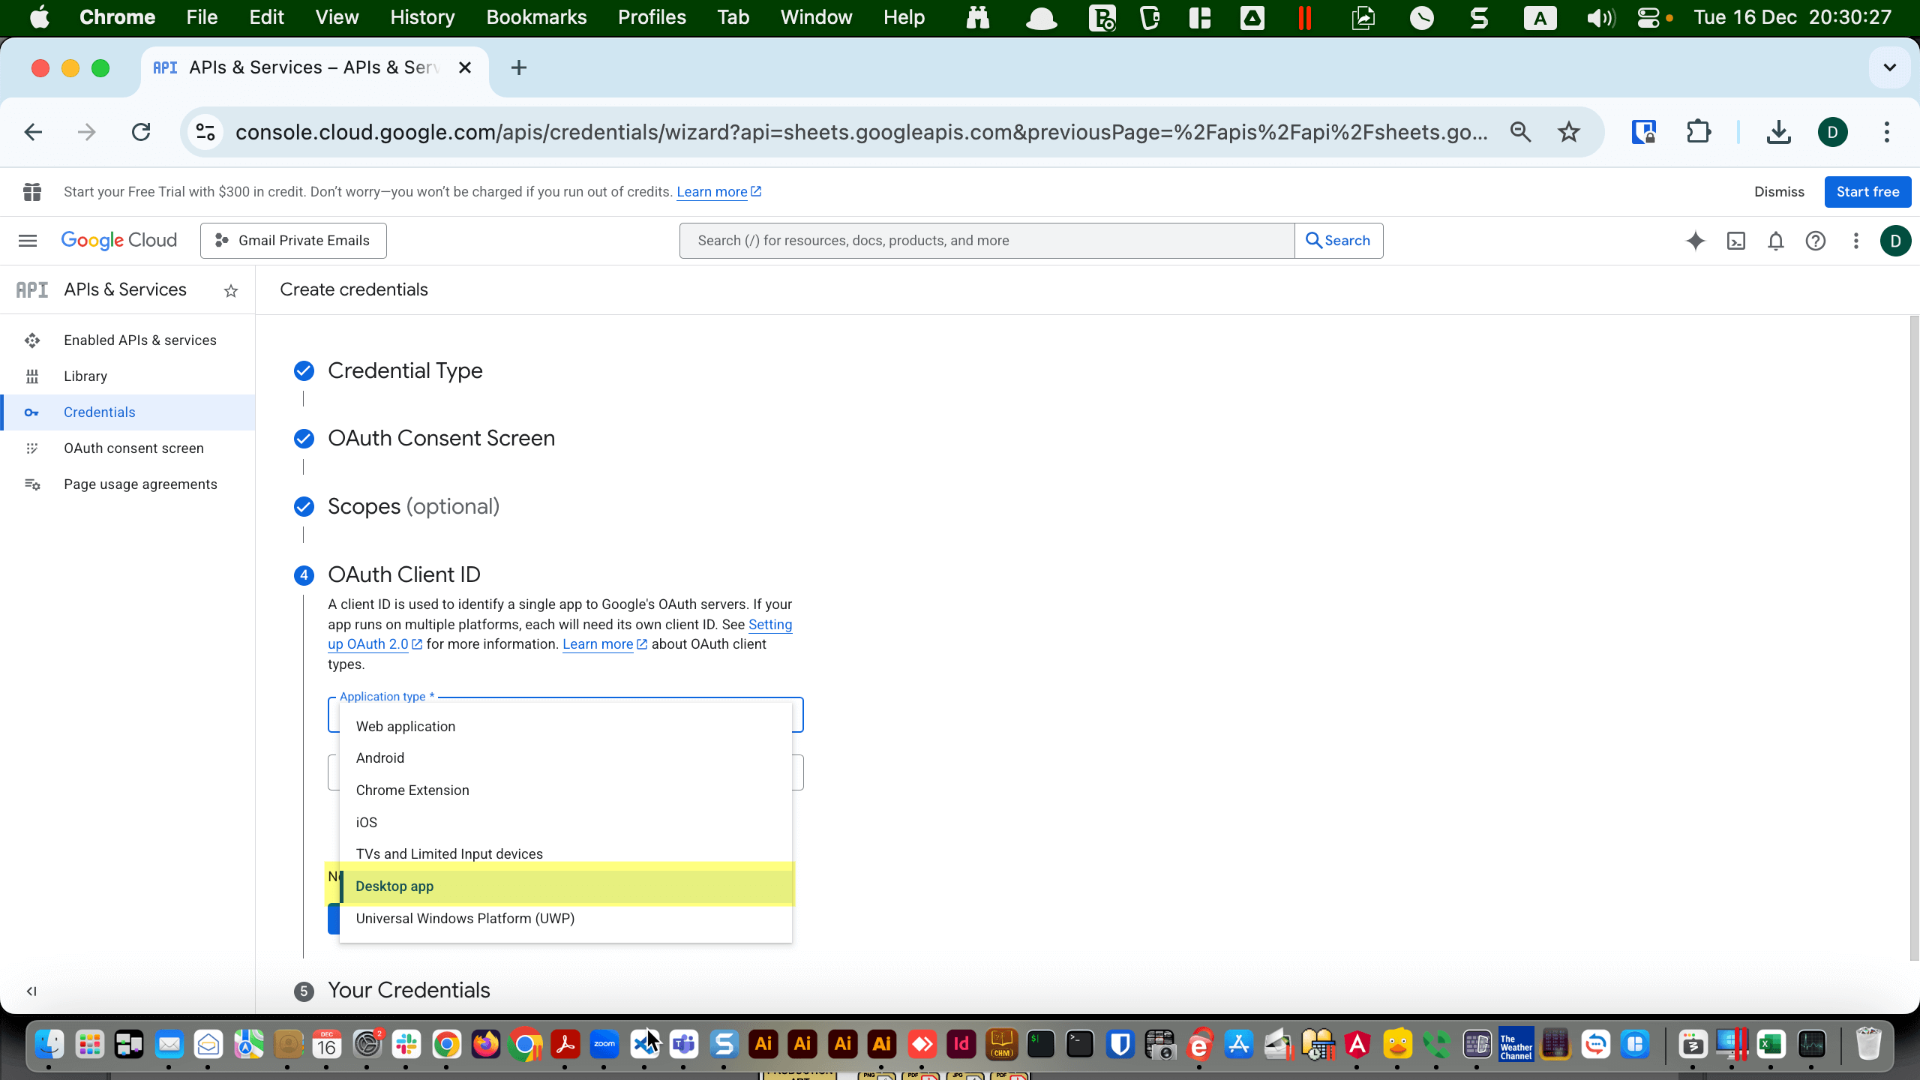
Select "Desktop App" for the application type.
Choose a name that will be displayed on the authorization page. Using the project name, such as "Private Emails For Darty", is a good choice.
Click "Create".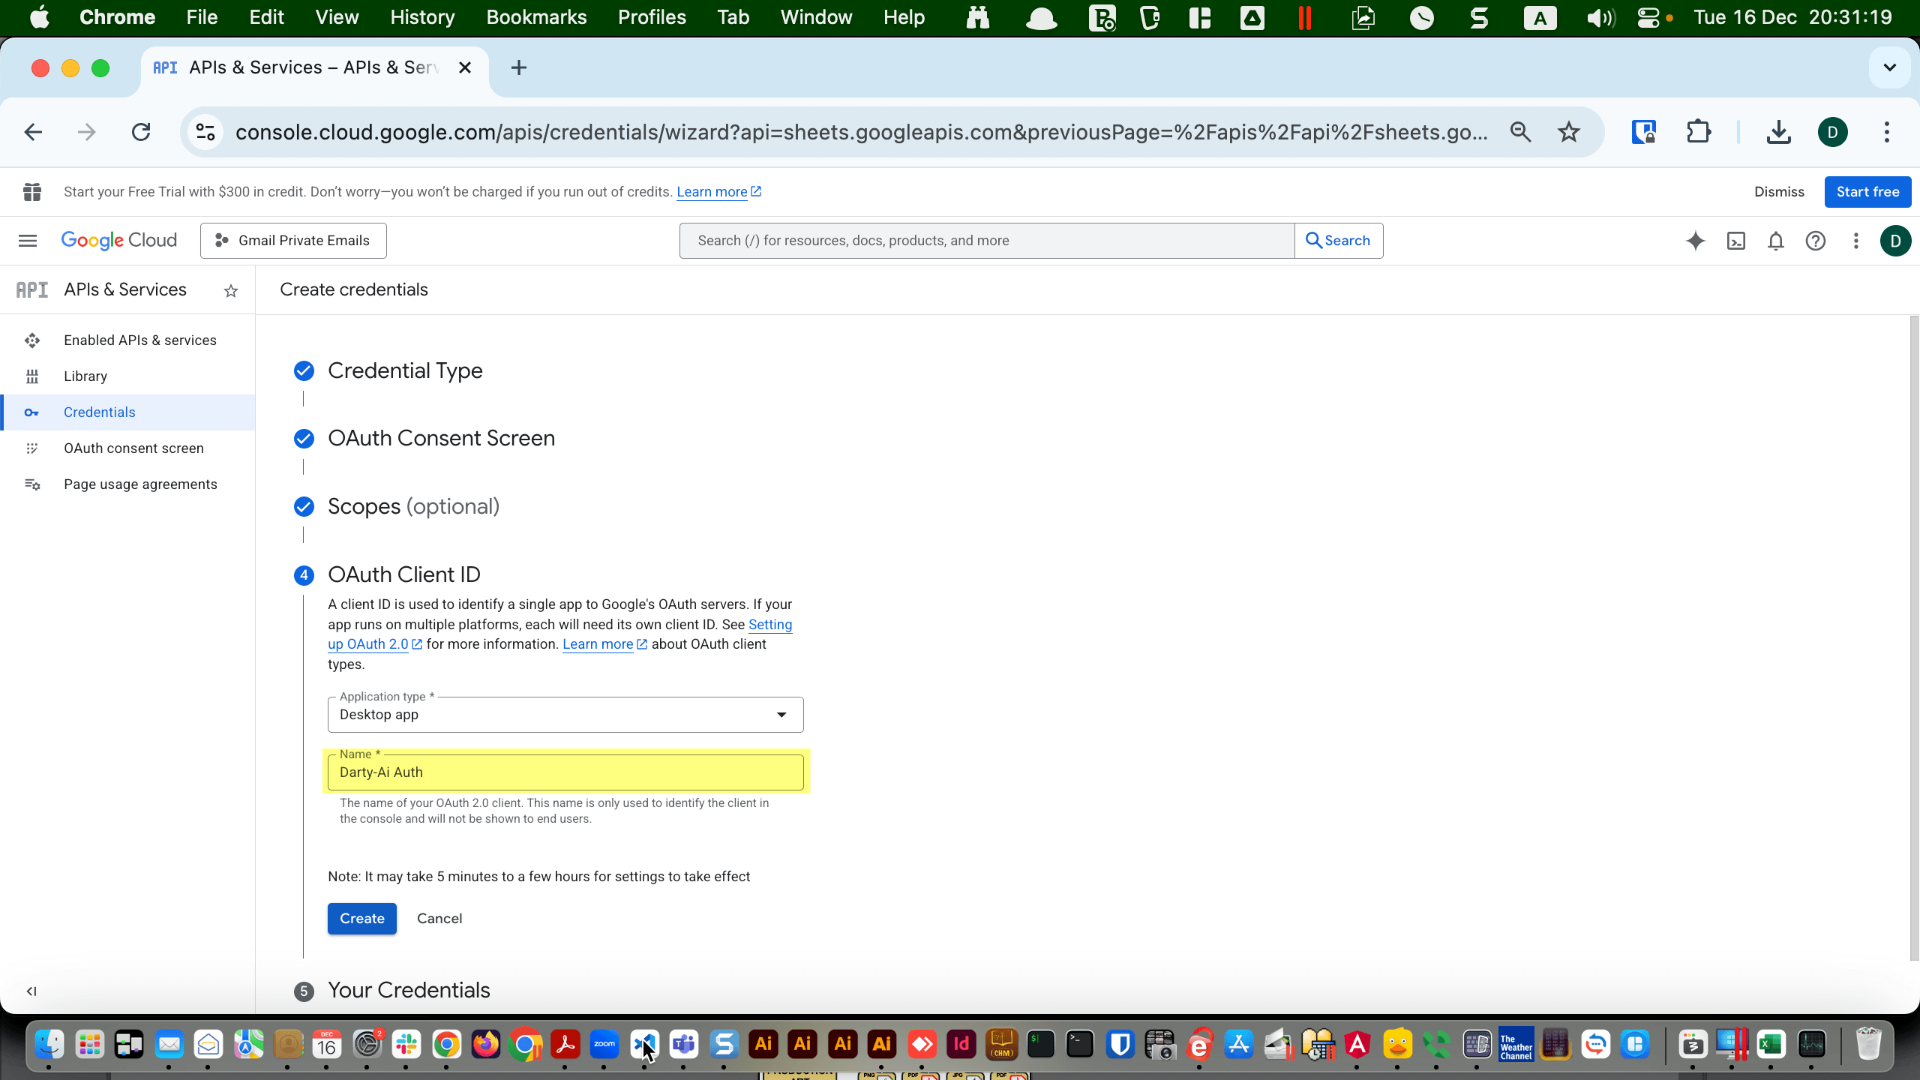
Click "Create".
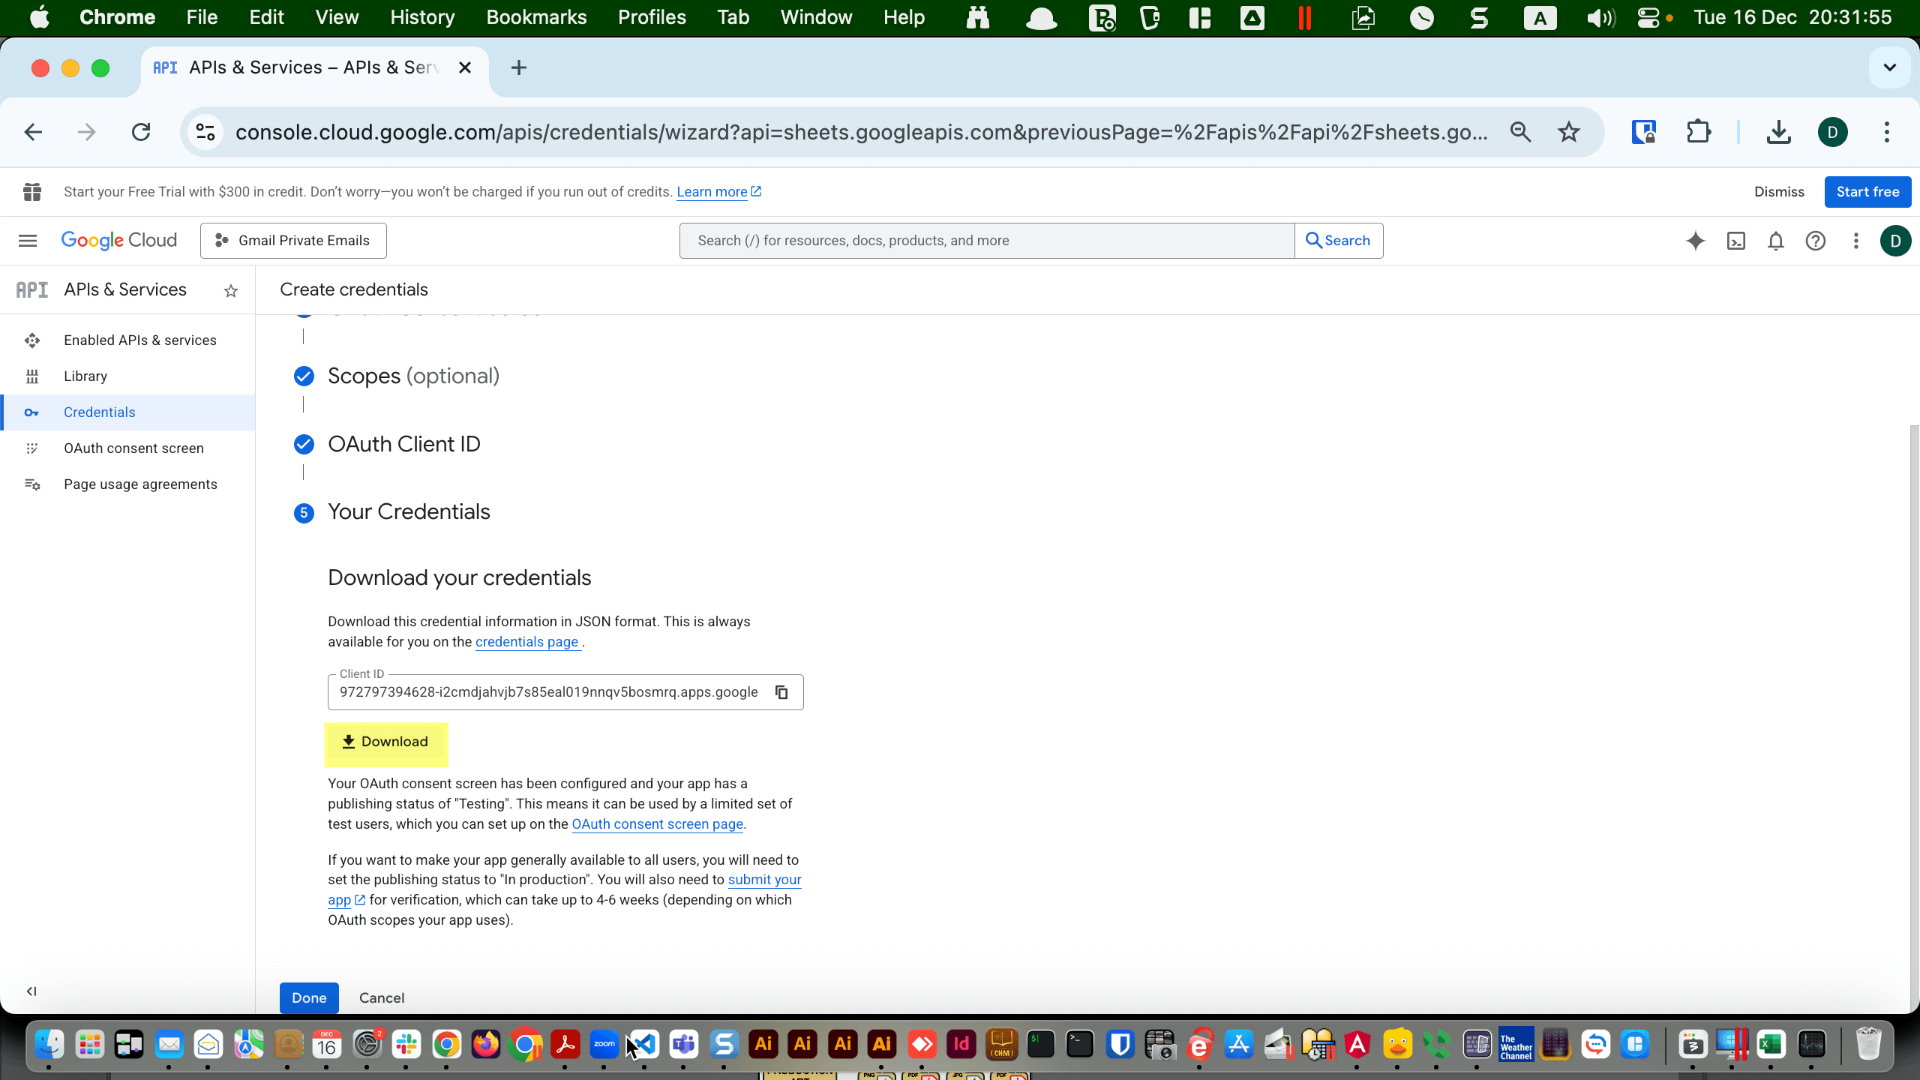
Click "Download", and then click "Done".
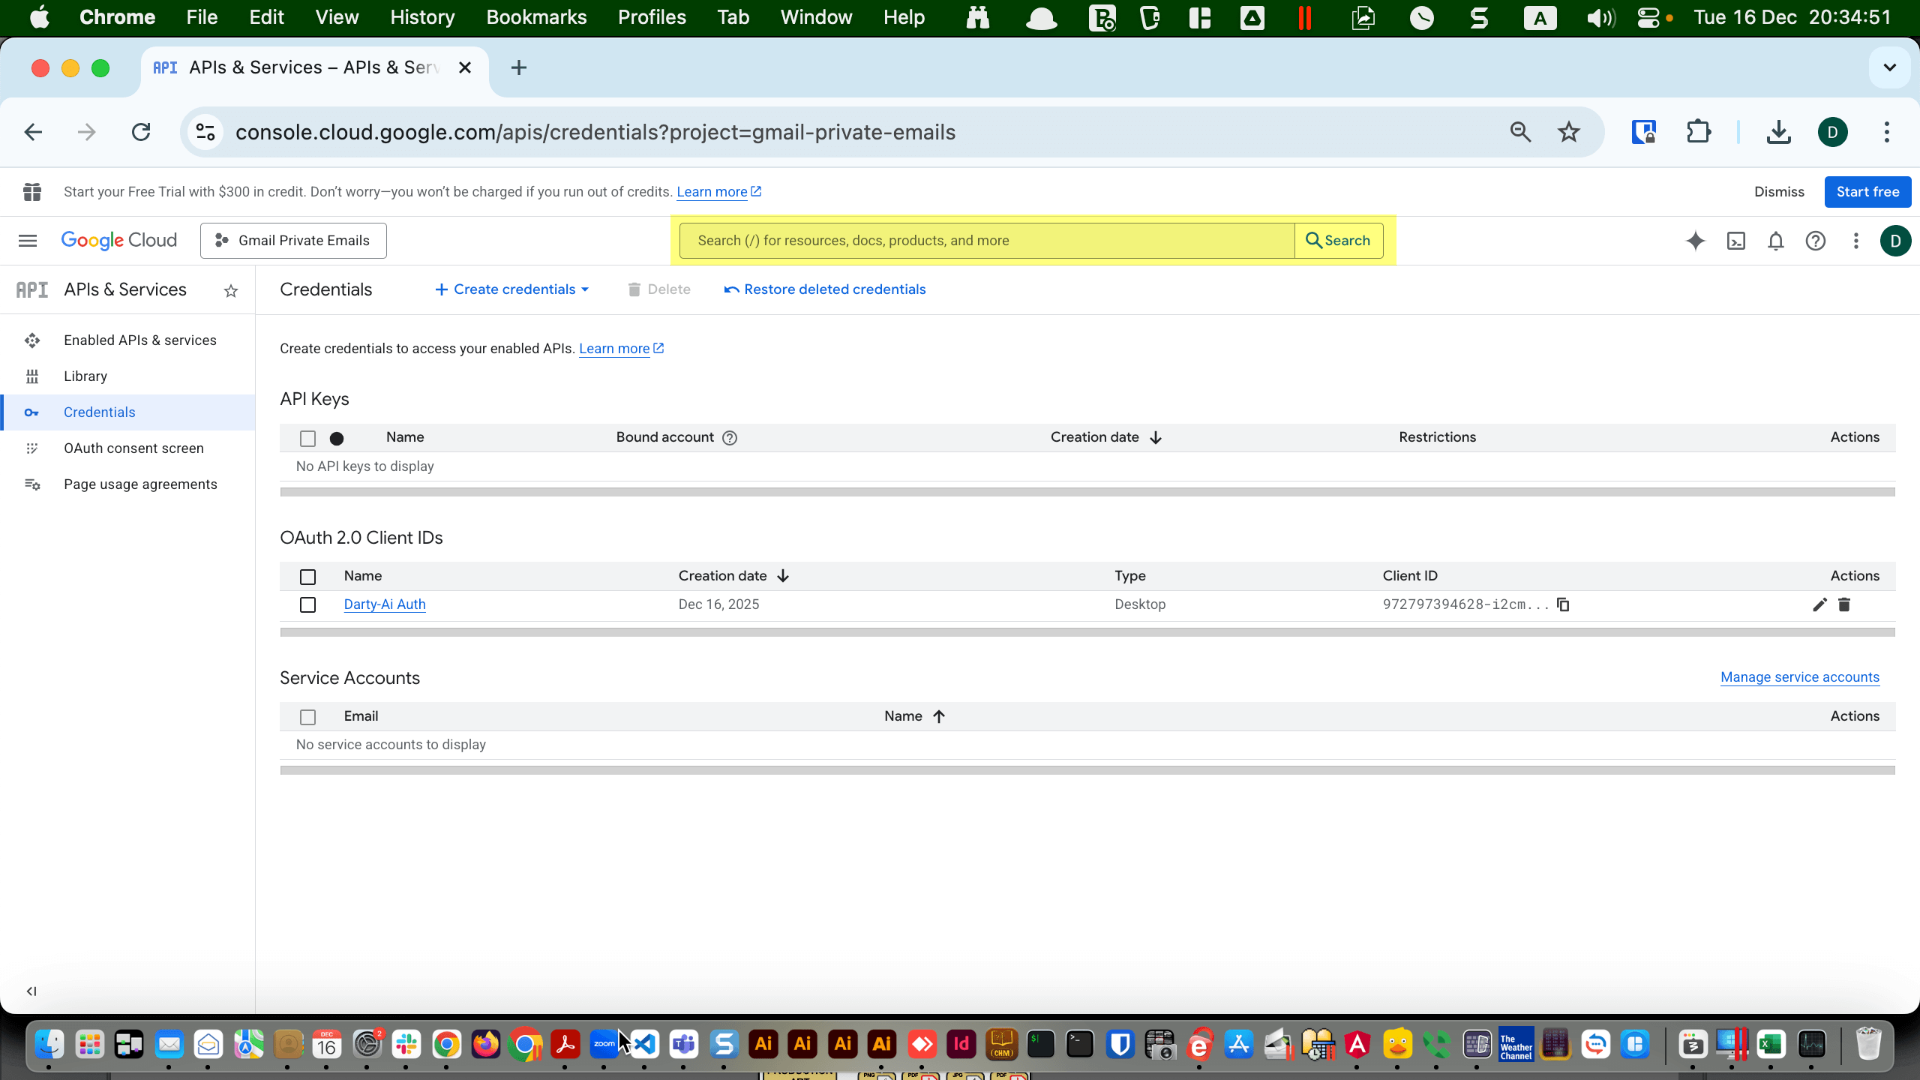
Click on "OAuth consent screen" if you see that option in the navigation menu, or type "OAuth consent screen" into the search bar if you don’t.
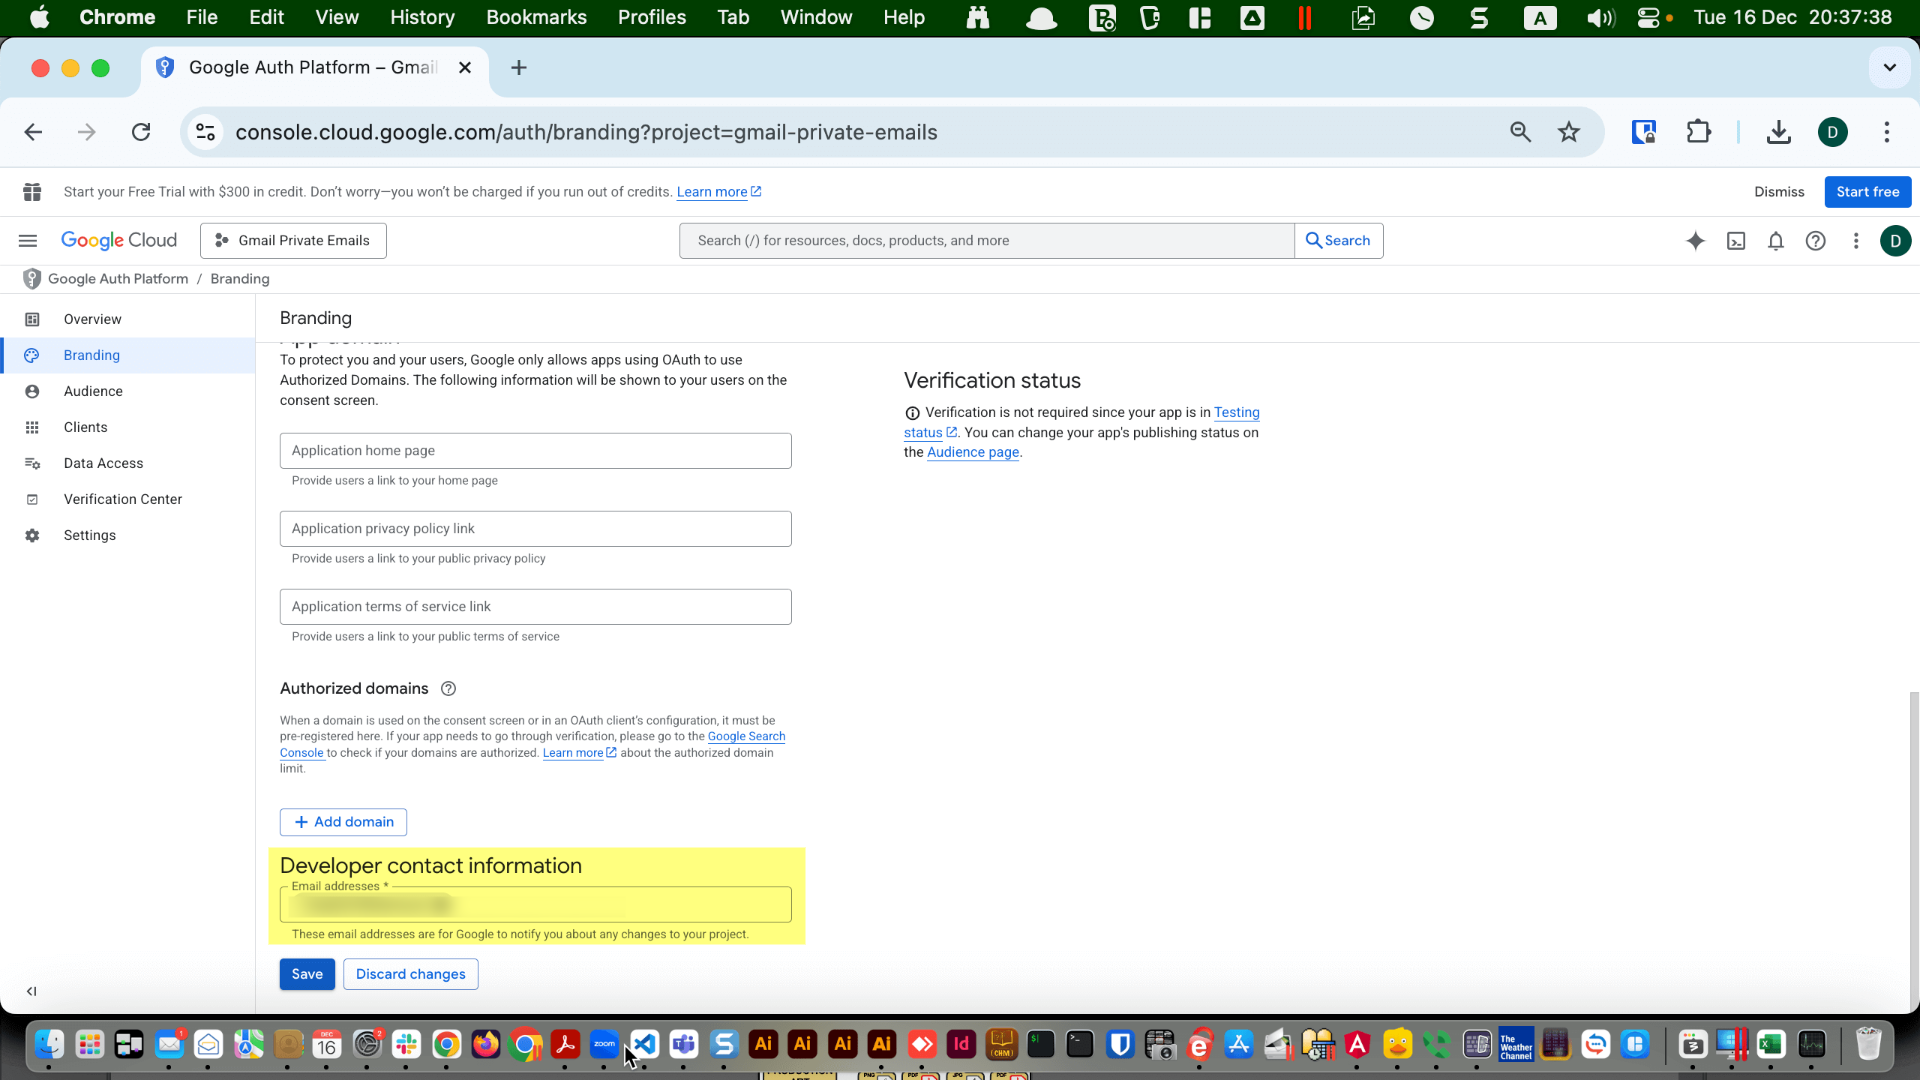
If the app name, support email, and logo are not already filled in, fill them in now.
Ignore all App domain links; you do not need to fill these in.
Make sure the developer contact email contains your email address, then click "Save".
Ignore all App domain links; you do not need to fill these in.
Make sure the developer contact email contains your email address, then click "Save".
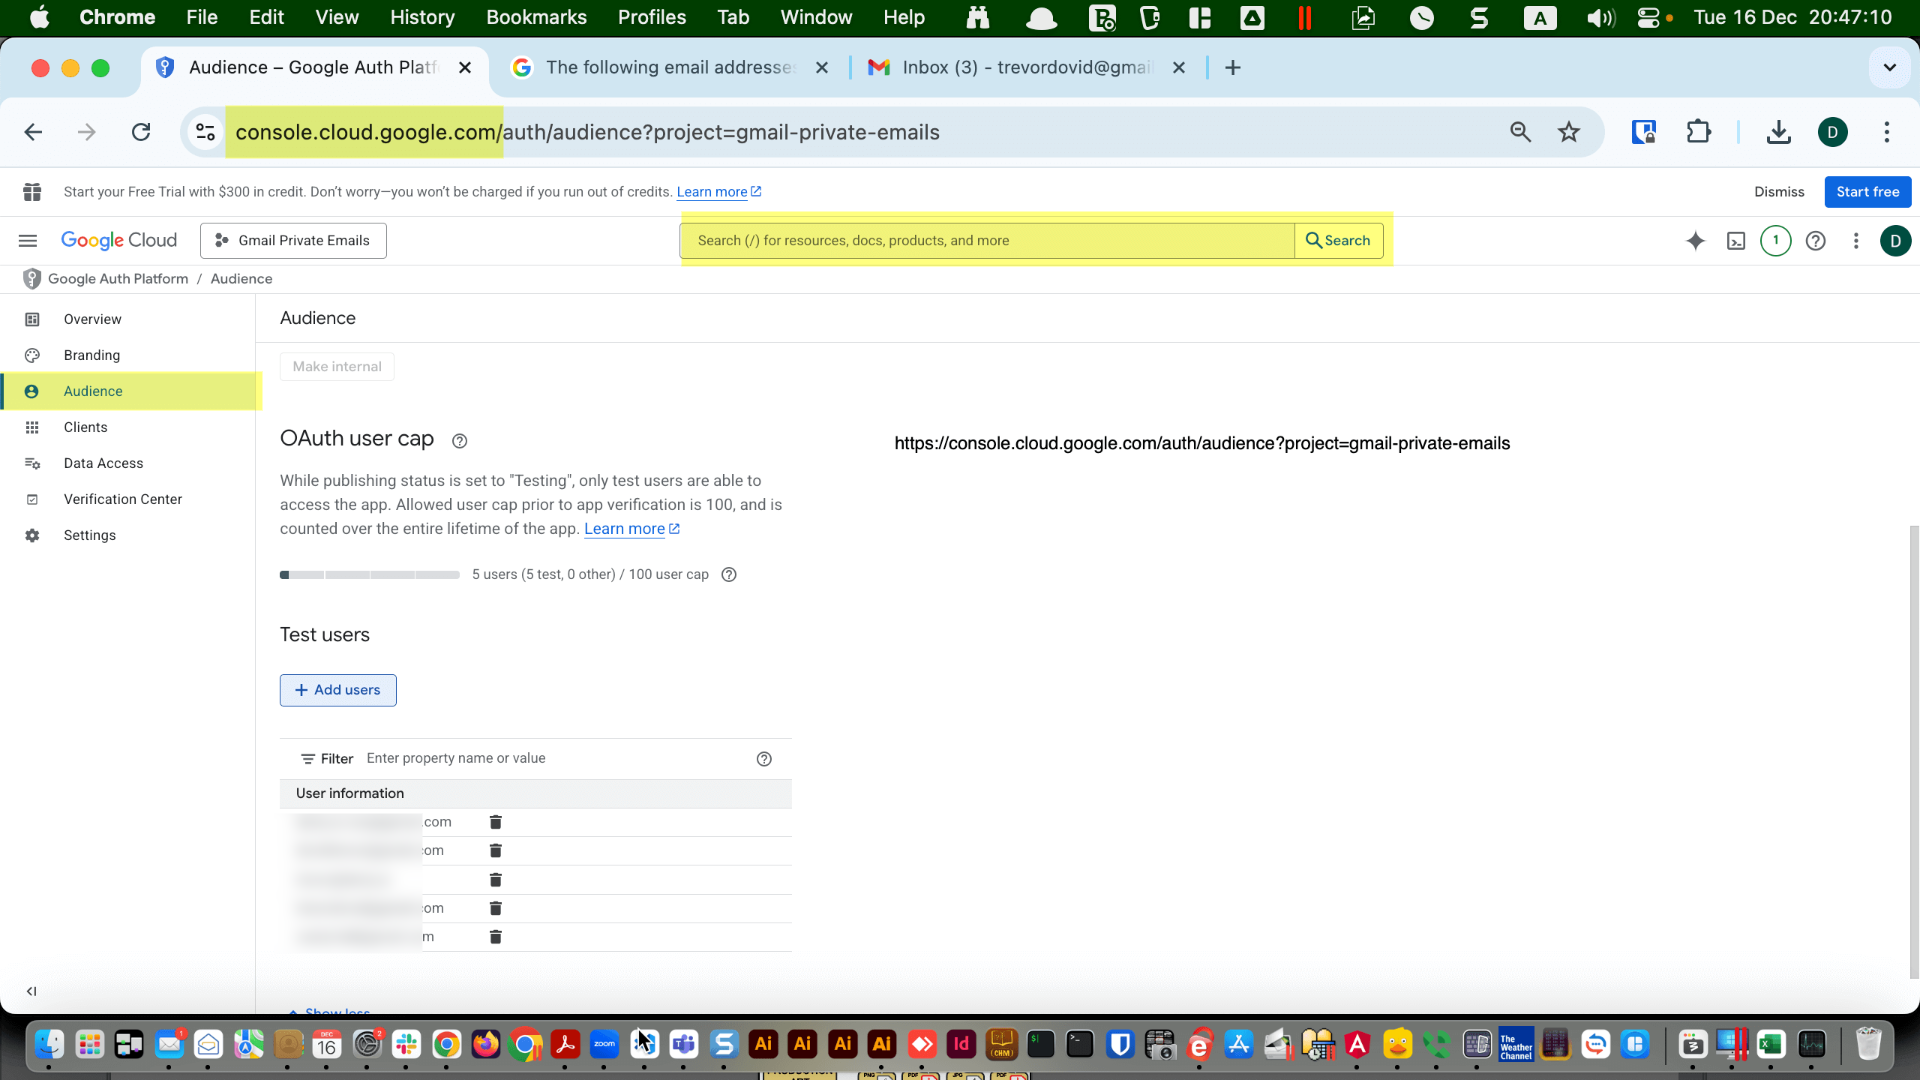
Click "Audience" in the navigation menu.
Click the "+ Add Users" button.
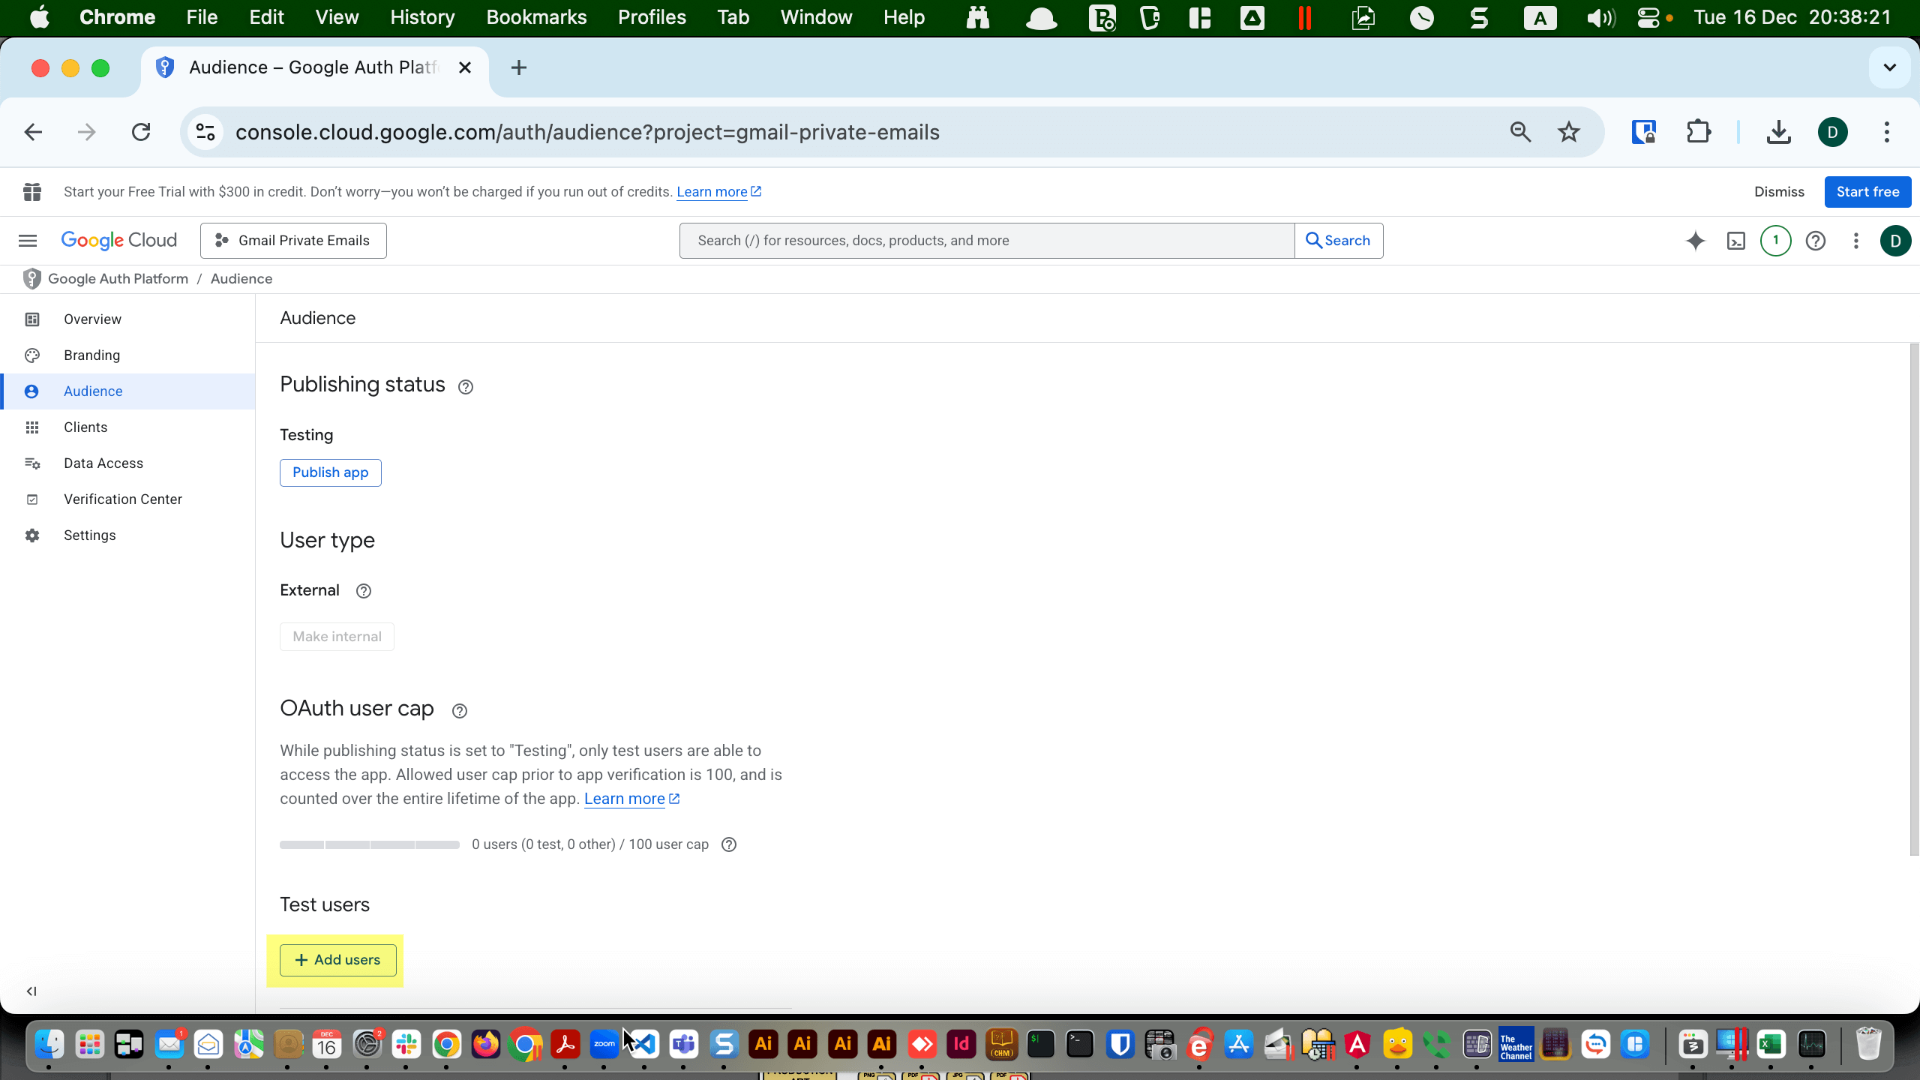
Enter the email addresses that Darty-Ai users will want to share their Google Sheets with.
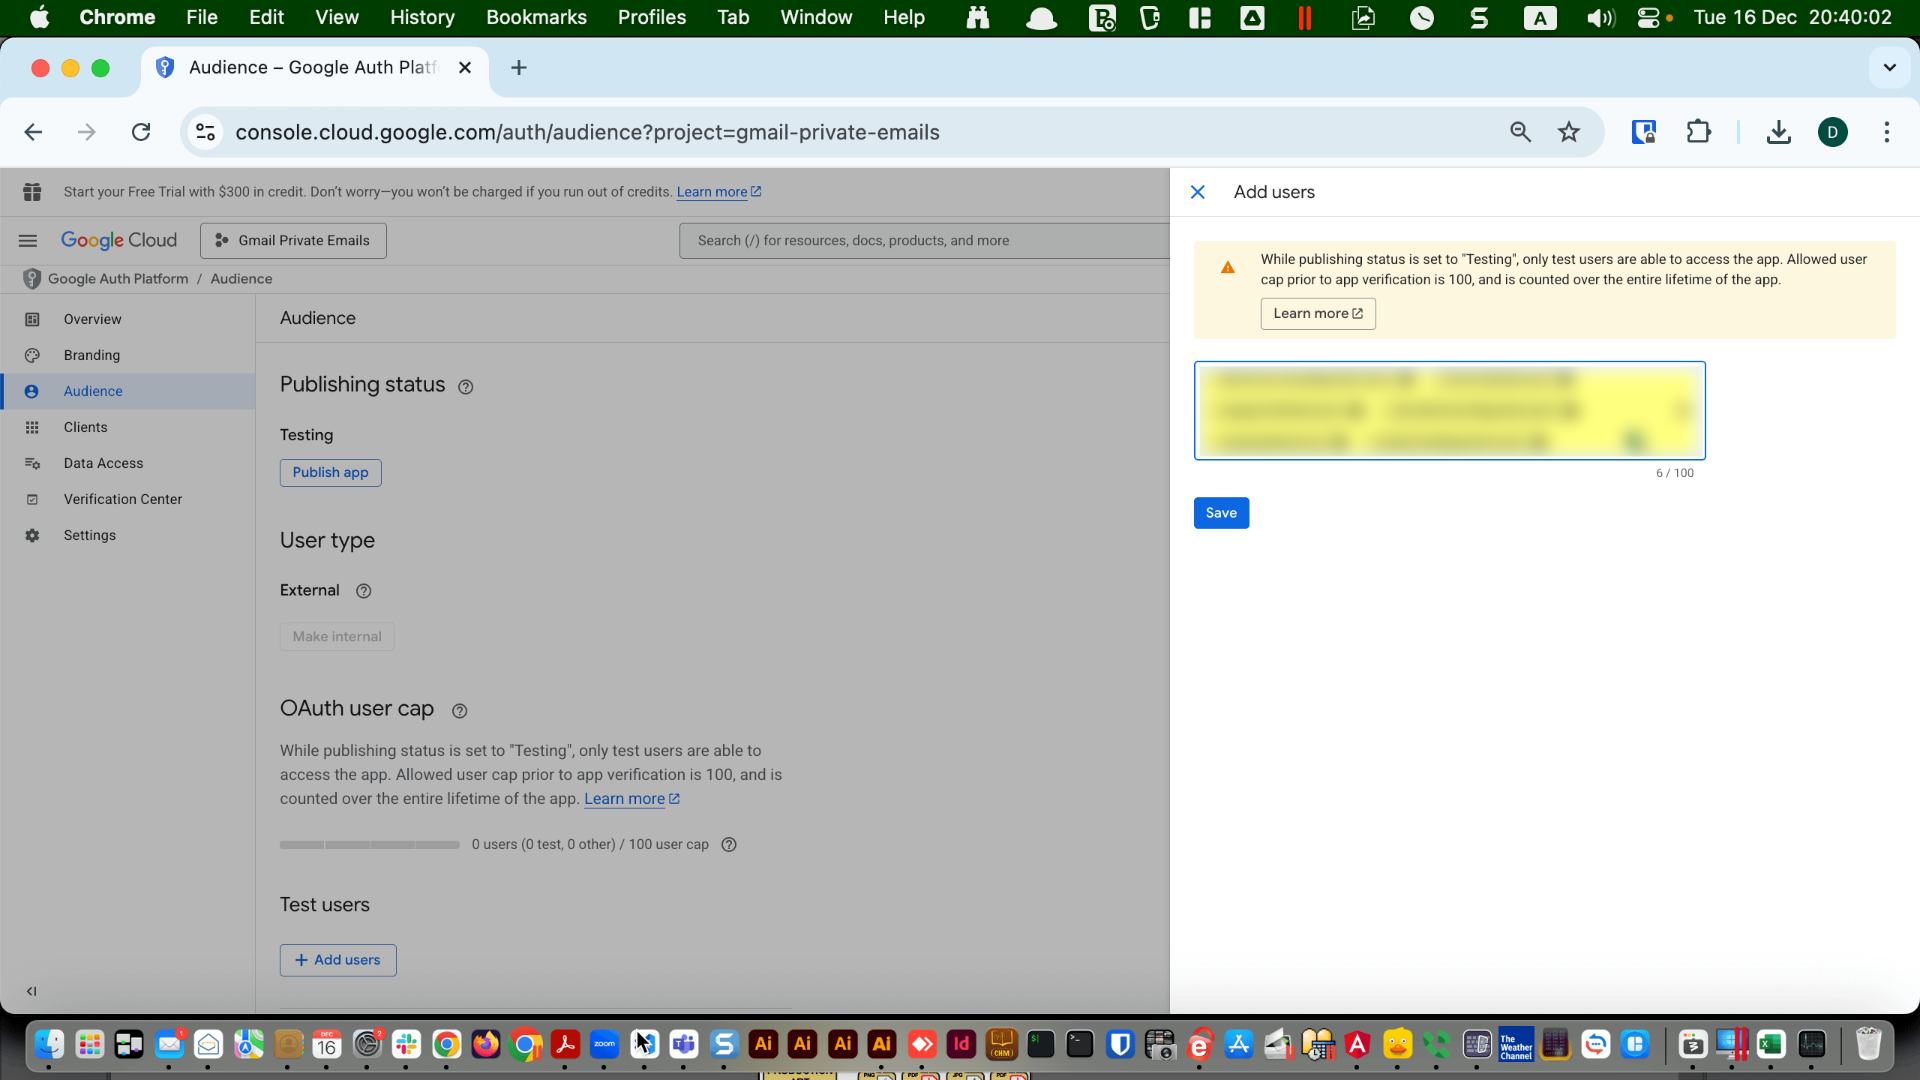
These email addresses must be associated with an active Google Account.
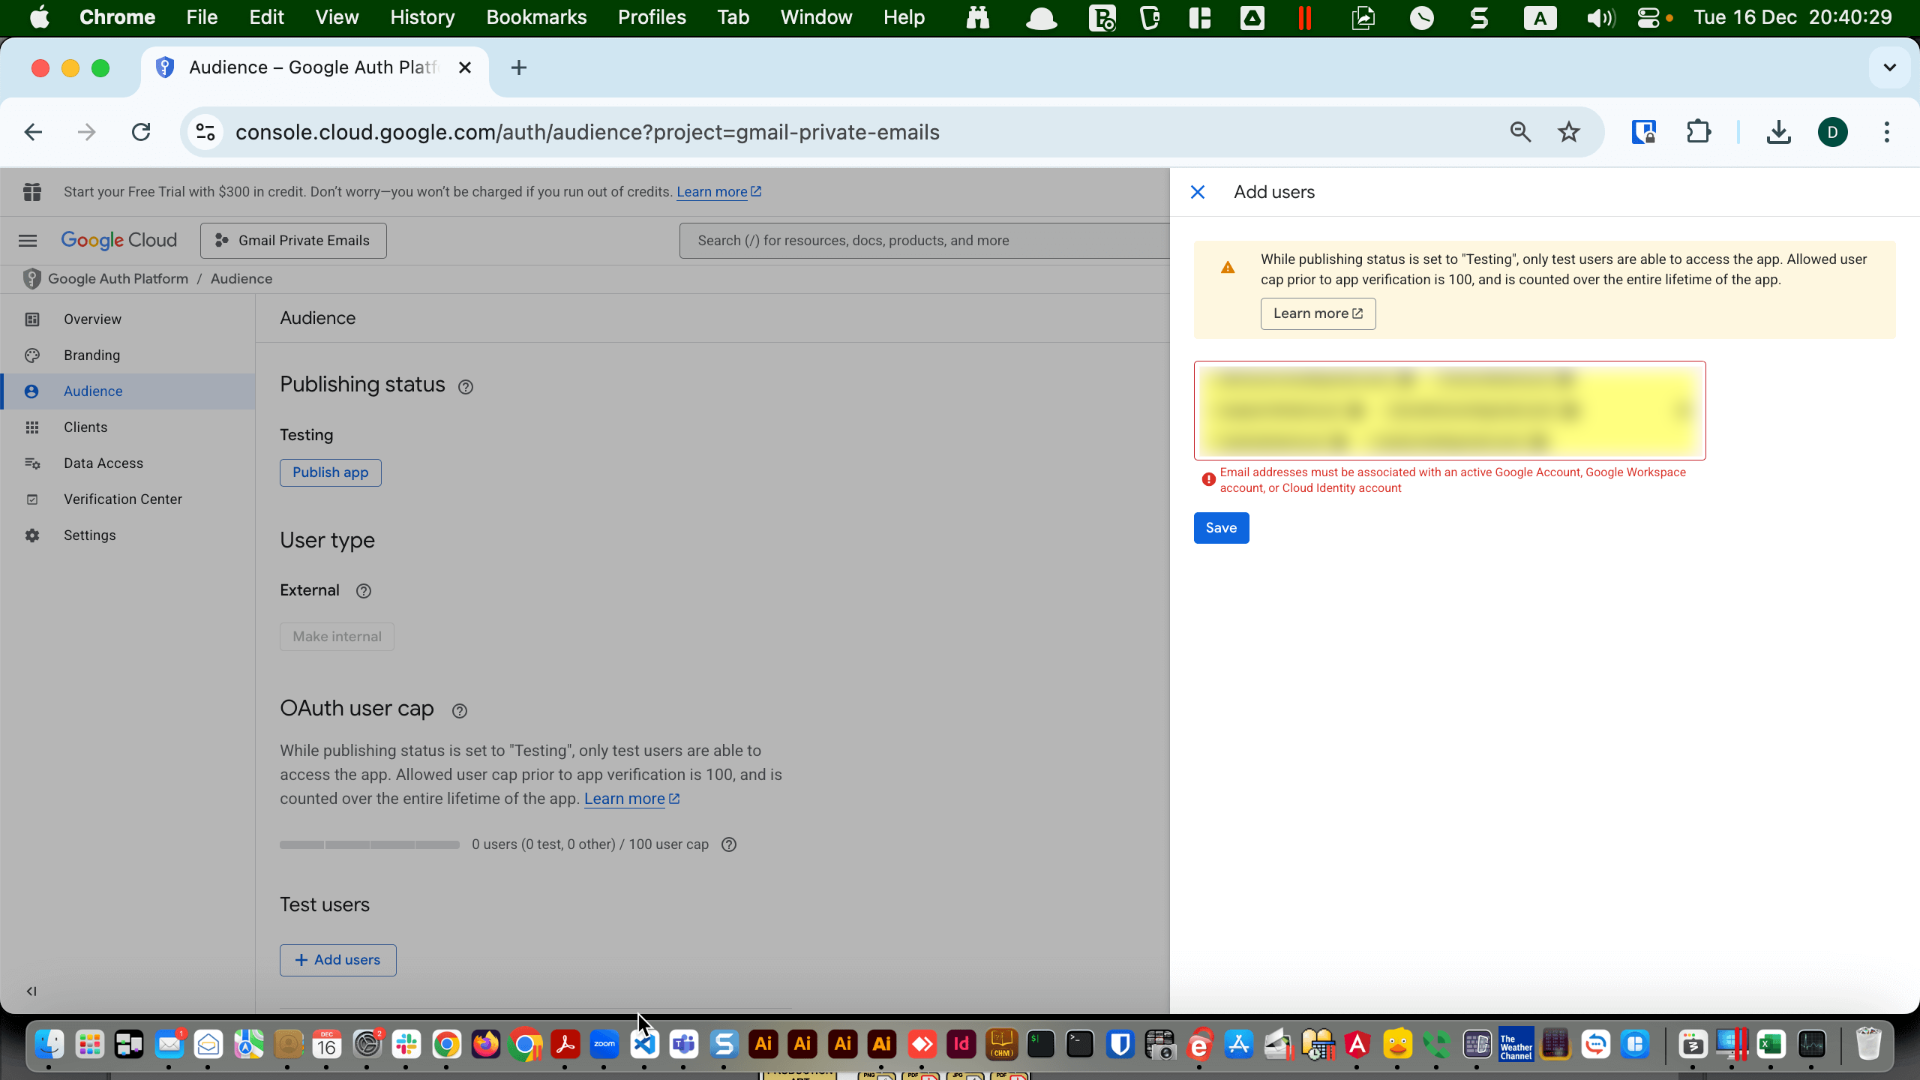
To associate your business email with a Google Account, go to https://accounts.google.com.
On the "Sign in" screen, click "Create Account".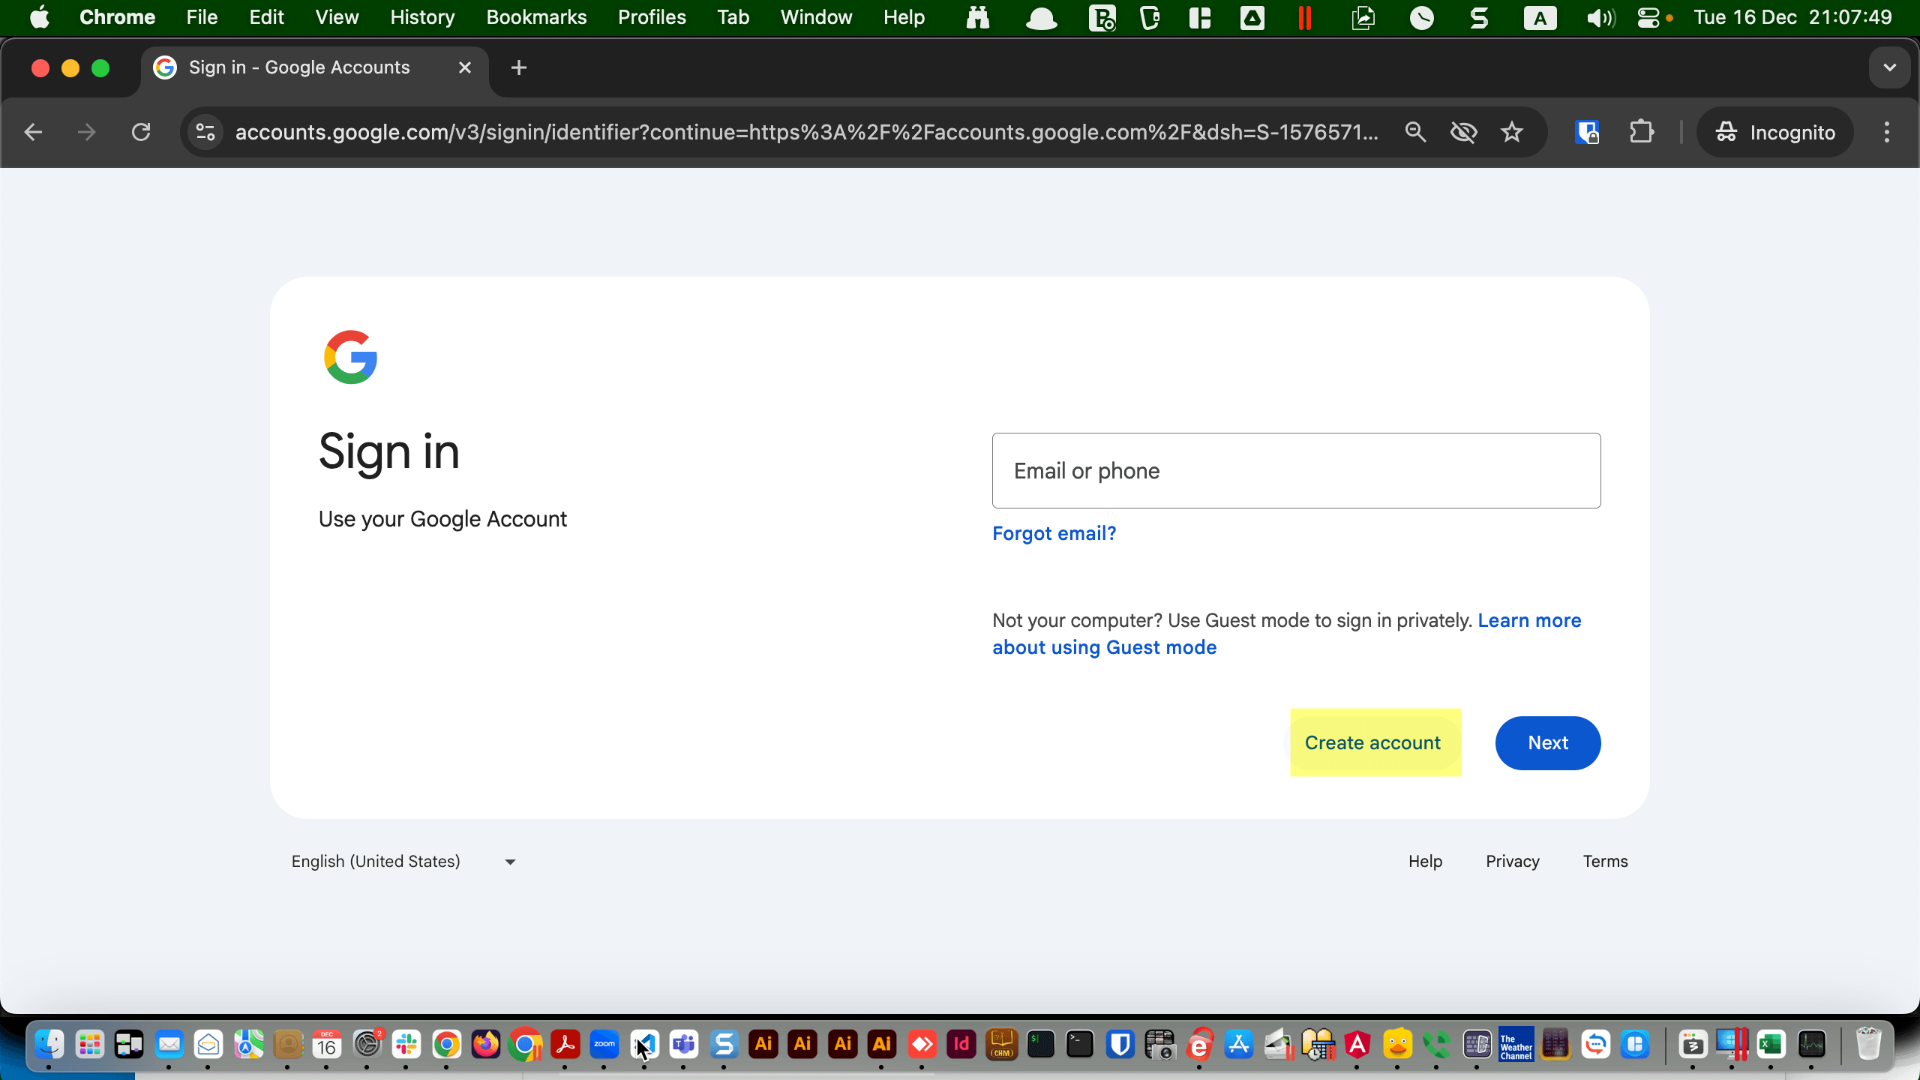
On the "Sign in" screen, click "Create Account".
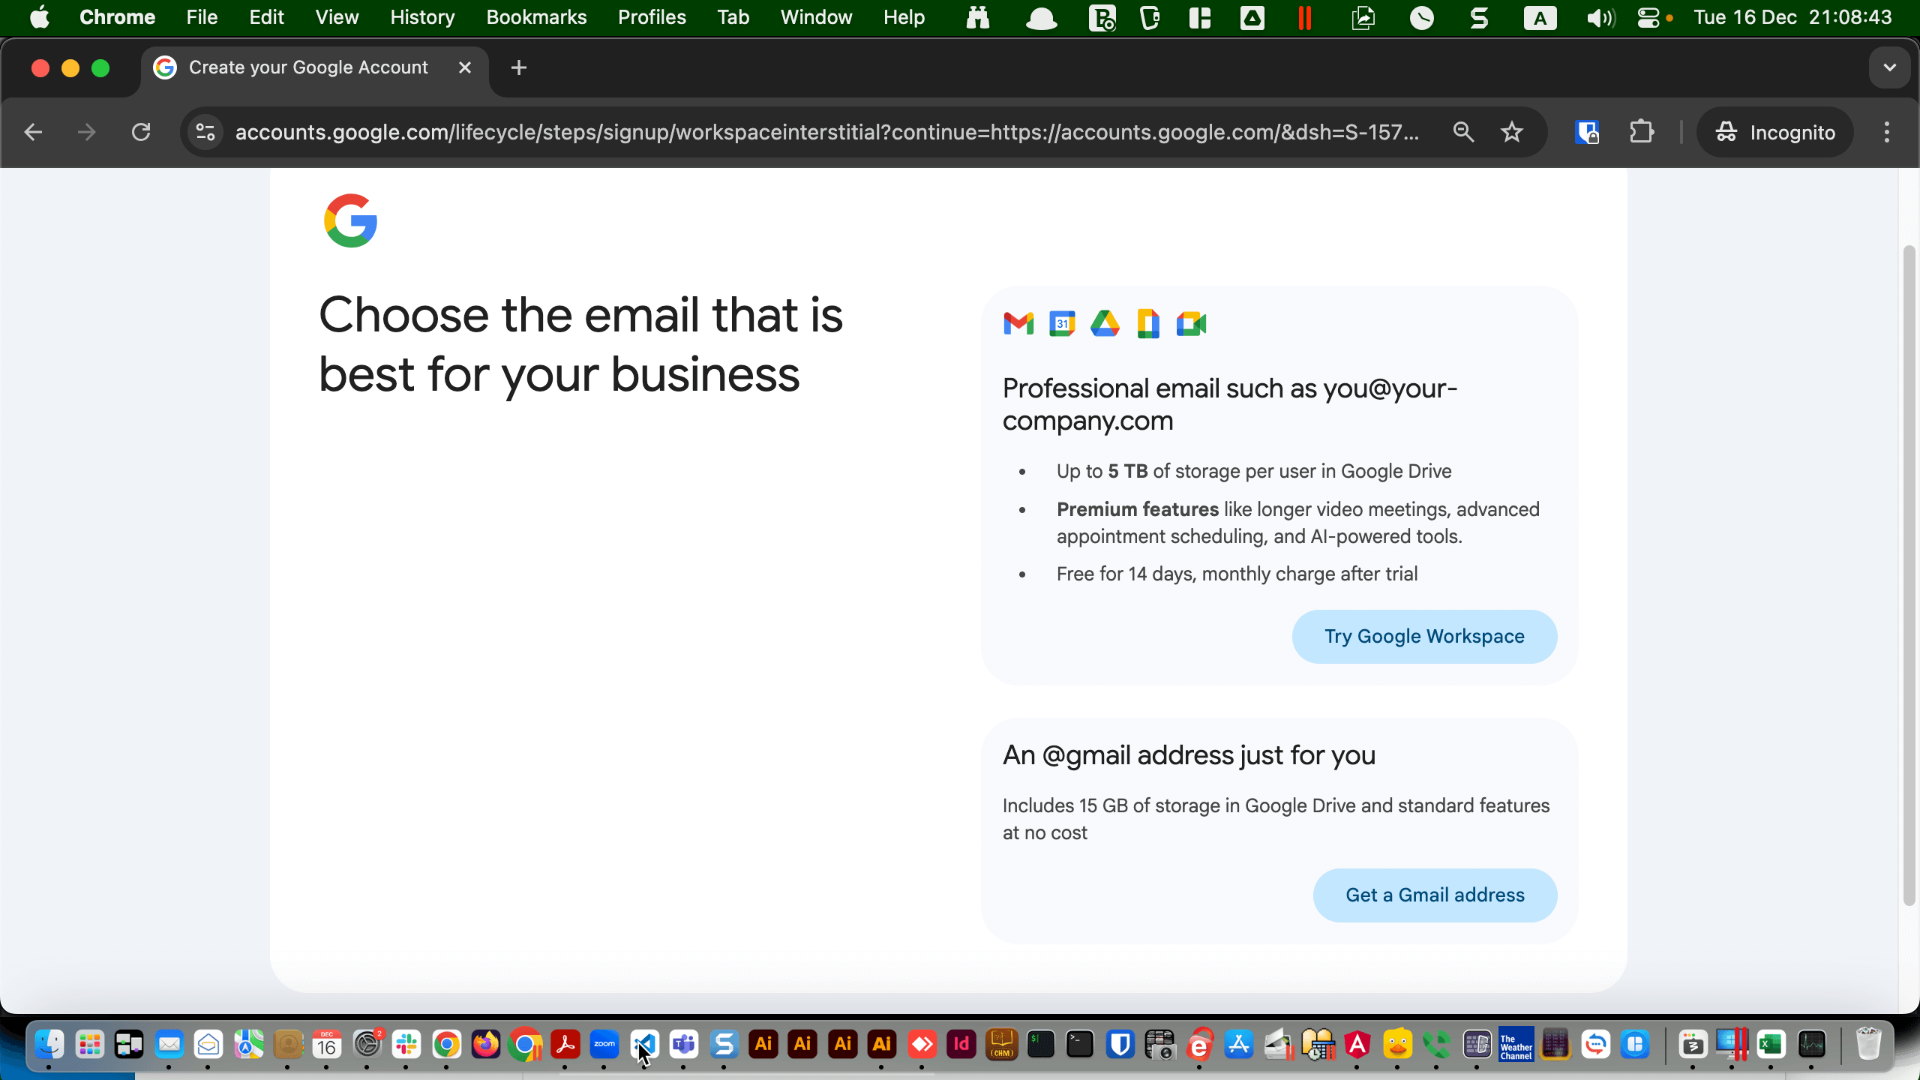
Choose between "Try Google Workspace" and "Get a Gmail address".
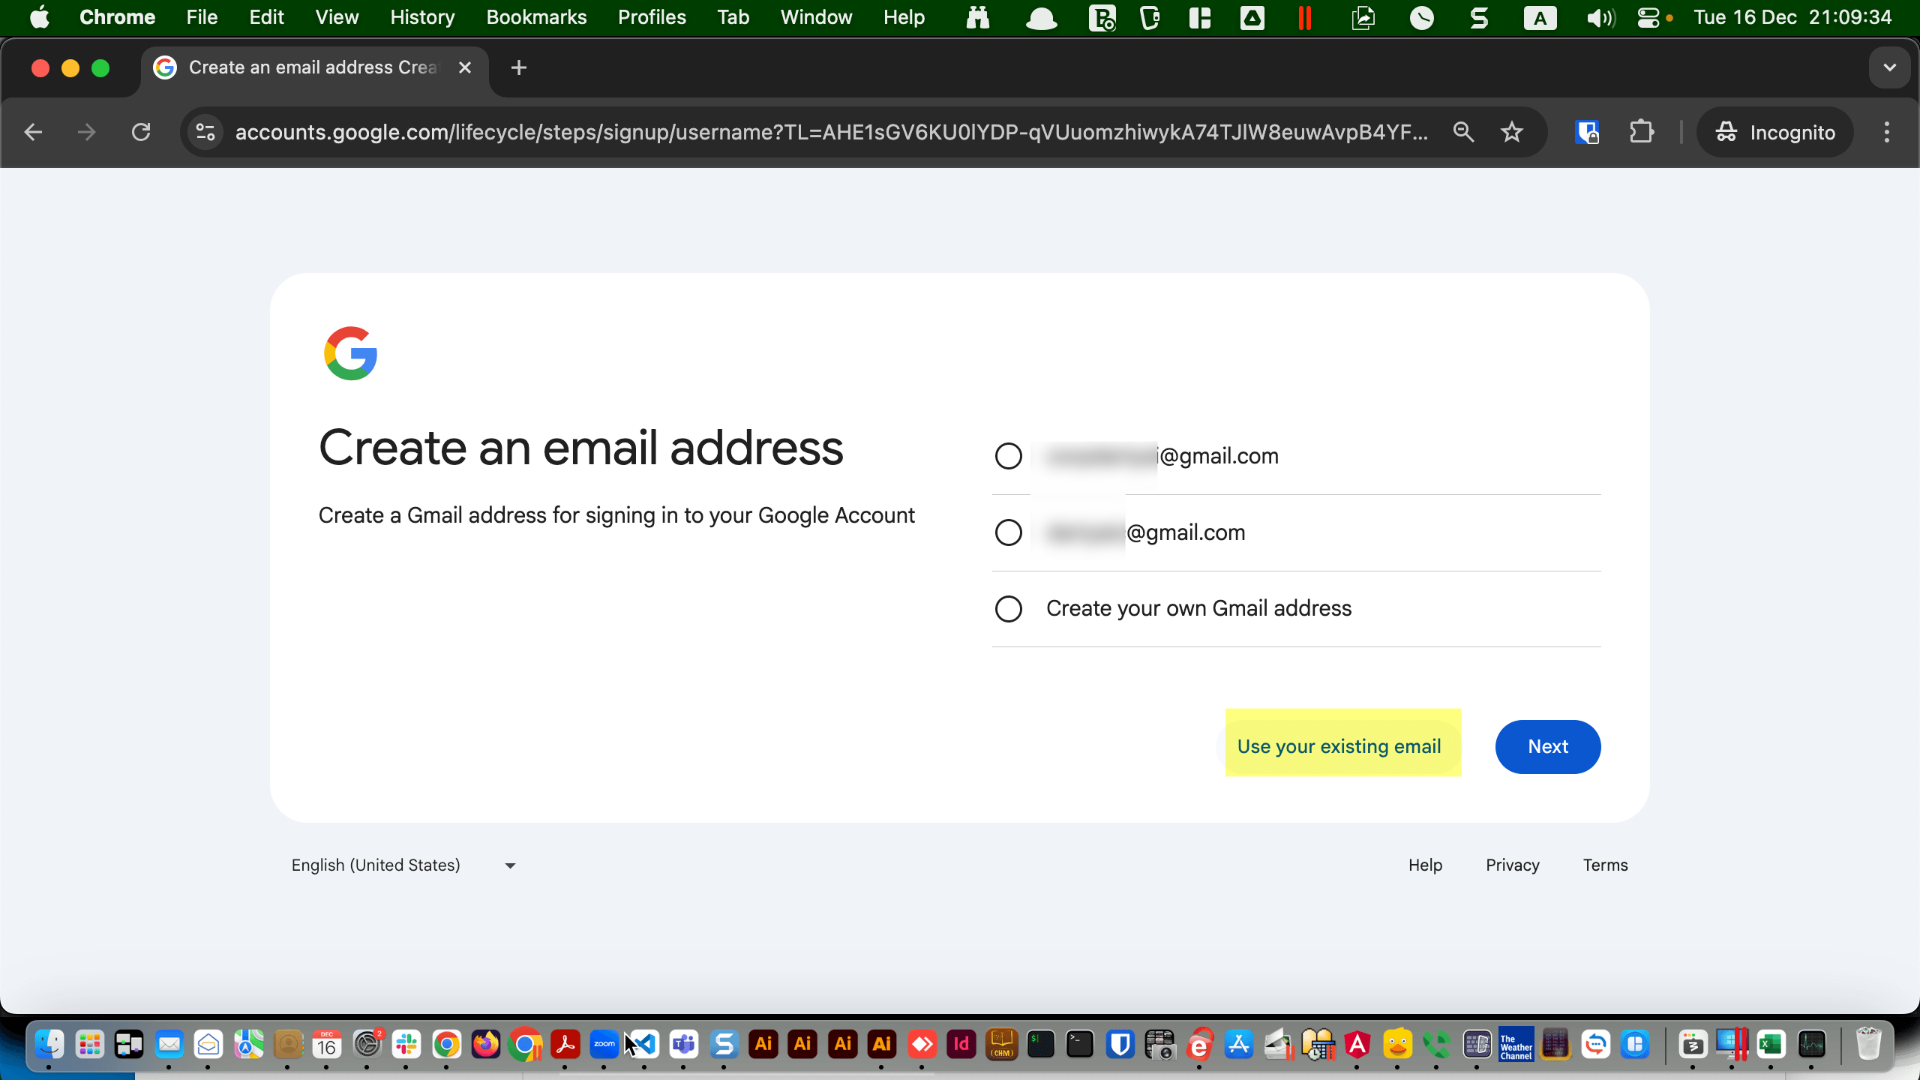
If you choose the free "Get a Gmail address" option, click on "Use your existing mail".
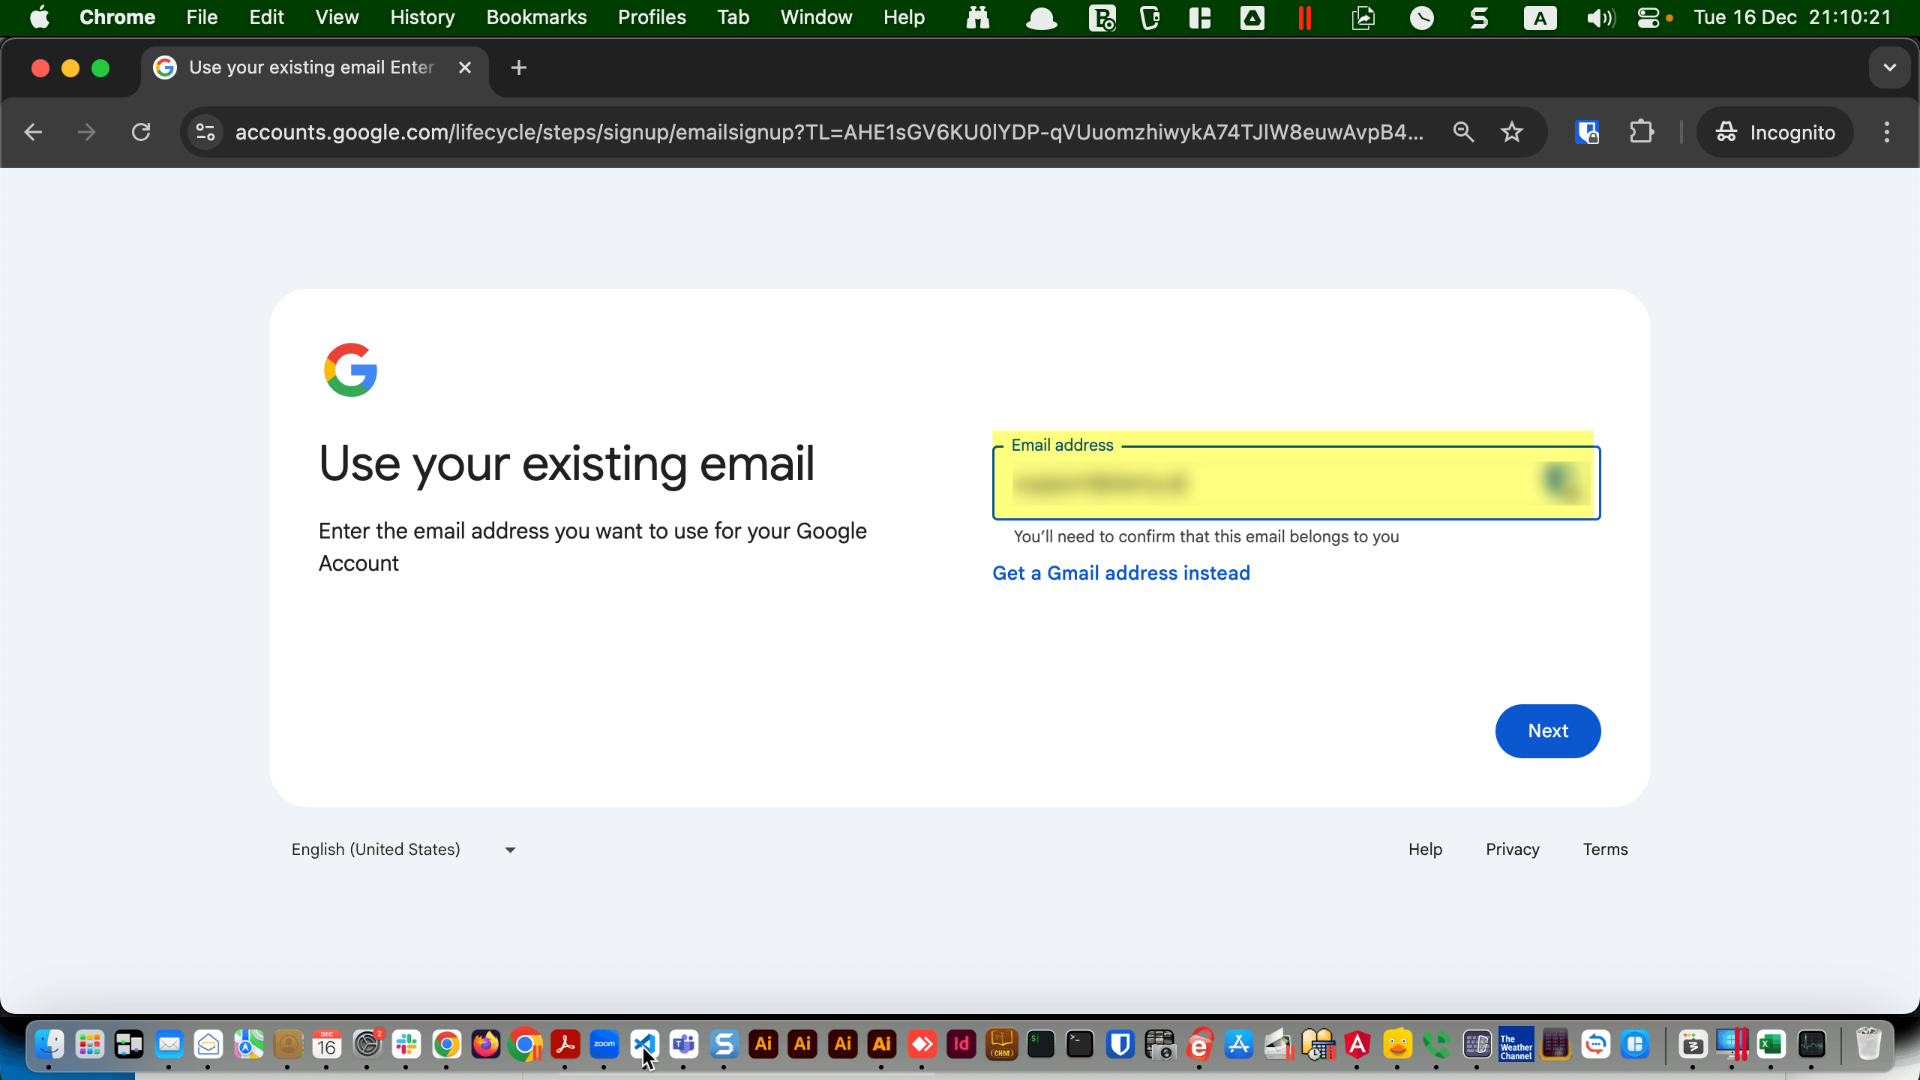
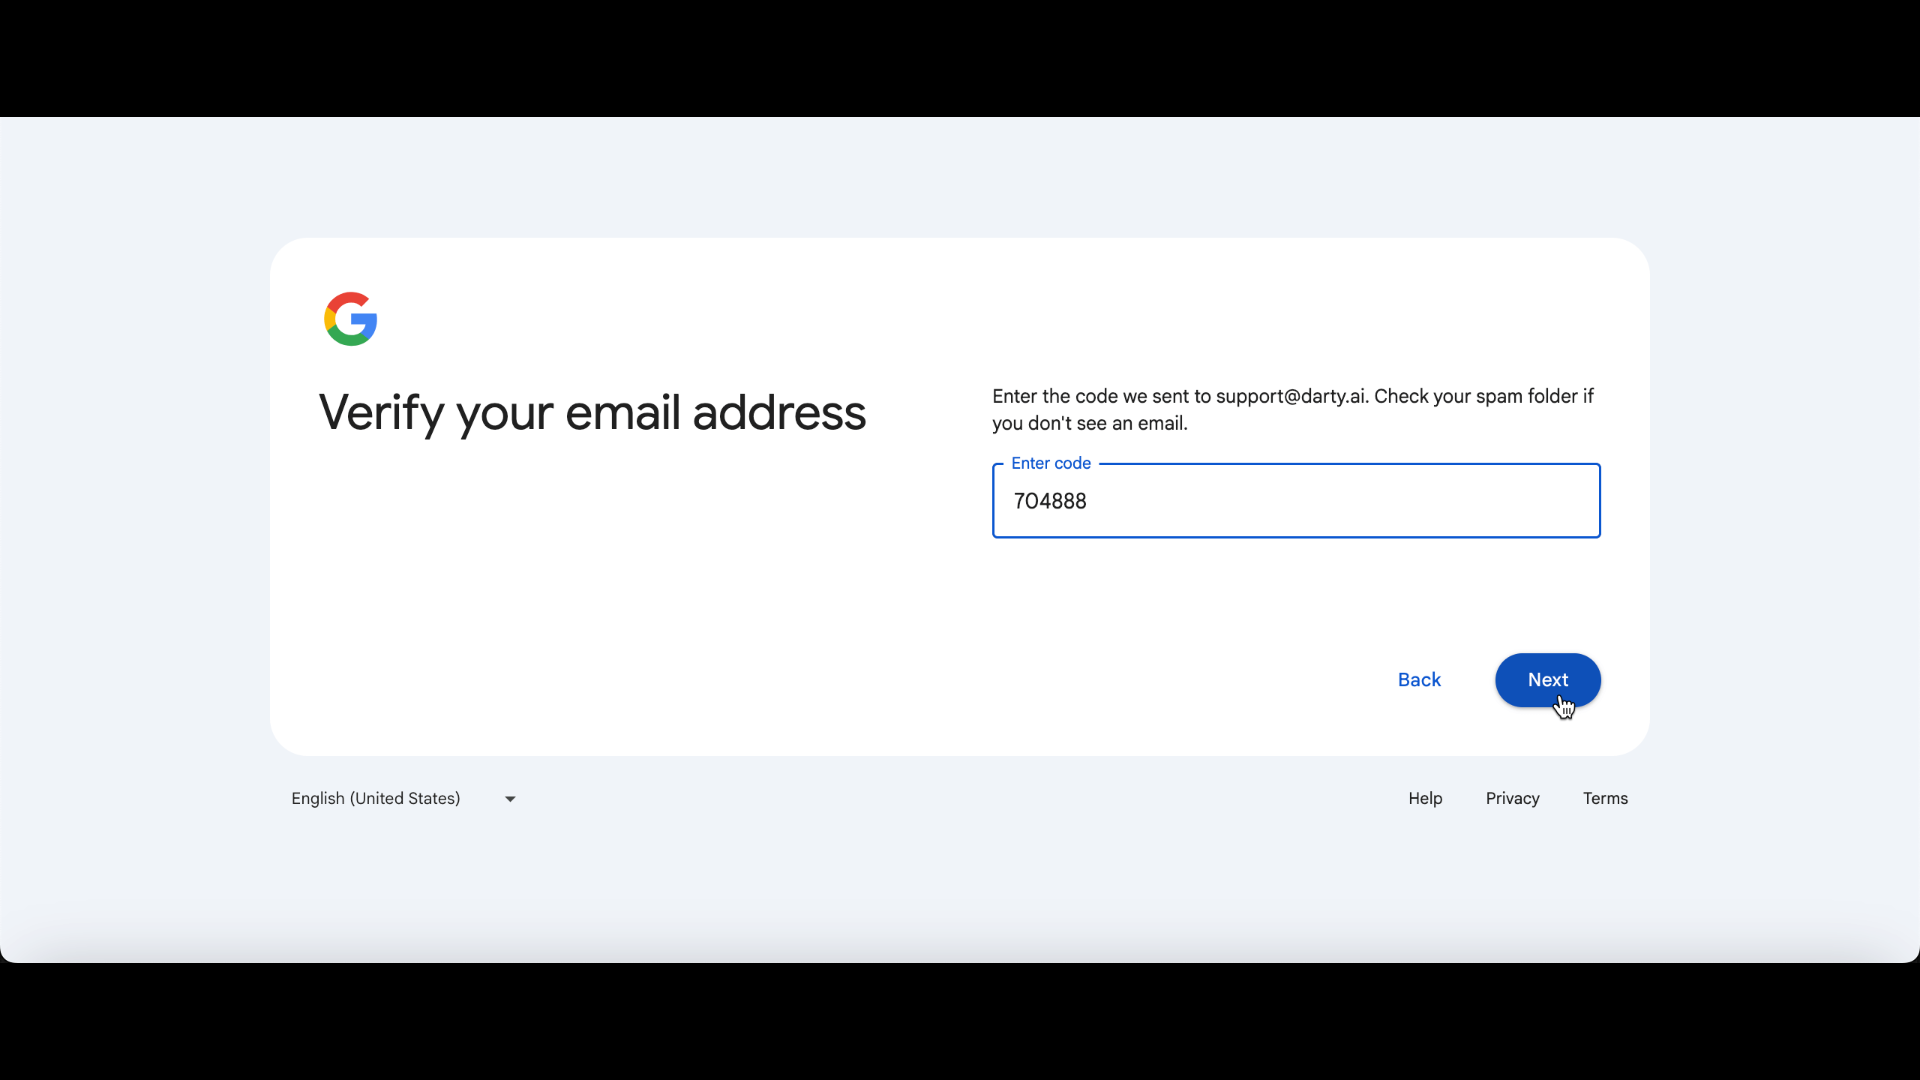
Enter your business email address, click "Next", and follow the verification process until it is complete.
Note that it can take up to five minutes for Google to send the verification email containing the code you need.
You can easily add additional email addresses later by going to console.google.com console.cloud.google.com, typing "Audience" into the search bar, and clicking the "+ Add Users" button.
Connect to Darty-Ai
Your "App" is now set up and ready to be linked to your Darty-Ai account.
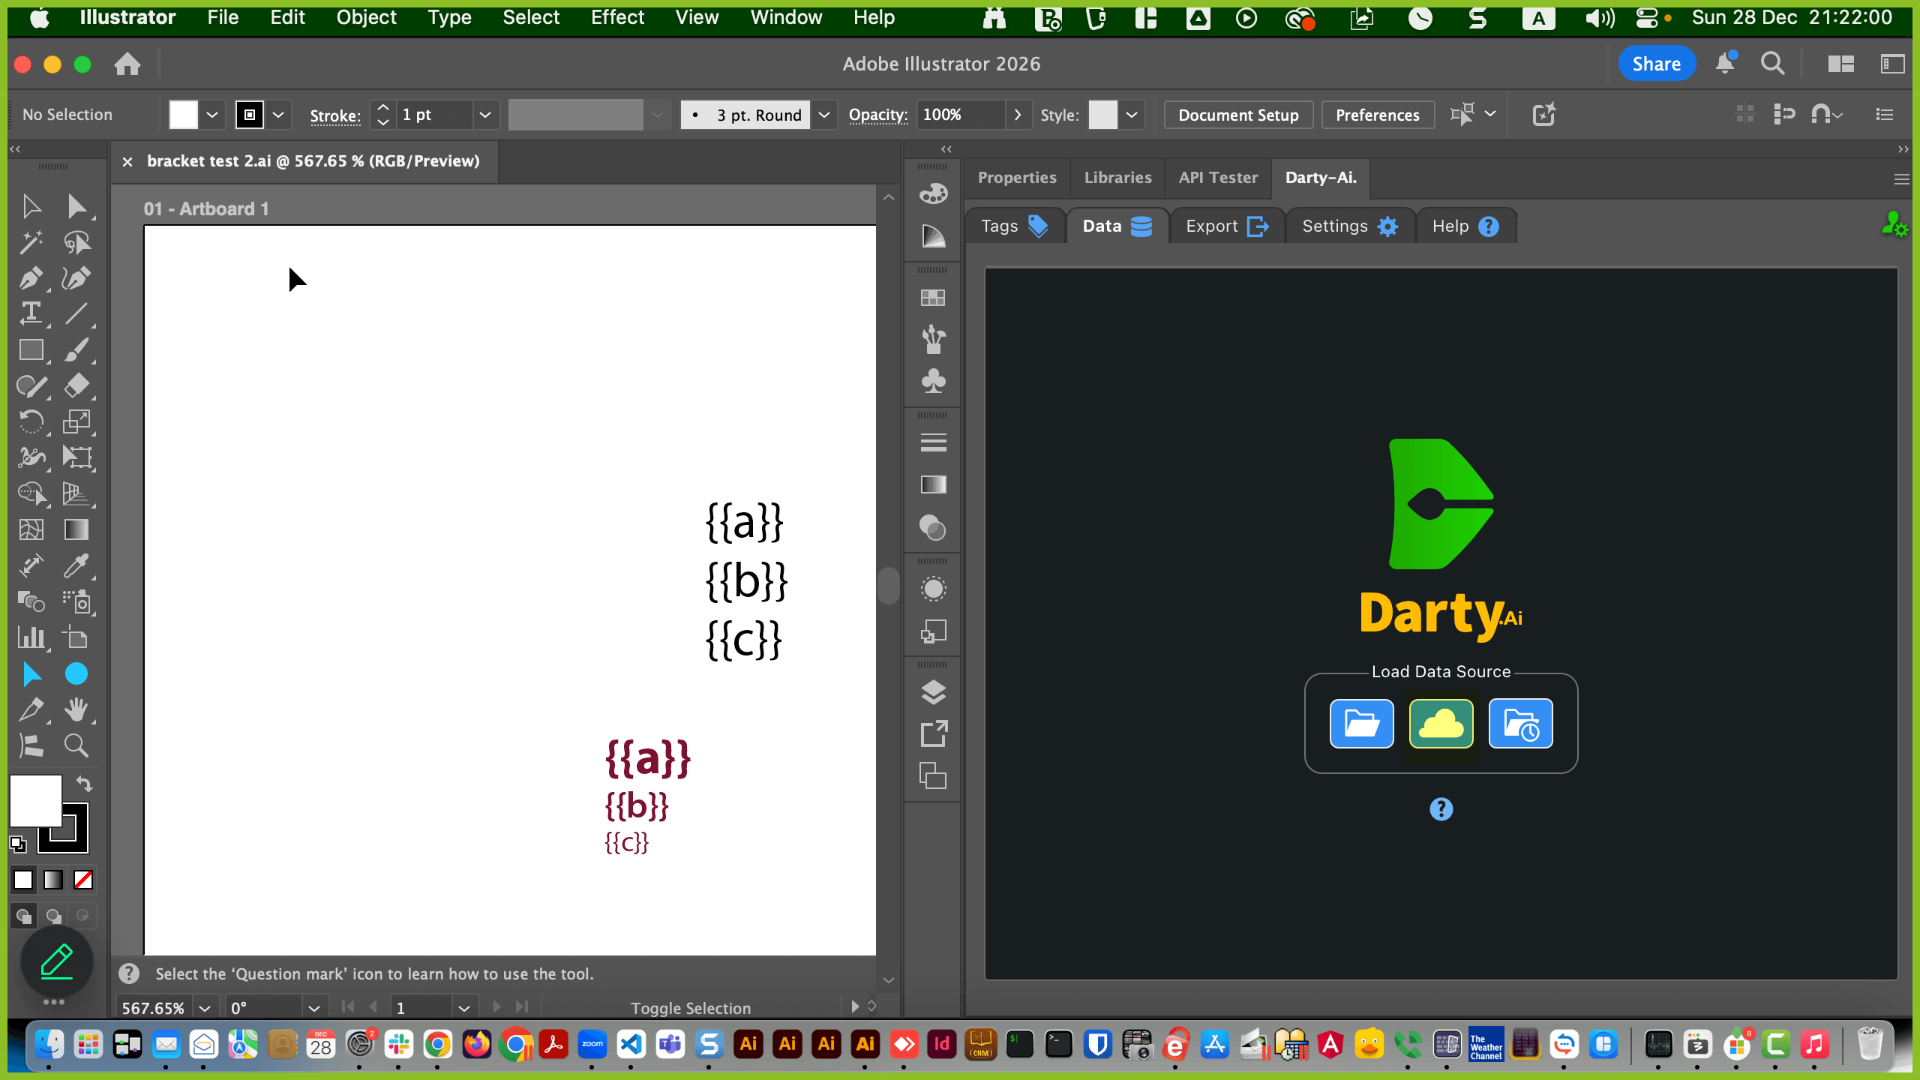
Go to "Settings", "Cloud", and click on either the "Load Private Google Sheet JSON" or "Add Account" buttons.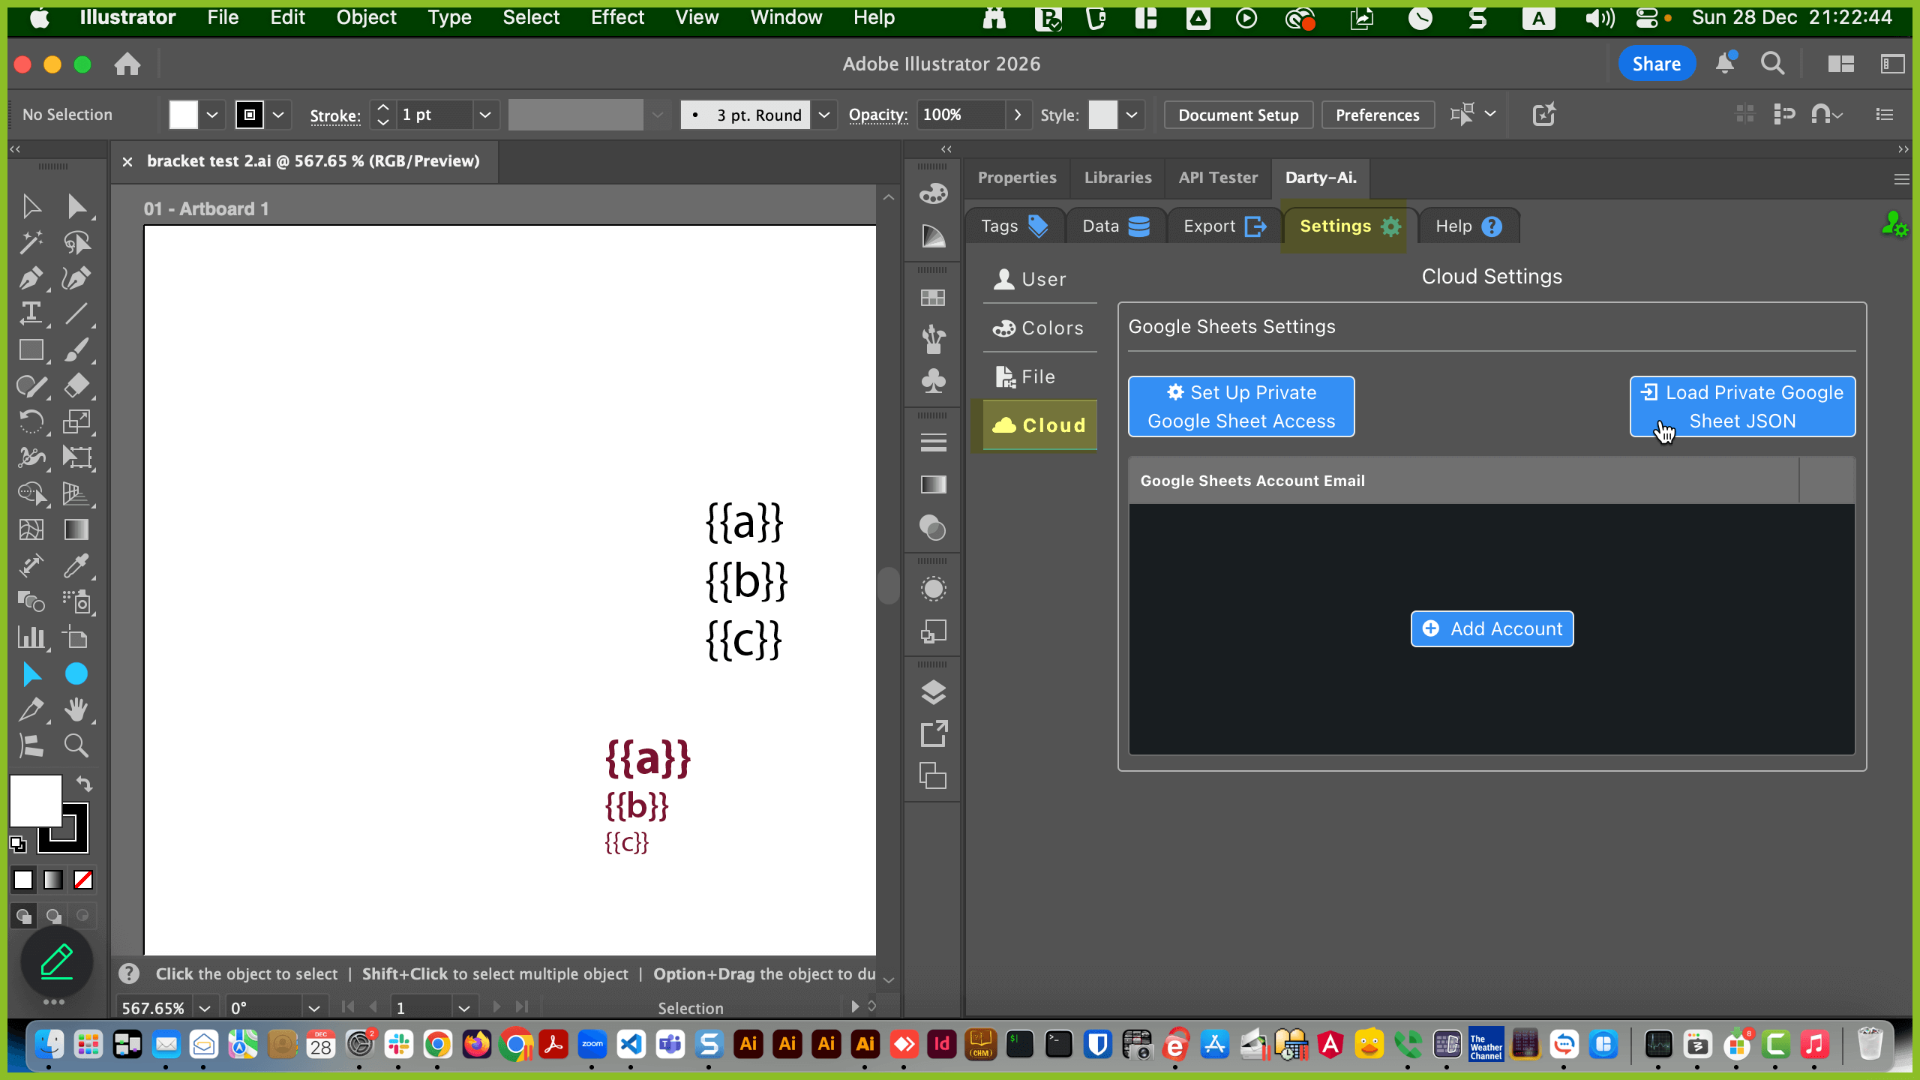
Go to "Settings", "Cloud", and click on either the "Load Private Google Sheet JSON" or "Add Account" buttons.
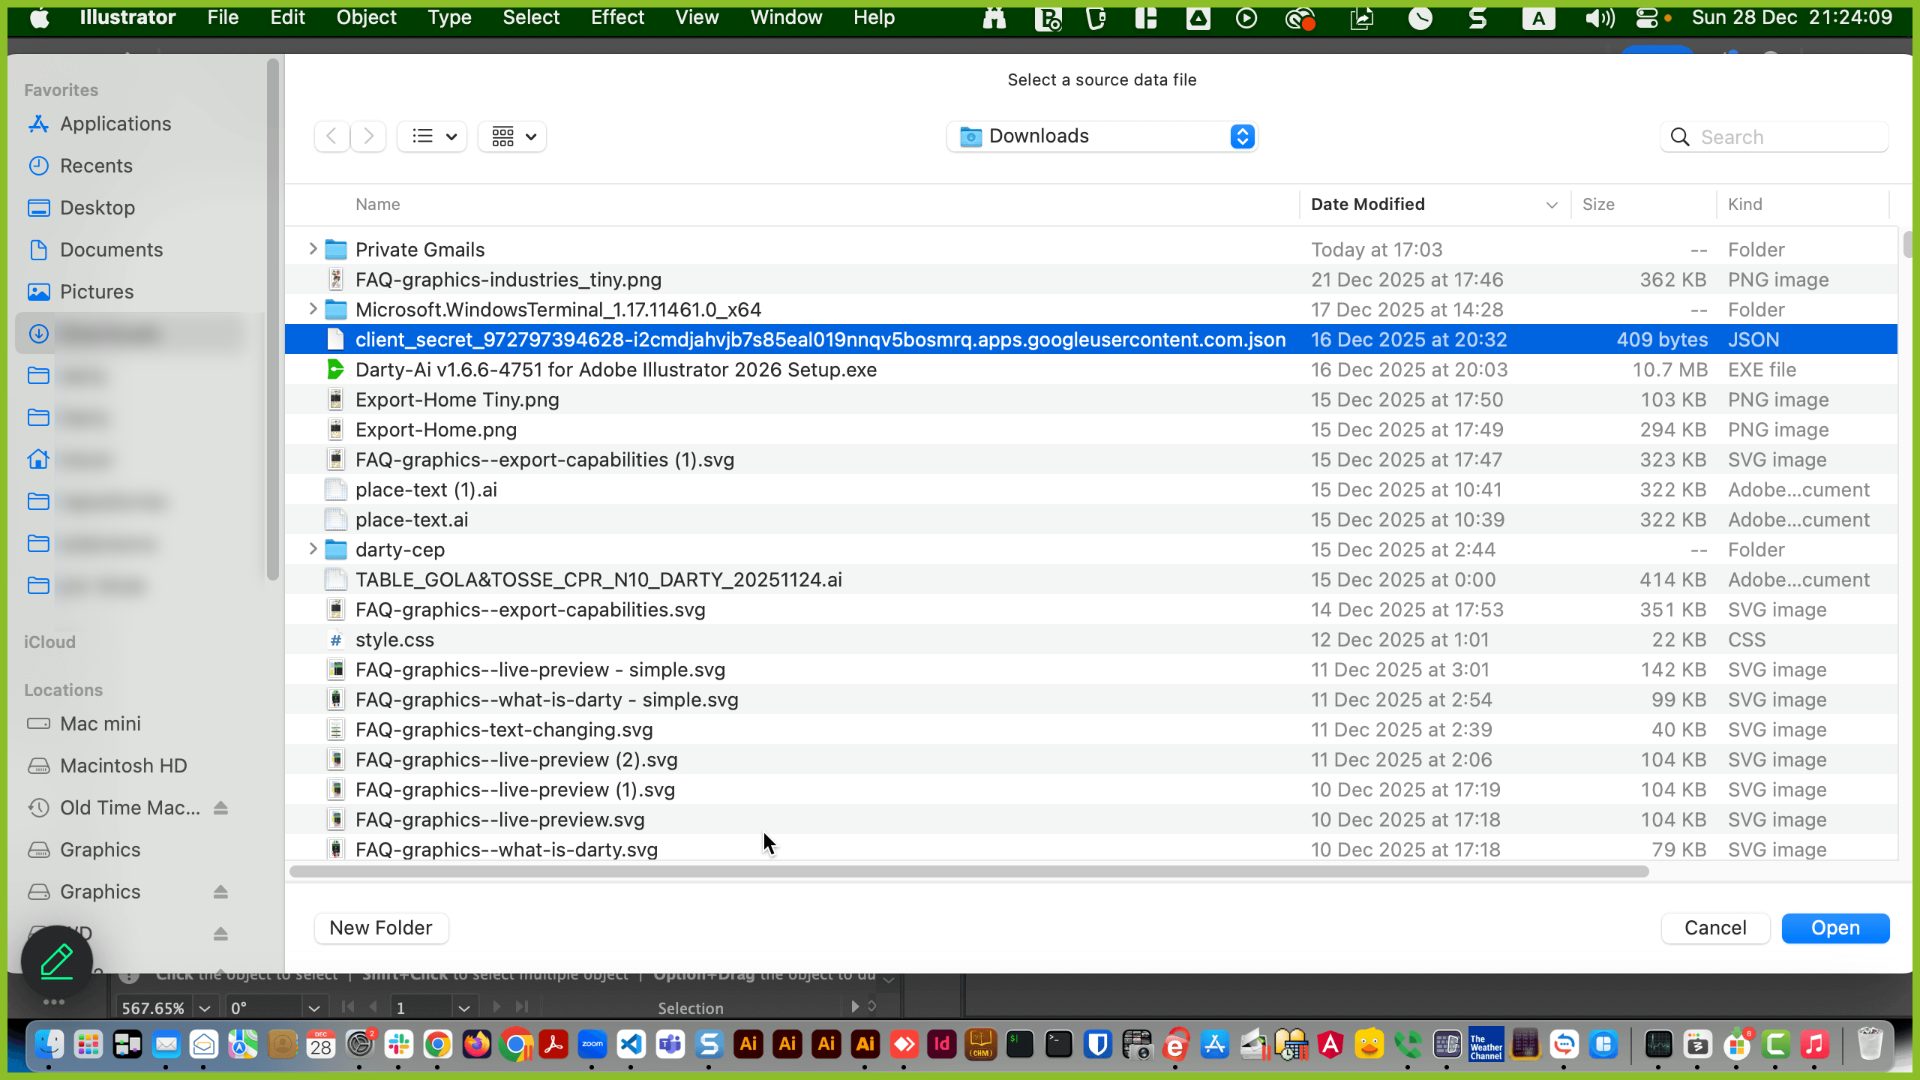
Navigate to the location of the JSON file that you created and downloaded when setting up the app, it will normally be in your Downloads folder, click open.
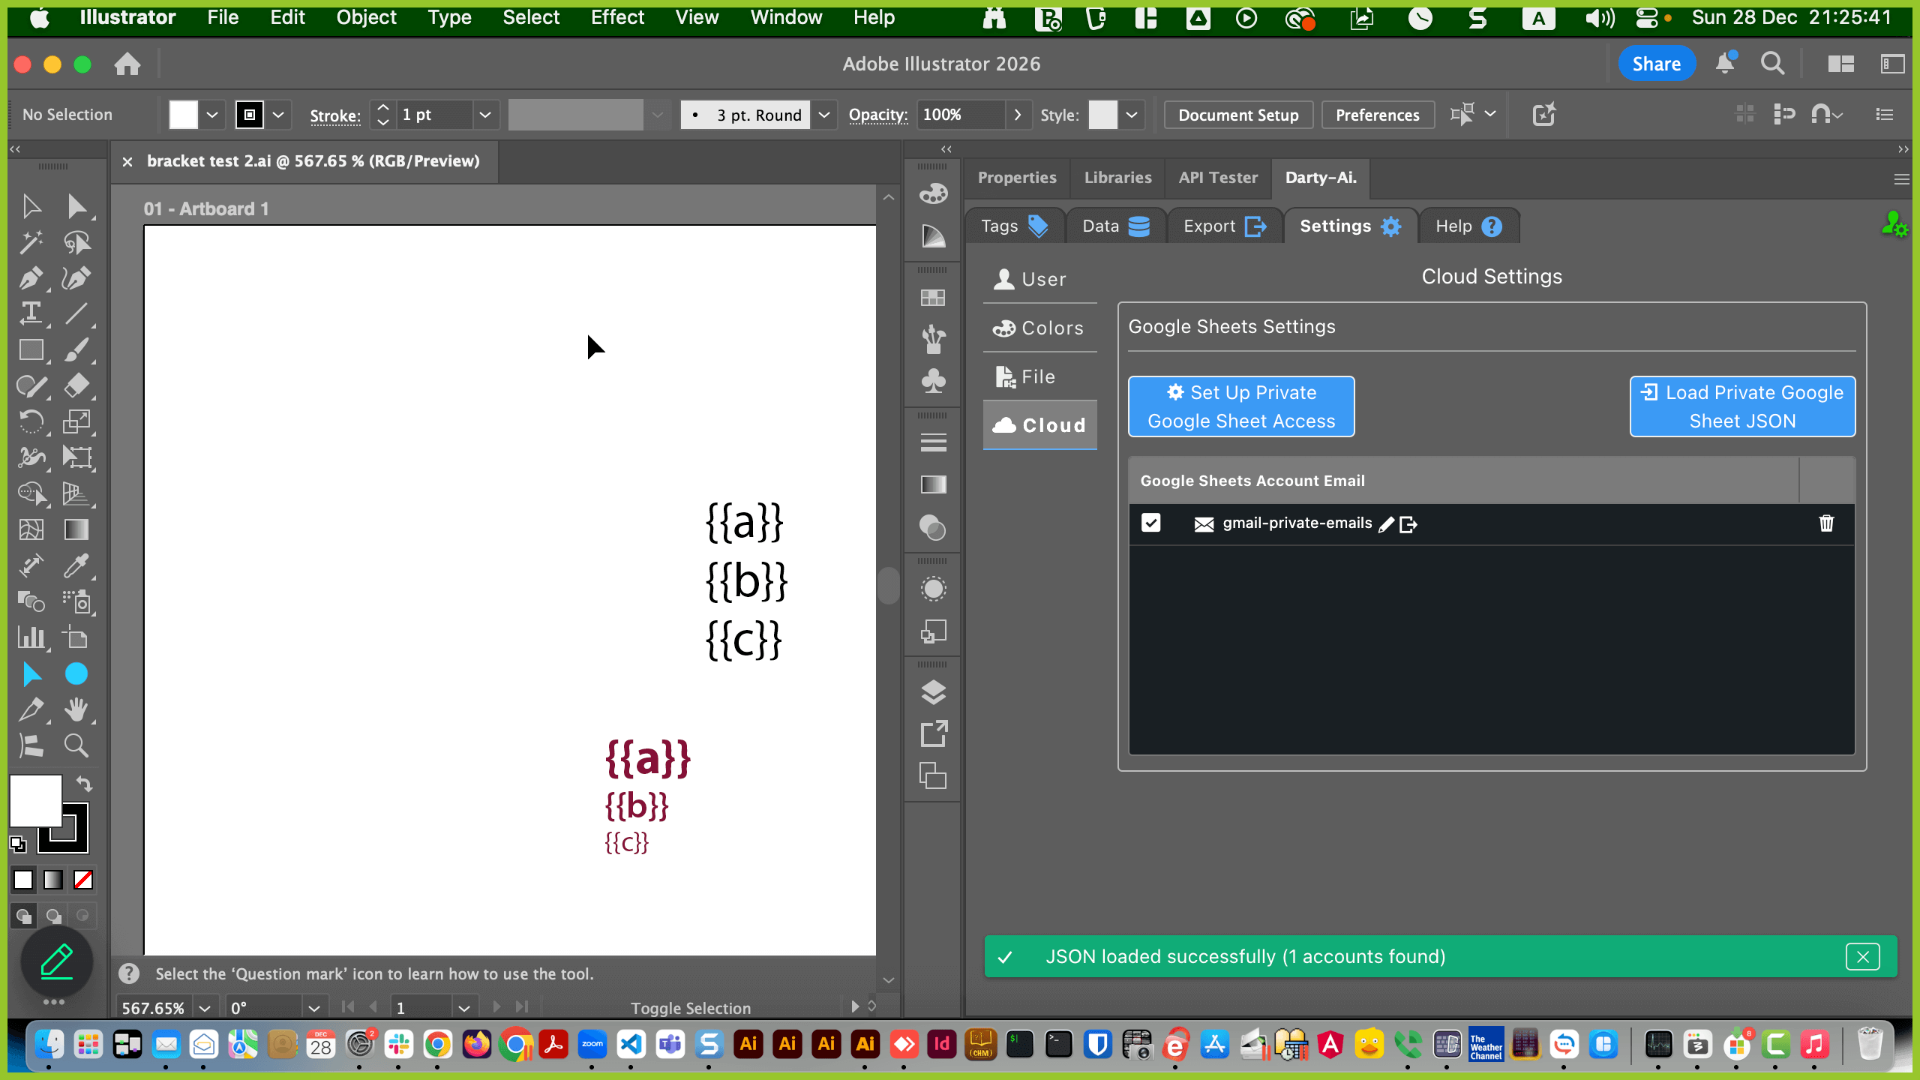
Congratulations! Darty-Ai can now import Google Sheets that are privately shared with your regular email.
To import the privately shared Google Sheet, click the cloud icon on the Data tab
Insert the shared URL, into the input box and click the "Import" button.

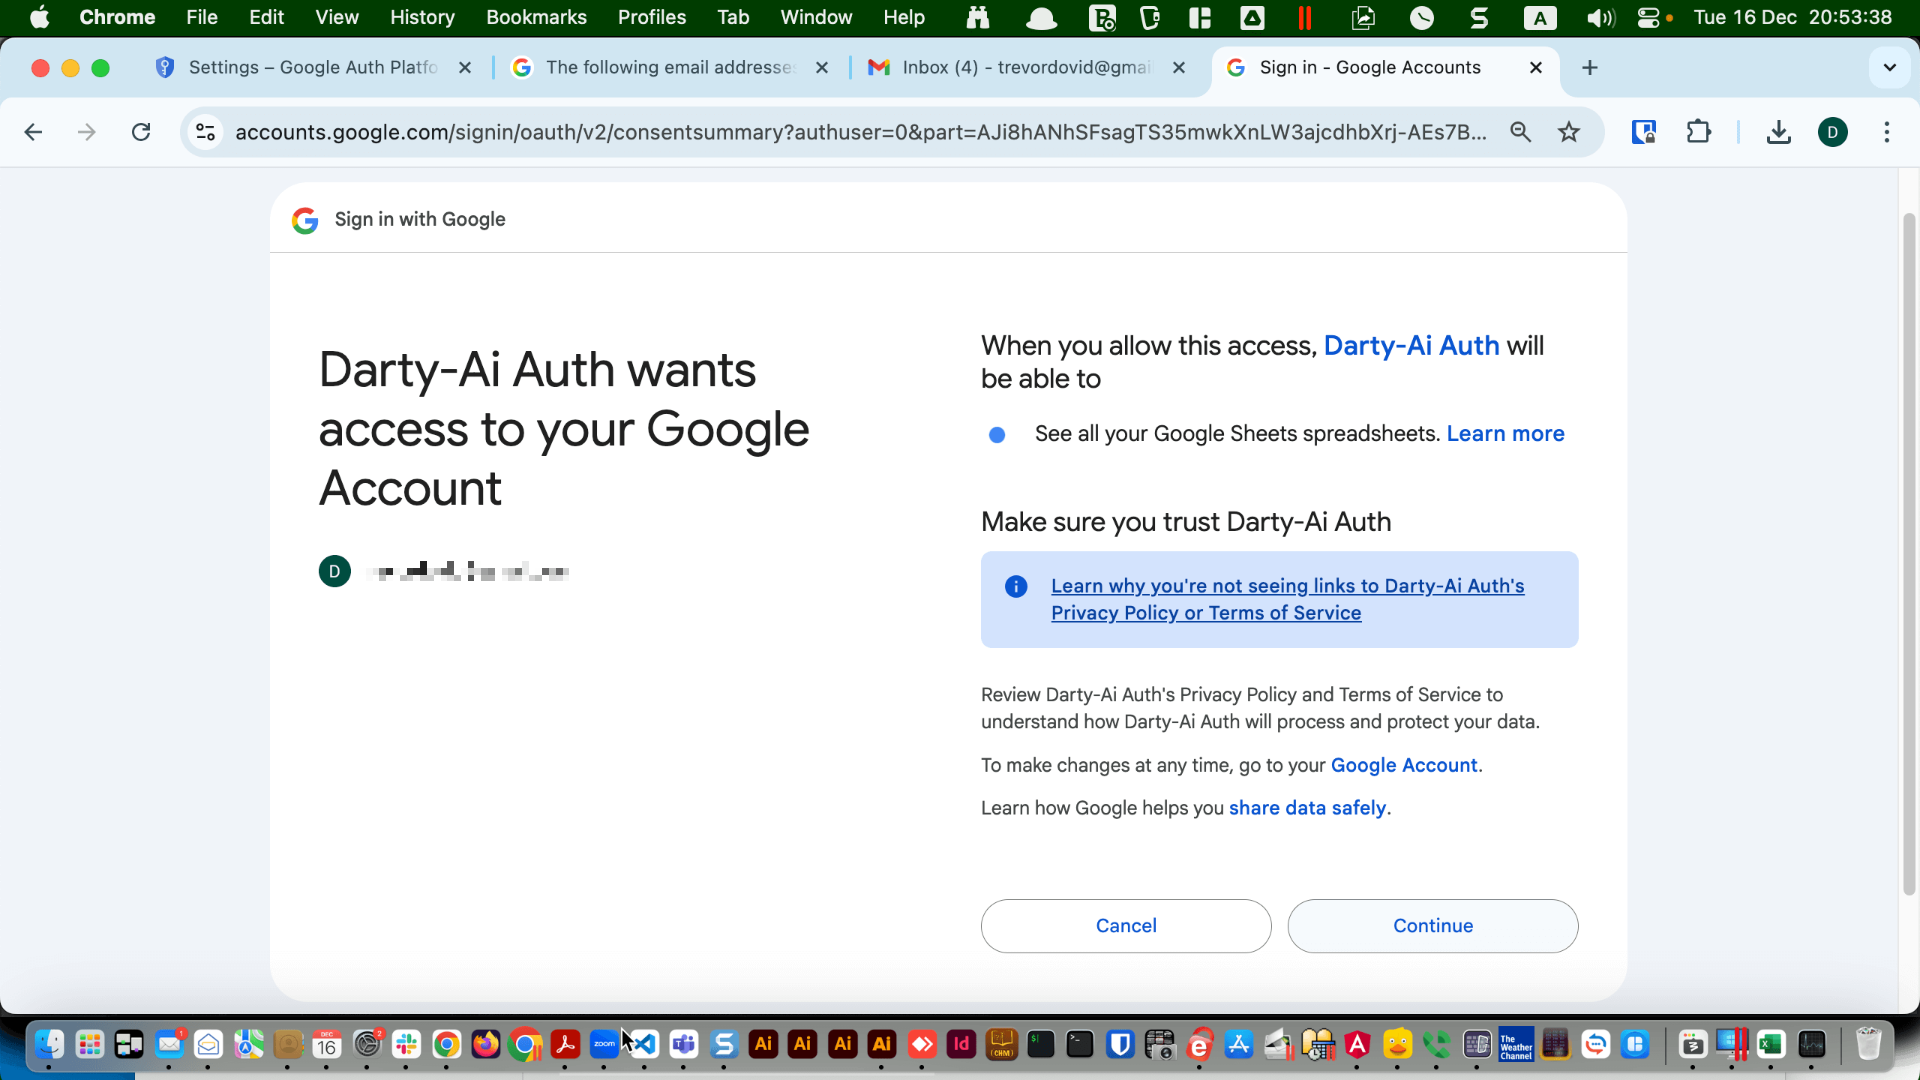
Google's authorization process should now happen, your default internet browser should open and you need to follow through the stages.
Select the account that the Google Sheet is shared with.

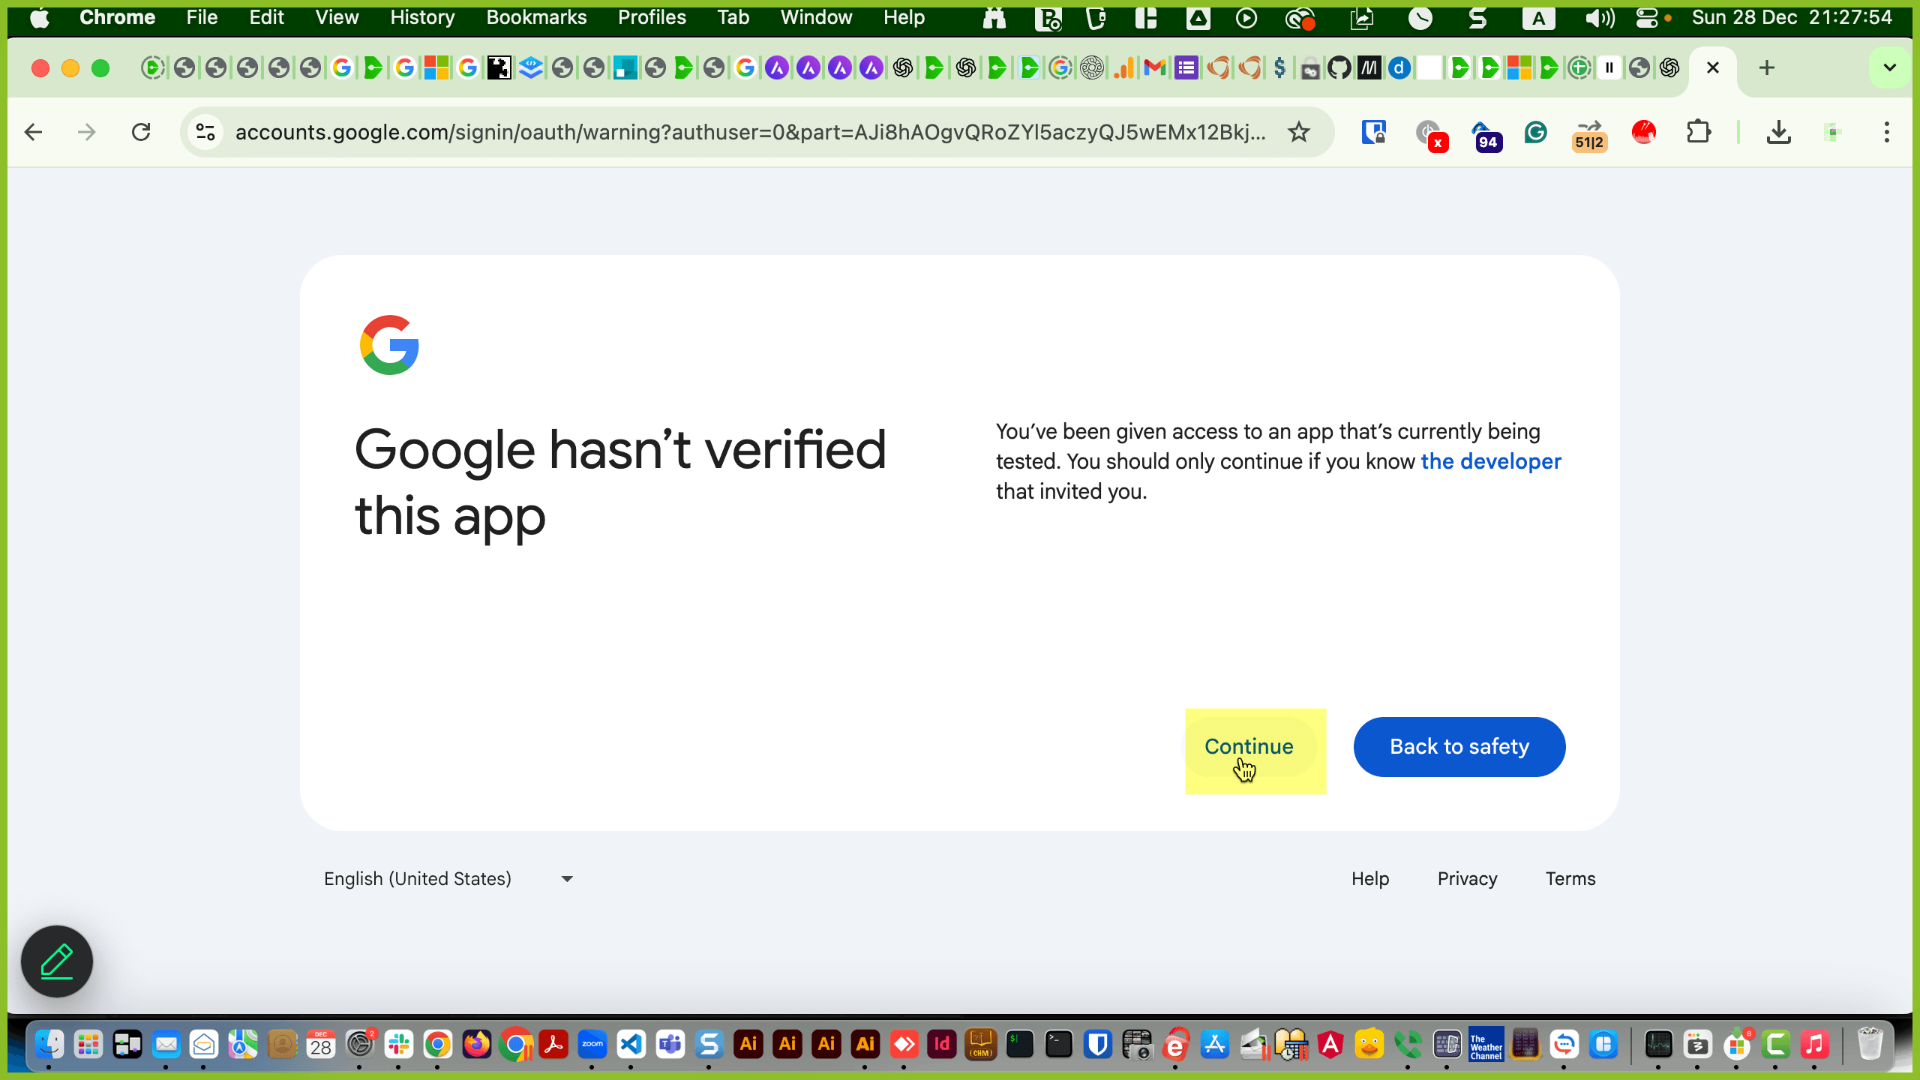
Then ignore all the warnings that you get. The app is perfectly safe, you made it! Click "Continue". Click "Continue" again.
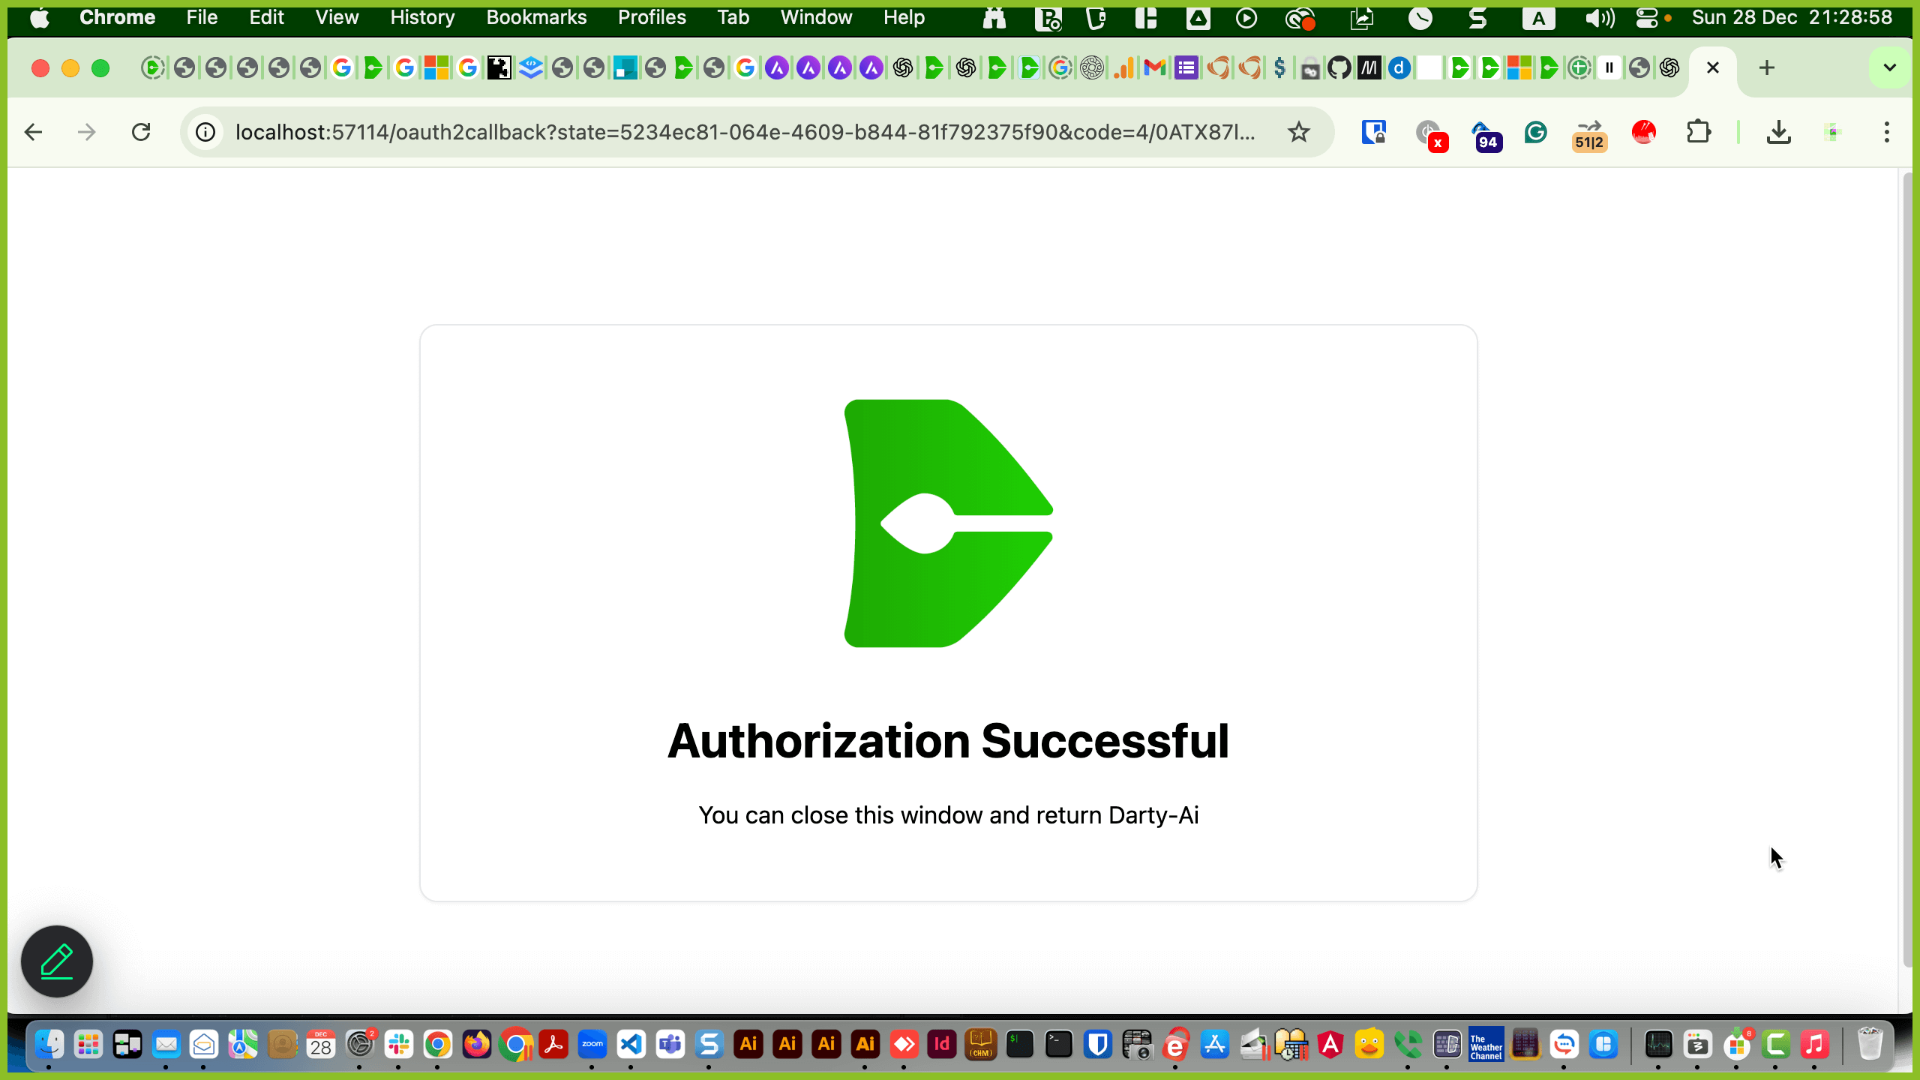
You should get the Successful tab, now close that tab on the browser and return to Darty-Ai.
The Google Sheet should have loaded, provided that it was a valid sheet and shared with your email.

Notes & Limitations
The Google Sheet should have loaded, provided that it was a valid sheet and shared with your email.
Note, only Google Sheets can currently be shared using private emails, if you want to use an Excel or CSV file hosted on Google Drive, you need to make sure they are publicly shared.
Also, make sure that the Google Sheet is shared with the email address you used when setting up the Google App.
An alternative way to share Google Sheets with Darty-Ai is to make the sheet publicly accessible, or set up a service account as explained in the Illustrator Meets Google Sheets guide.
However, using a service account is more complex and no longer recommended for most users now that we support using a Google App (OAuth).
Sharing & Team Use
Now that you have successfully created the "App", and added the emails that you want to be able to use with Darty-Ai, you do not need to worry about setting up an "App" again, the "App" will be valid for all Darty-Ai installations associated with your account.
You will simply need to import the JSON file into the new Darty-Ai installation.
The Google Authorization that allows for Darty-Ai to access the sheets, should be valid for a few hours or until you click the remove token icon, that will require you to re-authorize.
You will simply need to import the JSON file into the new Darty-Ai installation.
The Google Authorization that allows for Darty-Ai to access the sheets, should be valid for a few hours or until you click the remove token icon, that will require you to re-authorize.
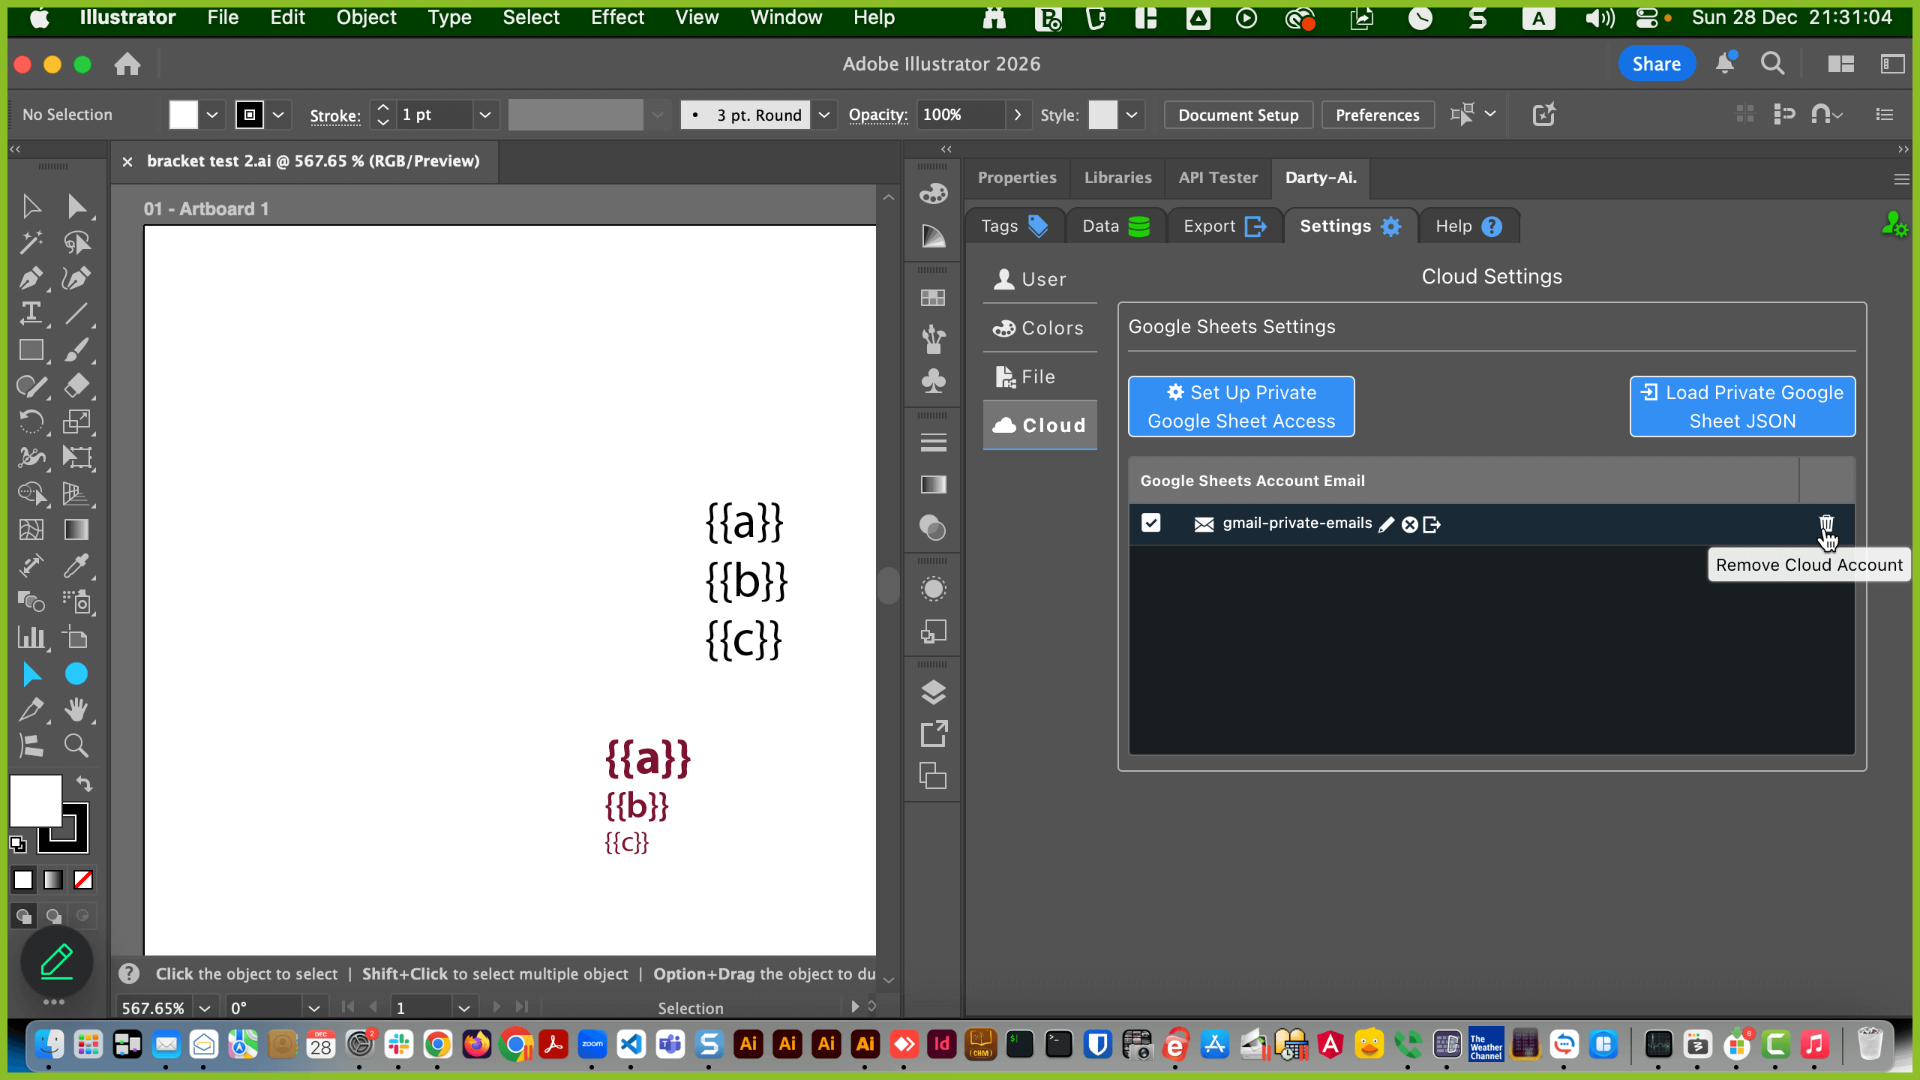
If you want to permanently remove the Darty-Ai's installation to your Google Sheets, you can click "Remove the Cloud Account" icon, which can be found on the cloud settings tab, next to the account.
To securely share an encrypted version of your JSON so that anyone on your Darty-Ai account can use privately shared emails with Darty-Ai, click on the export JSON button.
That JSON can be imported into their Darty-Ai installation using the same buttons, you used to import your original JSON.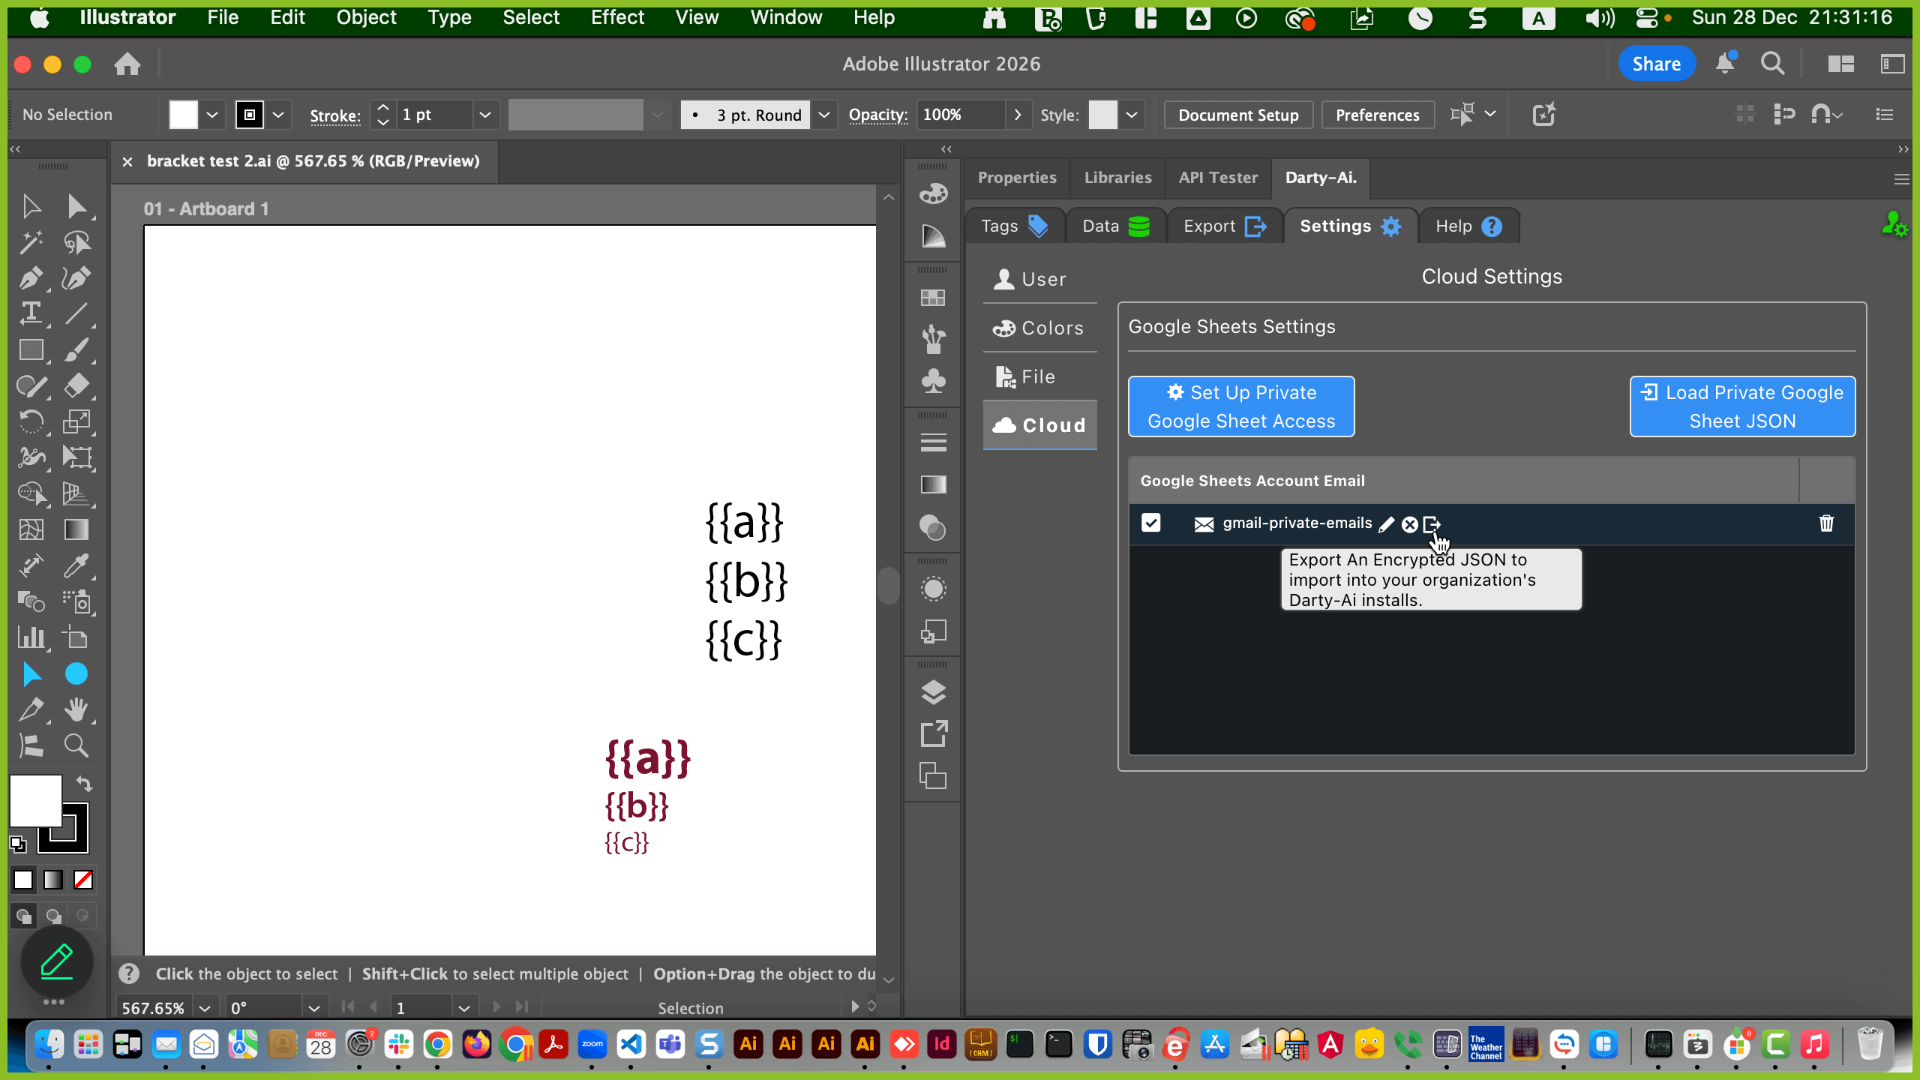
That JSON can be imported into their Darty-Ai installation using the same buttons, you used to import your original JSON.


Pingback: Getting Started – Darty-Ai